How to Preheat an Oven in 5 Easy Steps
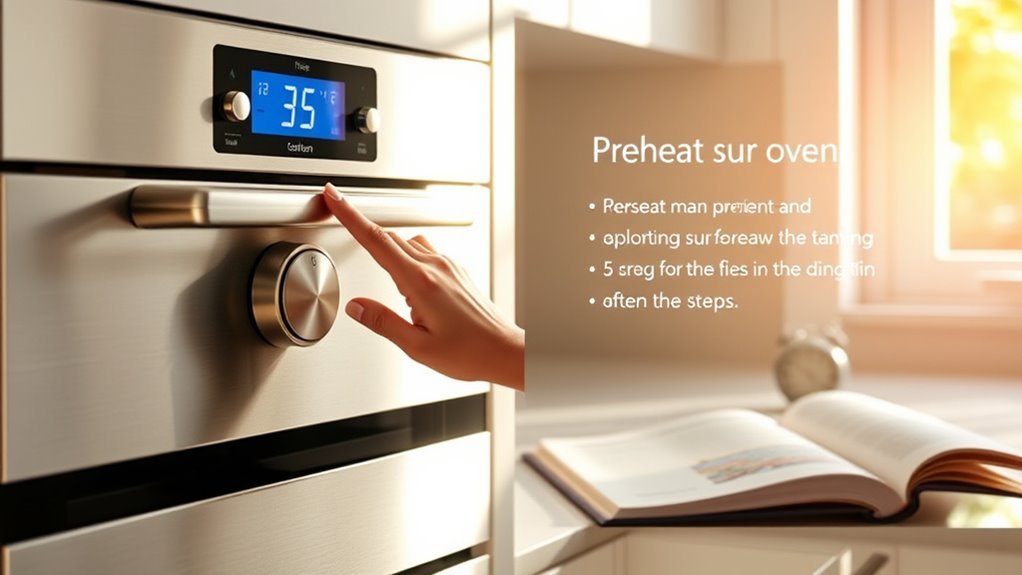
To preheat your oven in five easy steps, start by identifying your oven type to understand how it heats. This helps you know what to expect and how long it might take.
Next, set the desired temperature using the dial or digital controls.
Give your oven enough time—usually 10-20 minutes—to reach that temperature. It’s a good idea to verify accuracy with an oven thermometer placed inside.
Once it’s fully heated, place your food inside on the center rack.
Following these simple steps guarantees even cooking and better results.
Want to get the most out of your oven? You can explore more tips to perfect this process and make your cooking experience smoother and more enjoyable.
Identify Your Oven Type
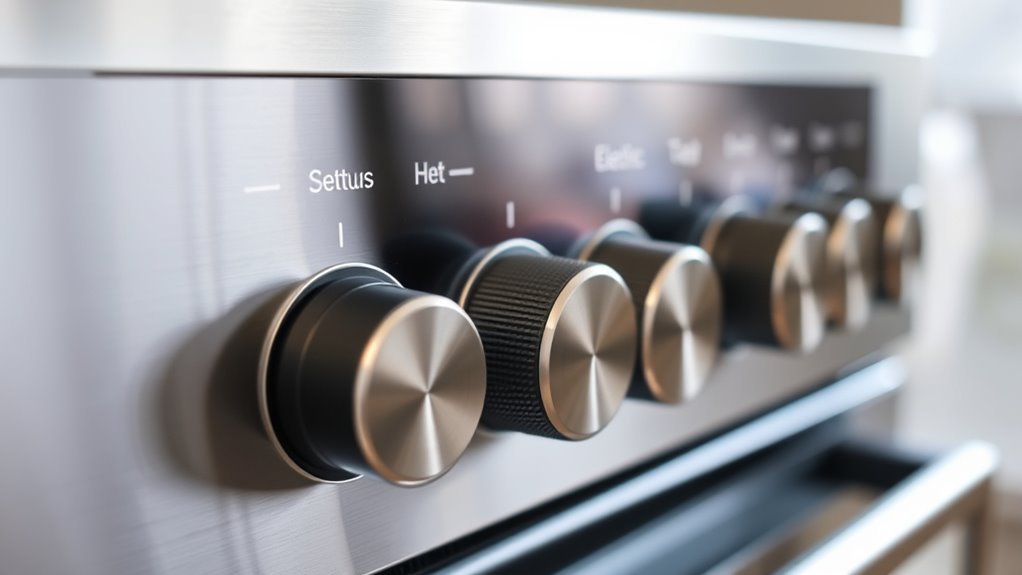
Before you start preheating, you need to identify your oven type because it affects how you set the temperature and time. A conventional oven uses two heating elements, one on top and one on the bottom, which provide direct heat for baking and roasting.
Knowing this helps you understand that the oven heats unevenly without air circulation. When you preheat a conventional oven, the heating elements work to reach the desired temperature, but it may take longer compared to other ovens.
Recognizing your oven type ensures you can adjust preheating times for excellent cooking results. If you don’t account for the heating elements’ behavior in your conventional oven, you might under- or overestimate the preheating duration and temperature needed for your recipes.
Set the Desired Temperature
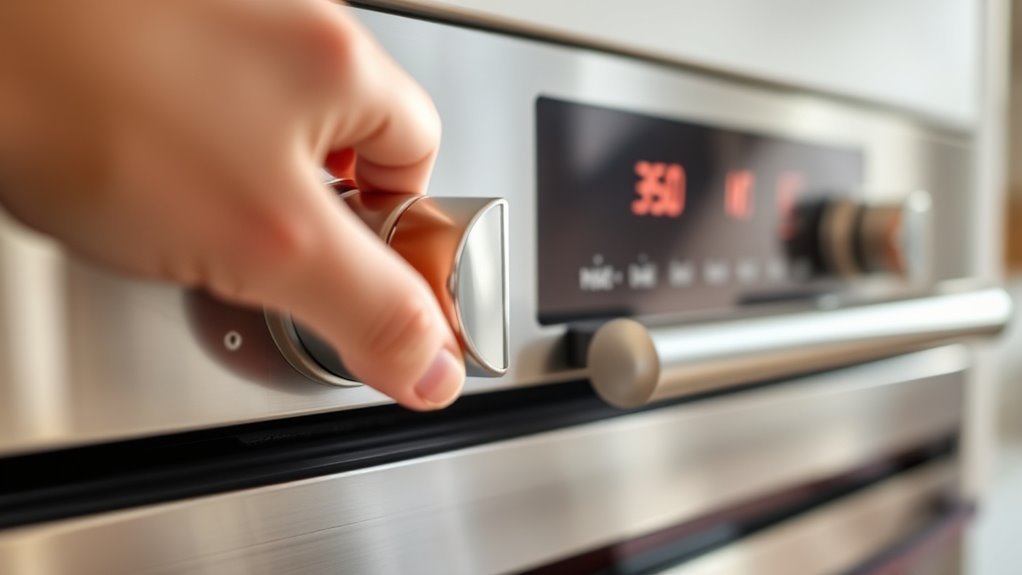
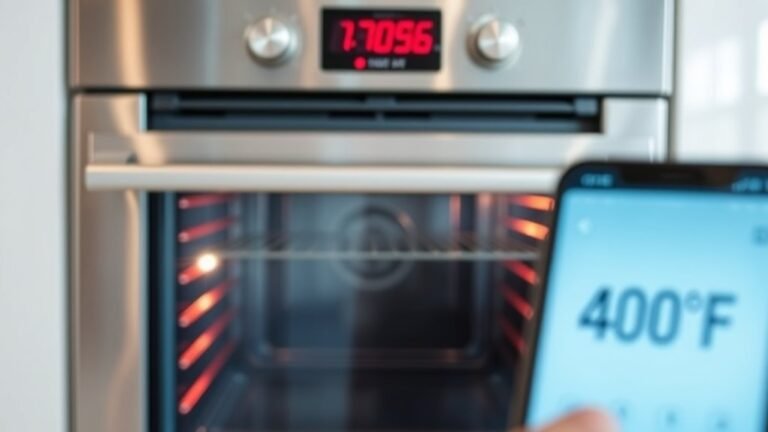
Once you’ve identified your oven type, you can set the desired temperature by turning the dial or pressing the digital buttons to your recipe’s required setting, like 350°F or 180°C. Many modern ovens offer pre-set options or quick-start buttons, making it easier to preheat the oven accurately.
To verify the oven temperature matches the desired temperature, use an oven thermometer for precision. If the thermometer shows the oven is too hot or too cold, adjust the settings before you start baking.
This step helps guarantee your oven is at the right heat, which is vital for consistent baking results. Setting the correct temperature lets you confidently move forward, knowing your oven will deliver the best cooking performance.
Allow Sufficient Preheating Time
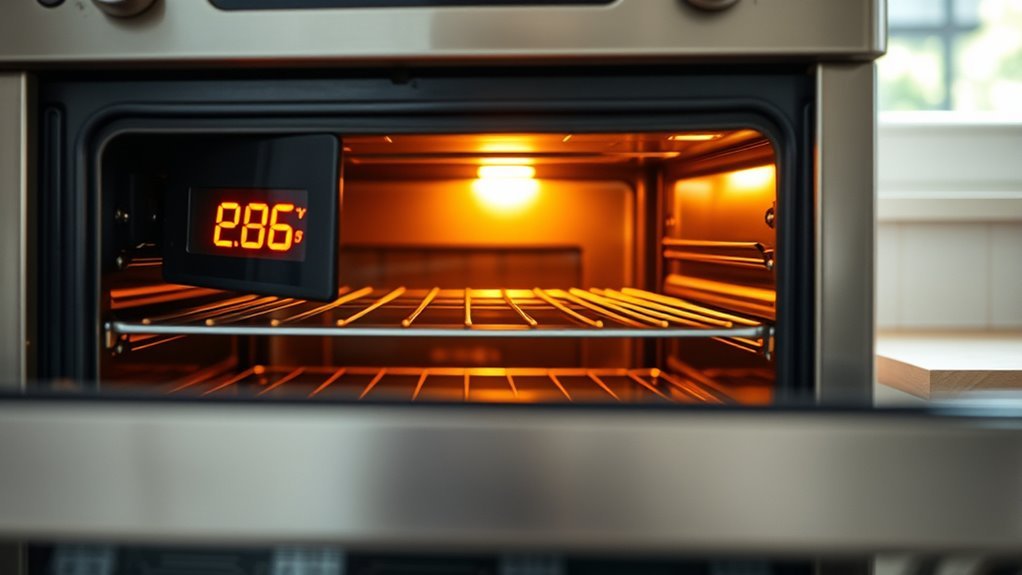
Although it might be tempting to start baking right away, you need to allow sufficient time for your oven to fully preheat. Proper preheating guarantees the oven temperature stabilizes, which promotes even heat distribution and better baking results.
Rushing this step can lead to uneven cooking or soggy crusts. So, it’s a good idea to use an oven thermometer near the center to track progress accurately.
| Recipe Type | Preheat Time | Notes |
|---|---|---|
| Most Recipes | 10-20 minutes | Standard preheating time |
| High Heat (Pizza) | 45 minutes | Include baking stones |
| Bread | 45 minutes | Ensures even heat |
| Quick Meals | 10 minutes | Minimum time required |
Always preheat your oven fully for consistent results. Trust me, it makes a noticeable difference!
Verify Oven Temperature With a Thermometer
Since oven dials and digital displays can be inaccurate, you should verify your oven’s temperature with a thermometer. An oven thermometer gives you a precise internal temperature reading, helping you avoid baking mishaps.
Oven dials can be off—use a thermometer for exact temperature and perfect baking every time.
Here’s how to verify temperature when preheating your oven:
- Place the oven thermometer in the center of the oven for the most accurate reading.
- Preheat your oven to the desired temperature and wait until the dial indicates it’s reached.
- Check the thermometer’s reading and compare it to your oven’s setting.
- Adjust your oven temperature if needed to match the thermometer for precise baking results.
Make it a habit to regularly check your oven thermometer’s placement and calibration. That way, you’ll get consistent accuracy every time you bake.
Place Food in the Oven at the Right Moment
After verifying your oven’s temperature with a thermometer, you’ll want to wait until it reaches the desired heat before placing your food inside. Opening the oven prematurely causes temperature drops, risking uneven baking.
For items with chemical leaveners like cakes, add batter immediately once the oven hits the target temperature. Always position your dish on the center rack to ensure even heat distribution after preheating.
| Step | Action | Reason |
|---|---|---|
| 1 | Preheat oven to desired temp | Ensures proper cooking |
| 2 | Confirm temp with oven thermometer | Avoids guesswork |
| 3 | Place food on center rack | Promotes even heat and rising |
Timing is key for placing food to get perfect results every time. So, be patient and wait for that perfect moment!
Conclusion
Preheating your oven is like preparing a stage for a perfect performance—every step sets the scene for your dish to shine.
By knowing your oven, setting the right temperature, and waiting patiently, you create the ideal environment where flavors can bloom.
Checking with a thermometer guarantees harmony, and placing your food at just the right moment seals the act.
With these simple steps, you’re not just cooking; you’re crafting a masterpiece. Remember, preheating your oven properly ensures even cooking and brings out the best in your recipes.
So next time you bake or roast, take the time to preheat—your food will thank you!