How to Cook Spiral Ham in the Oven in 10 Easy Steps
To cook a spiral ham in the oven, start by selecting a fully cooked, pre-sliced ham. This makes the cooking process easier and ensures the ham is ready to eat once heated through. Preheat your oven to 325°F.
Place the ham cut side down on a rack inside a foil-lined roasting pan. Be sure to remove all plastic packaging and any inserts before you start cooking. This step is important for safety and even heating.
Heat the ham for about 12-15 minutes per pound. When you’re nearing the end of the cooking time, brush on your favorite glaze during the last 20-30 minutes. Turn up the oven temperature a bit to caramelize the glaze and give the ham a beautiful finish.
Once done, let the ham rest for a few minutes before slicing. This helps the juices redistribute and keeps the meat moist.
Keep following these steps, and you’ll have a perfectly cooked spiral ham every time!
Selecting the Right Spiral Ham
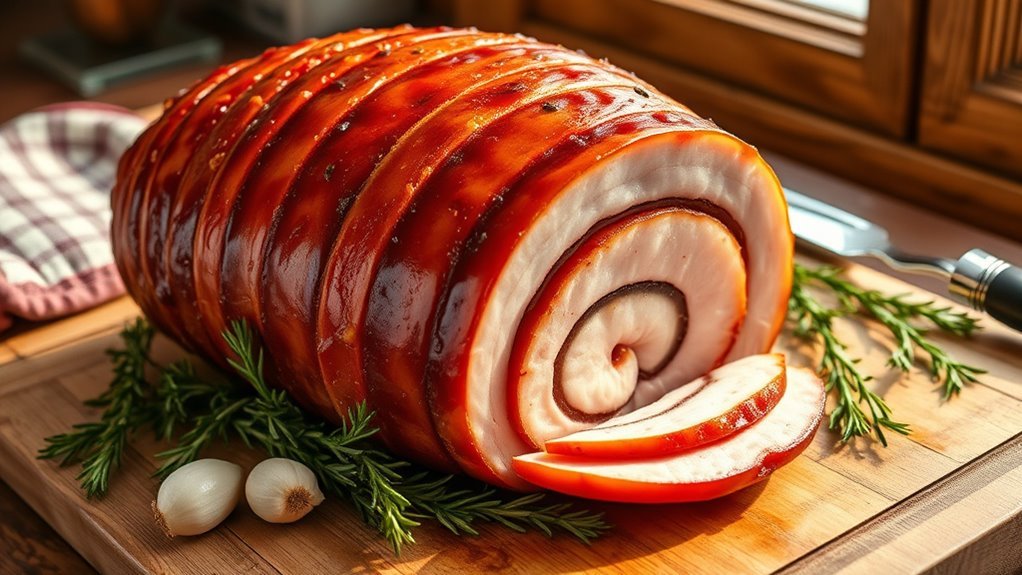
When selecting the right spiral ham, you’ll want to choose a fully cooked, pre-sliced ham weighing between 7 to 10 pounds for the best results. Look for labels like “ready-to-eat” or “fully cooked” to assure safety and convenience.
Decide between bone-in or boneless based on your taste, knowing that bone-in tends to offer richer flavor. Check the packaging for a glaze packet if you’re planning to add a sweet glaze during cooking.
Also, pick a ham with a uniform shape and size to guarantee even heating throughout. Choosing a pre-sliced spiral ham not only saves prep time but also makes glazing simpler, letting you achieve delicious results with less effort.
Preparing Your Oven and Equipment
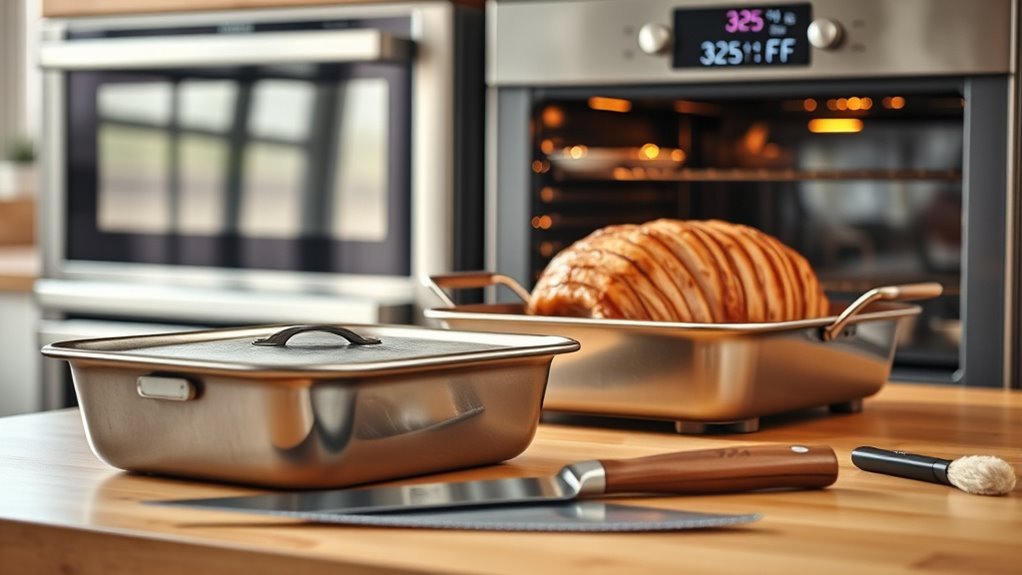
Before you start, preheat your oven to 325°F. This makes sure your spiral ham cooks evenly.
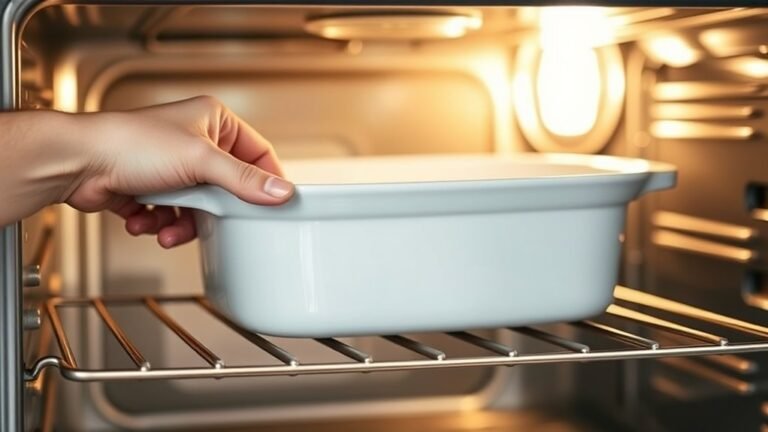
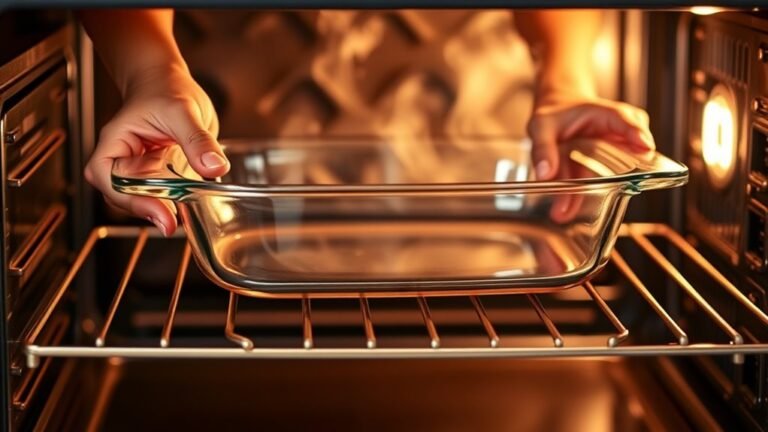
Choose a roasting pan with a rack to keep the ham elevated. This lets the heat circulate all around.
This setup helps prevent soggy bottoms. Plus, it keeps your ham juicy as it reheats.
Oven Temperature Setup
Although it’s tempting to rush, you’ll want to preheat your oven to a steady 325°F for even cooking of your spiral ham. This oven temperature setup guarantees the ham heats through without drying out or cooking unevenly.
Before you place the ham inside, make sure to remove any plastic or foam disc from its bottom. Position the oven rack in the middle to promote ideal heat circulation.
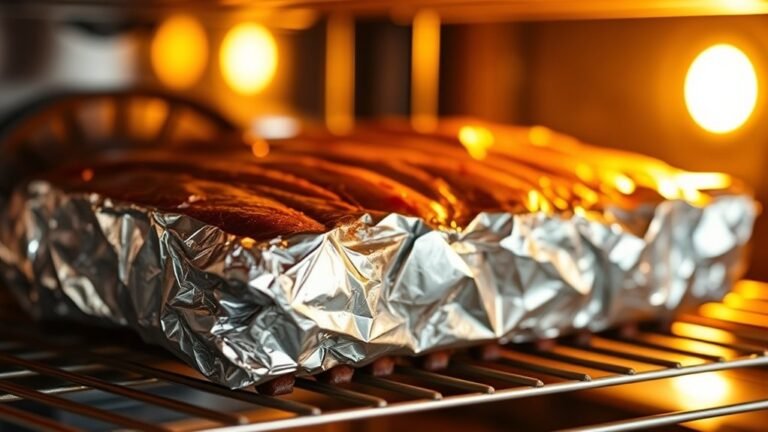
Use a roasting pan with a rack to keep the ham elevated. Once the ham is in place, cover it tightly with aluminum foil. This traps moisture, keeping the ham juicy during the initial heating.
Following these steps when you preheat oven and prepare the ham will set you up for a perfectly cooked spiral ham.
Roasting Pan Selection
Setting your oven temperature is just the start; choosing the right roasting pan will make a big difference in how evenly your spiral ham cooks and how easy cleanup will be.
Pick a large, sturdy roasting pan with high sides to hold all the juices and avoid spills. Make sure it’s heavy-duty and oven-safe to handle high heat without warping.
Look for one with a rack to elevate the ham above the pan, allowing heat to circulate around the ham bone and cook a spiral evenly. The pan should be big enough to fit your 8 to 11-pound ham comfortably, plus space for foil and glaze.
Line the bottom with aluminum foil to catch drippings for easy cleanup and extra flavor if you want to make gravy. It just makes everything simpler and tastier!
Removing Packaging and Inserts
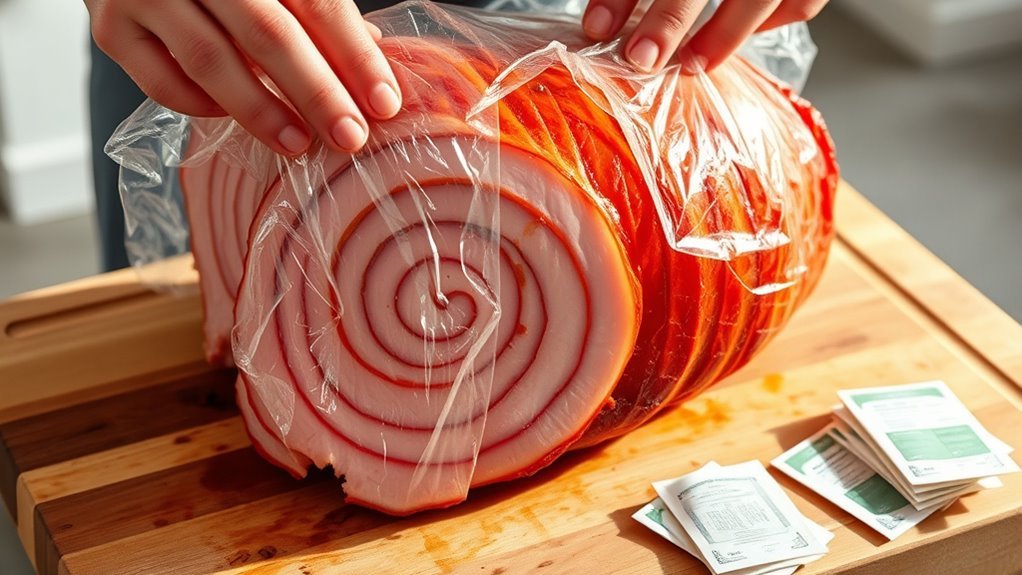
Before you cook your spiral ham, make sure to carefully remove all plastic wrap and any discs or buttons attached to it.
Check between the slices for plastic inserts and take them out completely.
This step is essential to keep your ham safe for the oven and ready to heat evenly.
Packaging Removal Tips
When you take the spiral ham out of its packaging, make sure to remove any plastic discs or buttons attached to the bottom. Also, check carefully for foam or plastic inserts inside. These items aren’t oven-safe and must be fully removed to avoid melting or contamination.
Use clean hands or kitchen tongs to peel away the plastic wrapping, making sure no bits remain on the ham’s surface. If the ham is wrapped in plastic film, go ahead and make a few small slits to let steam escape. This helps prevent bursting during cooking.
Always discard all packaging materials safely. And never put any plastic or non-oven-safe items in the oven with the ham. Proper plastic packaging removal is key for safe and effective cooking.
Identifying Plastic Inserts
You’ll find at least one plastic insert, like a disc or button, attached to most spiral hams that you must eliminate before cooking. Begin by carefully peeling away the plastic packaging, taking care not to tear the meat or damage the ham.
Once unwrapped, inspect the ham closely for any plastic pieces securing its shape or holding slices together. These inserts are usually on the bottom or nestled between layers.
For safe oven cooking, you need to remove all plastic parts to prevent melting or chemical contamination. Use a sharp knife or scissors to carefully cut away and remove each plastic insert.
Proper plastic removal ensures your ham cooks evenly and safely, setting you up perfectly for the next step in your spiral ham preparation.
Preparing Ham for Oven
Although it’s tempting to cook the ham straight from the packaging, you’ll need to remove all plastic wrapping and inserts first to avoid any melting or burning in the oven. When preparing ham, carefully peel off the plastic covering and take out any plastic discs or buttons, especially from the bottom of the spiral ham.
These inserts can melt or catch fire during cooking. Once the spiral ham is free of packaging, place it in a roasting pan or baking dish. If you like, score the surface lightly to help the glaze soak in better while baking.
Finally, preheat your oven to the recommended temperature, usually 325°F, before putting the ham inside. Properly preparing ham ensures a safe, delicious result.
Positioning the Ham for Cooking
Since proper heat circulation is key to a juicy spiral ham, place it cut side down on a rack inside your roasting pan. This position helps retain moisture while allowing heat to flow evenly around the meat.
Place your spiral ham cut side down on a rack for even heat and juicy results.
Make sure the flat, cut side faces down so the glaze seeps into each slice during baking. Center the roasting pan in your oven to ensure uniform cooking and avoid hot spots.
If your spiral ham has a thicker side, turn it toward the oven’s center; this balances heat exposure and prevents uneven cooking. Using a rack inside the pan lifts the ham, promoting better air circulation and a perfectly cooked spiral ham every time.
Proper positioning sets you up for a delicious, evenly heated meal. It’s a simple step that really makes a difference!
Setting the Cooking Temperature
Once your spiral ham is properly positioned, the next step is setting the right cooking temperature to guarantee it heats evenly and stays juicy. Preheat your oven to 325°F to start, making sure this oven temperature remains steady throughout the cooking time.
Use an oven thermometer if you want to verify accuracy, as consistent heat is key for even cooking. Avoid opening the oven door frequently, since temperature fluctuations can increase cooking time and affect the internal temperature of the ham.
If your ham is larger or denser, slightly adjust the oven temperature to ensure thorough heating without drying it out. Keeping a steady oven temperature helps the ham reach its ideal internal temperature, ensuring a perfectly cooked, moist spiral ham every time.
Covering the Ham to Retain Moisture
To keep your spiral ham juicy, wrap it tightly in foil during baking to trap moisture and heat evenly.
You’ll want to remove the foil in the last few minutes if you’re aiming for a caramelized glaze or crispy edges.
This simple step helps you lock in flavor while finishing with the perfect texture.
Benefits of Foil Covering
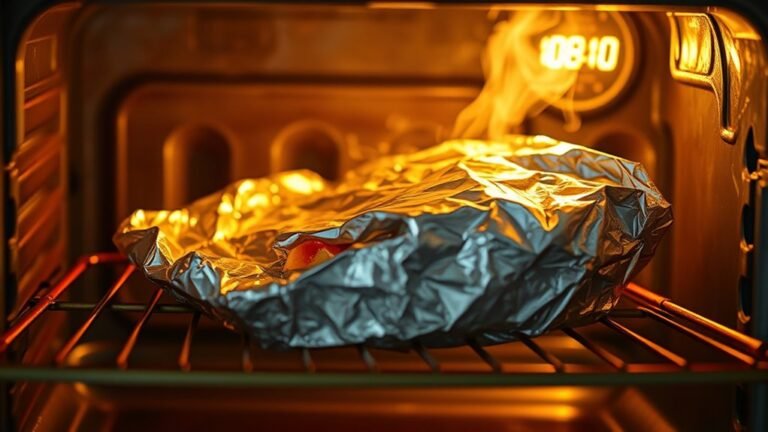
When you cover your spiral ham with foil, you lock in moisture that keeps the meat tender and juicy throughout baking. Foiling creates a sealed environment that promotes moisture retention and even heating.
This means your ham won’t dry out, and the natural juices stay locked inside, reducing the need for extra basting. The trapped steam circulates around the ham, ensuring it cooks evenly from edge to center.
Wrapping the ham tightly in foil minimizes moisture loss, preserving its rich flavor and texture. Using foil also simplifies the cooking process by maintaining consistent heat.
Timing for Uncovering
Although keeping your spiral ham covered with foil is essential during most of the baking process to lock in moisture, you’ll want to uncover it during the final 20 to 30 minutes. The timing to uncover is key—typically, you should remove the foil once the ham reaches an internal temperature of about 110-120°F.
This allows you to apply the glaze evenly and helps the surface brown beautifully. Uncovering at this stage lets the glaze caramelize, enhancing both flavor and appearance.
If you need to extend cooking time after glazing, be sure to cover the ham again to prevent it from drying out. By managing the timing to uncover carefully, you’ll ensure your spiral ham stays juicy while developing a delicious, glossy finish.
Calculating and Monitoring Cooking Time
Calculating and monitoring cooking time guarantees your spiral ham turns out juicy and perfectly heated. Set your oven to 325°F and plan on cooking the ham for 12 to 15 minutes per pound.
Set your oven to 325°F and cook spiral ham for 12 to 15 minutes per pound for juicy results.
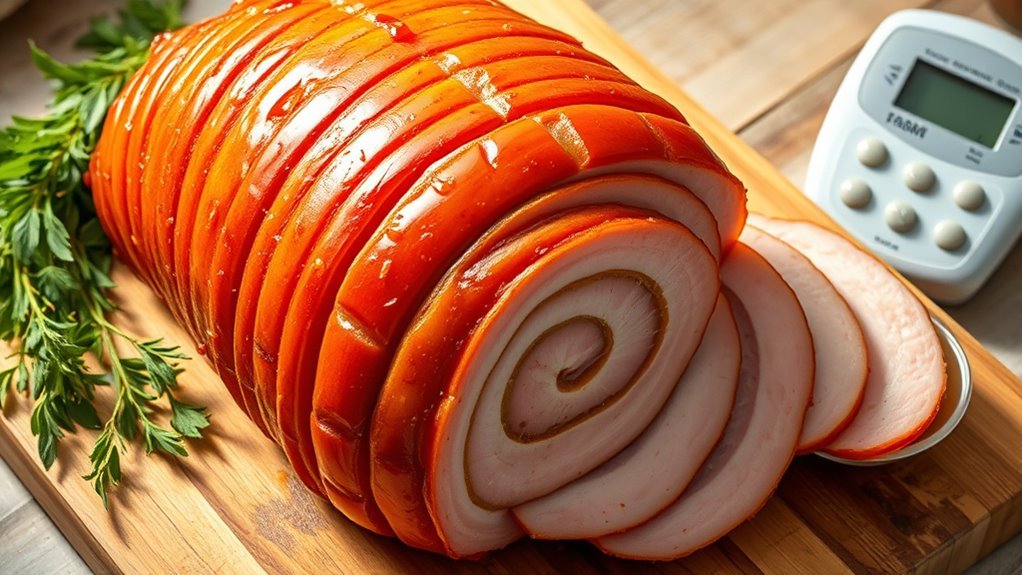
Use a digital meat thermometer to check the internal temperature frequently. Remove the ham when it reaches 135°F to 140°F to avoid drying out the meat.
Keep in mind: a 10-pound ham typically takes around 2 to 2.5 hours. You’ll want to adjust cooking time for larger or rounder hams.
Also, remember that oven temperature variations can affect cooking time, so keep an eye on it as it cooks.
Preparing a Delicious Glaze
After monitoring your ham’s temperature and timing its cooking, it’s time to enhance its flavor with a delicious glaze. Start by mixing equal parts brown sugar and orange juice for a simple, sweet base.
To customize, stir in Dijon mustard, honey, or spices like cinnamon and cloves. This glaze will add a rich, caramelized touch when baked. Keep in mind, you’ll apply it later during cooking to avoid burning.
Once your glaze is ready, have a basting brush handy to spread it evenly over the spiral cuts. This way, the glaze soaks in deeply, infusing the ham with flavor.
Using the oven’s heat, the brown sugar caramelizes, creating a shiny, mouthwatering finish you’ll love.
Applying the Glaze at the Right Time
When your ham’s internal temperature hits about 110-120°F, it’s time to take it out of the oven and start applying the glaze. Brush the glaze on evenly, making sure to get into those spiral cuts so it really seeps into the meat.
Then, pop the ham back in the oven for the final 20 to 30 minutes of cooking. This helps prevent burning and encourages that lovely caramelization.
For the best results, crank the oven temperature up to 400°F or broil it briefly to get a glossy finish. You can also reapply the glaze once or twice during this last stage to build up layers of flavor.
Just keep a close eye on it to avoid burning the sugars in the glaze. This timing and careful oven temperature control make sure your ham develops a sticky, richly caramelized surface that’s full of flavor.
Resting and Serving Your Spiral Ham
Although your spiral ham looks ready straight from the oven, you should let it rest for 10 to 15 minutes to lock in its juices and keep the meat tender. During this resting period, loosely cover the ham with aluminum foil to keep it warm while the internal temperature stabilizes.
This step guarantees the meat stays moist and flavorful. When you’re ready to serve, use a sharp carving knife to slice the ham against the grain. This technique makes slicing easier and results in neat, even pieces.
Serve the ham immediately after resting to enjoy its prime flavor and presentation. By following these resting and serving tips, you’ll preserve the ham’s juiciness and tenderness, making your meal truly memorable.
Conclusion
Now that you’ve guided your spiral ham through its warm, flavorful journey, it’s time to let it take a well-deserved breather. This little pause lets all those juicy whispers settle, ensuring every bite feels like a gentle hug.
With a bit of patience, you’ll serve up a masterpiece that’s both tender and full of heart. Enjoy the applause from your taste buds—you’ve truly turned a simple meal into a celebration. Cooking a spiral ham in the oven may seem daunting at first, but following these steps makes it easy and rewarding.
So sit back, relax, and savor the delicious results of your effort. This perfectly cooked spiral ham will impress everyone at the table and make your meal memorable. Enjoy every bite!