How to Season Cast Iron Without an Oven in 7 Easy Steps
To season your cast iron without an oven, start by cleaning it thoroughly with warm, soapy water and drying it completely. This step is important because any residue or moisture can interfere with the seasoning process.
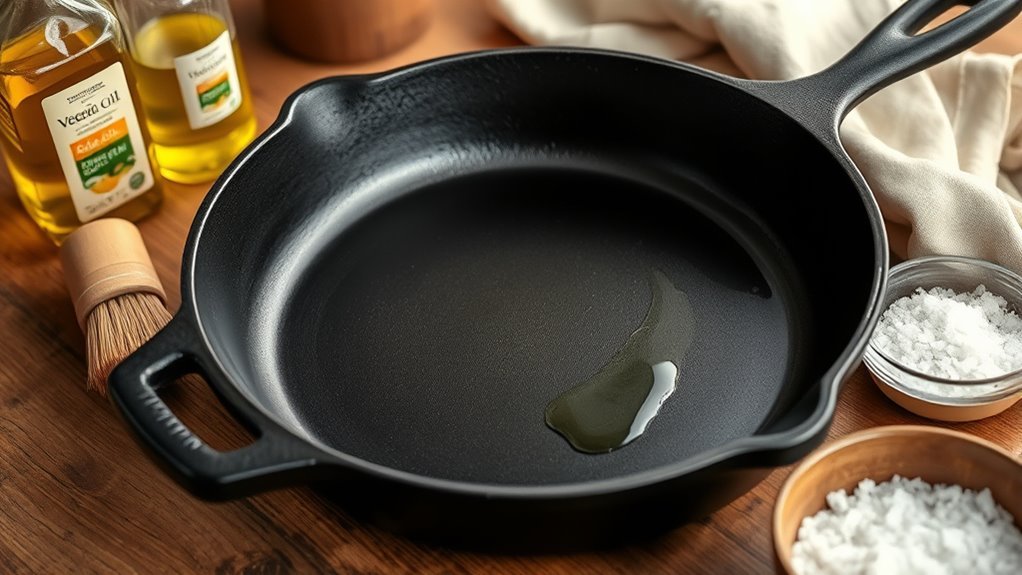
Next, apply a thin, even layer of oil over the entire surface of the pan. You can use vegetable oil, flaxseed oil, or any other oil with a high smoke point.
Heat the pan over medium heat on your stove until it smokes slightly. This helps the oil bond to the cast iron, creating that nonstick finish we all want.
Then, turn the heat to low and continue heating for 10 minutes.
After that, let the pan cool down before repeating the oiling and heating process several times. Doing this builds a durable, nonstick coating that improves with each layer.
Keep following these steps to perfect your pan’s seasoning and enjoy cooking with a naturally nonstick surface.
Clean Your Cast Iron Pan Thoroughly
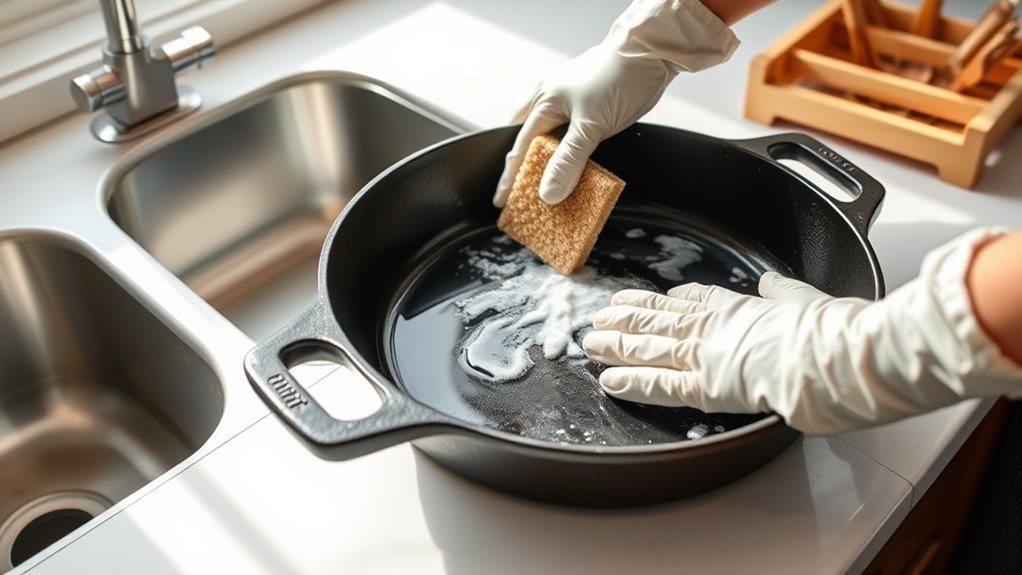
Before you begin seasoning your cast iron pan, make sure you clean it thoroughly. Start by washing your cast iron with warm, soapy water to remove any manufacturing oils or debris.
Use a stiff brush or sponge to scrub away residue or rust spots, ensuring the surface is spotless. Rinse the pan thoroughly to eliminate all soap and loosened particles. Cleaning well is essential because any leftover grime can interfere with the seasoning process.
After rinsing, dry the pan immediately using a lint-free cloth or paper towel to prevent rust. Then, place the pan on a stovetop burner over low heat for a few minutes to evaporate any remaining moisture.
This thorough cleaning step sets the foundation for a strong, even seasoning layer on your cast iron. So take your time here—it really makes a difference!
Dry the Pan Completely Before Seasoning
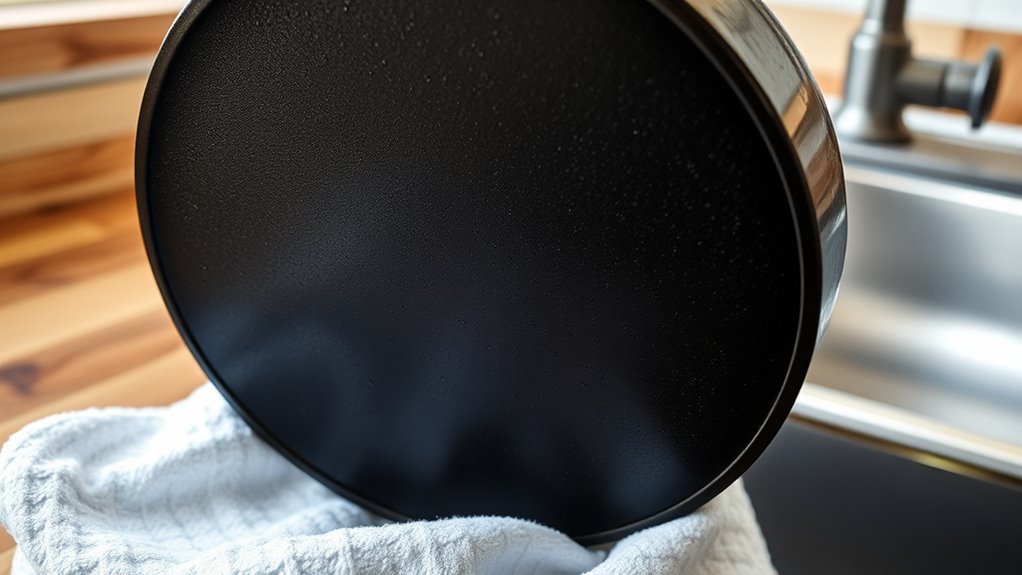
Since any leftover moisture can cause rust and interfere with seasoning, you’ll want to dry your cast iron pan thoroughly after washing. Proper drying guarantees a clean, moisture-free surface that helps the seasoning bond well.
Thoroughly drying your cast iron pan prevents rust and ensures seasoning adheres perfectly for a lasting finish.
Skip air drying to avoid rust forming before you even start seasoning. Instead, follow these tips for effective drying:
- Immediately wipe the pan with a lint-free cloth or paper towels.
- Focus on removing moisture from crevices and the handle.
- Heat the pan on the stovetop for a few minutes to speed drying.
- Alternatively, warm it briefly in a hot oven if available.
- Confirm no visible moisture remains before moving on.
Apply a Thin Layer of Oil Evenly
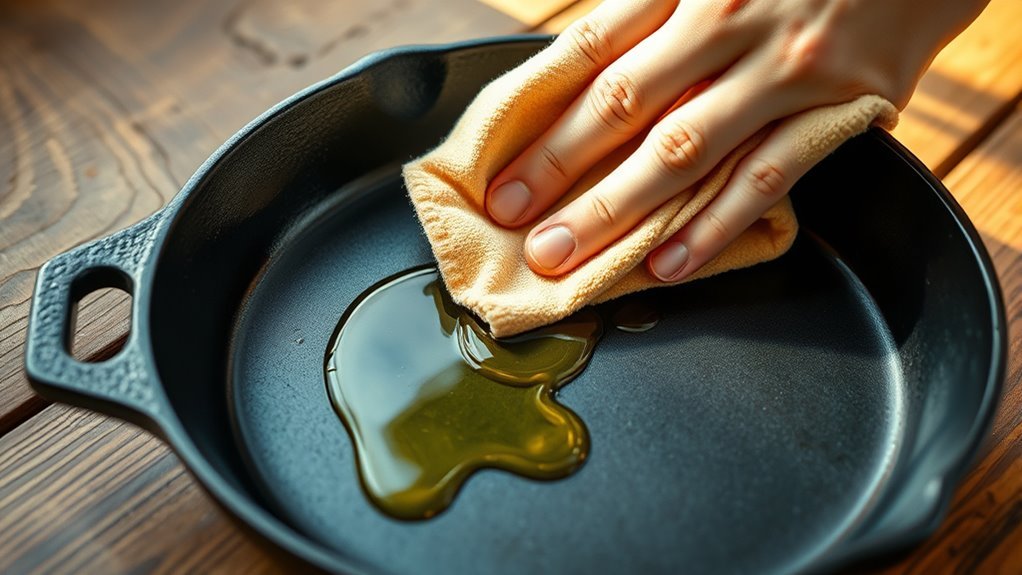
When you’re ready to season your cast iron, apply a very thin layer of oil evenly over the entire surface. Use a clean cloth or paper towel to spread a small amount of oil, covering the interior, exterior, and handle to guarantee a complete layer of seasoning.
Apply a thin layer by moving the cloth in circular or back-and-forth motions, aiming for a smooth, consistent coating. Just be careful not to leave any pooling or drips, as these can cause uneven seasoning or sticky spots.
After spreading the oil, wipe off any excess until the surface looks just lightly coated. This careful application helps build a durable, non-stick layer of seasoning. Plus, it sets the stage for effective seasoning without needing an oven.
Heat the Pan on the Stove Over Medium Heat
Heat your cast iron pan over medium heat to open its pores and help the oil absorb evenly. Keep the temperature steady around 300-350°F to avoid smoking or burning the oil.
Moving the pan gently guarantees even heating and protects the metal from damage. It’s a simple step, but it really makes a difference!
Medium Heat Benefits
Although seasoning cast iron can be done at various temperatures, using medium heat on the stove gives you better control and helps the oil polymerize gradually, forming a durable, even coating. Medium heat strikes the perfect balance, speeding up the seasoning process without risking burnt oil or uneven layers.
It ensures all parts of your pan—bottom, sides, and handle—receive consistent heat, preventing hot spots that cause patchy seasoning. This steady temperature lets the oil bond properly to the cast iron surface, building a tough, long-lasting layer.
Benefits of medium heat during seasoning include:
- Gradual oil polymerization for durability
- Better temperature control to avoid burning
- Even heat distribution across the pan
- Prevention of hot spots for uniform seasoning
- Faster seasoning process compared to low heat
Temperature Control Tips
Since maintaining a consistent medium heat helps the oil polymerize evenly, you should heat your cast iron pan gradually on the stove. This temperature control prevents warping and protects the seasoning layer from burning or developing uneven spots.
Use a stovetop thermometer or watch for visual cues like the oil shimmering or a faint smoke to gauge the right temperature. Avoid high heat—it’s too aggressive and can damage your pan. Instead, keep the heat steady and medium for the best results.
Rotate or move the pan around on the burner to distribute heat evenly, eliminating hot spots. By carefully managing temperature control with medium heat, you ensure a durable, uniform seasoning that enhances your cast iron’s performance and longevity.
Allow the Pan to Smoke Slightly
You’ll want to heat your pan until it starts to smoke lightly—that’s your signal that the oil is polymerizing properly. This controlled smoke helps the oil bond tightly to the cast iron, building a strong seasoning layer.
Just keep the heat steady so the smoke stays gentle and effective. It’s all about finding that sweet spot where the pan’s hot enough to do its thing without going overboard.
Controlled Smoke Production
When heating your cast iron pan, let it reach its smoke point—usually between 400°F and 450°F—to kick off the seasoning process. Controlled smoke is key because it tells you the oil is polymerizing, which builds that tough, non-stick layer.
To get this right without hurting your pan, focus on controlling the temperature and keep an eye on the smoke.
Here are some tips for controlled smoke production during seasoning:
- Use a propane burner or heat gun for steady, adjustable heat.
- Look for light wisps of smoke, not heavy billows.
- Avoid open flames since they can cause uneven charring.
- Keep the area well-ventilated to handle the smoke safely.
- Take the pan off the heat as soon as the light smoking fades.
Taking this careful approach helps your cast iron develop a strong, even seasoning layer. It’s all about patience and paying attention.
Smoke’s Role in Seasoning
Although the idea of letting your cast iron pan smoke might seem counterintuitive, that light, steady smoke signals the oil is polymerizing correctly. When the pan reaches a temperature just above the oil’s smoke point, it creates a thin, durable seasoning layer by bonding the oil to the metal surface.
This gentle smoke indicates the seasoning process is working efficiently without burning the oil or damaging your pan. By controlling the heat to produce this slight smoke, you ensure even seasoning and a strong, blackened coating.
Especially if you’re seasoning outdoors or over an open fire, using smoke as your guide speeds up the process and guarantees a lasting, well-formed seasoning layer on your cast iron cookware. It’s pretty handy once you get the hang of it!
Continue Heating on Low for 10 Minutes
Since gradual heating encourages an even seasoning layer, you’ll want to keep the cast iron on low heat for about 10 minutes. This gentle warmth activates the oil’s polymerization without overheating or warping the pan.
Using a stovetop burner, propane heat gun, or open flame works well to build a durable seasoning. Maintaining low heat prevents hot spots, ensuring the seasoning forms uniformly across the surface.
After heating, let the cast iron cool slowly to help the seasoning bond properly. This step is key to a strong, lasting finish.
- Encourages even seasoning buildup
- Activates oil polymerization safely
- Prevents uneven hot spots
- Suitable for various heat sources
- Promotes strong seasoning adhesion through gradual cooling
Repeat Oiling and Heating for Durable Seasoning
To build a durable seasoning layer, you’ll want to repeat the oiling and heating process several times. Each cycle involves applying a thin layer of oil to prevent buildup and ensure even coverage, which is vital for good adhesion.
Then, heat your pan at 450°F for about 30 minutes to polymerize the oil, transforming it into a hard, nonstick surface. This process creates layers of seasoning that strengthen with every repetition.
Typically, 3 to 4 cycles speed up the formation of a deep, black, protective coating. Remember to let your pan cool completely between sessions; this helps the seasoning bond firmly and boosts its longevity.
Three to four seasoning cycles build a durable, deep black coating; cooling between sessions enhances bonding and longevity.
Repeating these steps builds a stronger, long-lasting finish on your cast iron skillet. It’s worth the effort for a pan that performs beautifully for years!
Conclusion
Seasoning your cast iron without an oven isn’t just doable—it’s downright rewarding. With just a little patience and these simple steps, you’ll turn your pan into a non-stick powerhouse that gets better with every use.
Remember, like a fine wine, your cast iron improves over time, developing character and charm. So, keep oiling, heating, and enjoying the process—your skillet’s perfect seasoning is just a few steps away!
By following these easy steps to season cast iron without an oven, you’re ensuring your skillet remains rust-free and naturally non-stick. This method is perfect for anyone without an oven or looking for a quick fix.
Keep up the regular seasoning to maintain that beautiful, durable surface. Soon enough, your cast iron pan will be your favorite kitchen companion, cooking smoothly and cleaning easily.