10 Easy Steps to Make BBQ Ribs in the Oven
Start by choosing quality ribs and removing the membrane for tenderness. This step is crucial to ensure your BBQ ribs turn out juicy and flavorful. Next, coat them with mustard, which helps the dry rub stick better and adds a subtle tang.
Then, press on a flavorful dry rub generously. Wrapping the ribs tightly in foil with a splash of liquid locks in moisture. Bake them low and slow at 275°F for 2.5 to 3.5 hours until they’re tender and falling off the bone.
After baking, baste the ribs with your favorite BBQ sauce. Broil them briefly to get that perfect caramelized finish everyone loves.
Finally, let the ribs rest before slicing to keep all the juices inside. Keep going to uncover tips that’ll make your ribs even juicier and tastier.
Selecting the Right Ribs
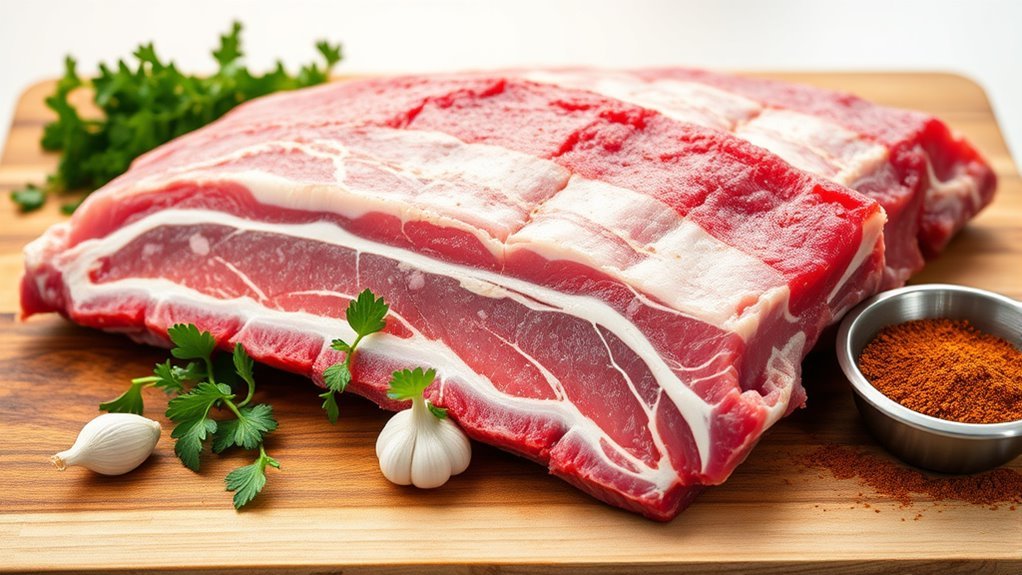
When selecting the right ribs, you should pick pork ribs like baby back, spare, or St. Louis-style based on your desired tenderness and flavor. Baby back ribs are leaner and cook faster, while spare and St. Louis ribs have more marbled flesh, offering richer taste but longer cooking time.
Always choose high-quality ribs with a bright, fresh color and avoid any that look dried out or discolored. A good rack of ribs will have meaty sections that promise juiciness.
Although you’ll eventually need to remove the membrane for tenderness and better seasoning absorption, focus first on selecting ribs that fit your cooking schedule and flavor preference. This way, you’re setting yourself up to get BBQ ribs that turn out tender, juicy, and flavorful every time.
Removing the Membrane
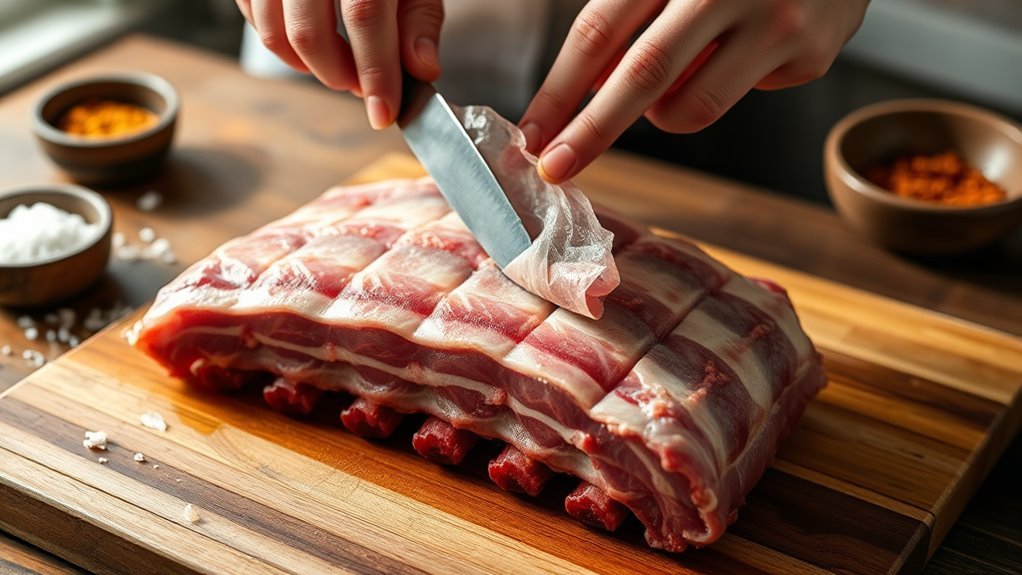
You’ll want to remove the membrane on the bone side of the ribs because it can make them tough and prevent seasonings from soaking in.
To do this, slide a butter knife under one corner to loosen it, then grip the membrane with a paper towel and pull it off slowly.
Taking this step will help your ribs turn out tender and flavorful.
Why Remove Membrane
Although the membrane on the bone side of ribs is edible, removing it makes a noticeable difference in flavor and texture. Membrane removal improves ribs texture by eliminating a tough, chewy layer that can detract from your eating experience.
When you peel off the membrane, seasonings and rubs penetrate deeper, boosting flavor enhancement and ensuring every bite is delicious. This cooking technique also helps your oven-baked ribs cook more evenly without curling, resulting in tender ribs that fall off the bone.
How to Peel
Before seasoning your ribs, start by loosening the membrane on the back using a butter knife or a small, flat-edged utensil. Slide the knife gently under the thin membrane at one corner to lift it.
Once you have a small edge lifted, grip it firmly with a paper towel—this helps you get a steady hold. Now, carefully peel off the membrane from the ribs in one smooth motion, applying steady and even pressure to avoid tearing.
Removing the membrane is essential because it allows seasoning to better penetrate the meat and results in more tender ribs. Although the membrane is edible, taking it off improves texture and flavor, making your BBQ ribs easier and more enjoyable to eat.
Preparing the Dry Rub
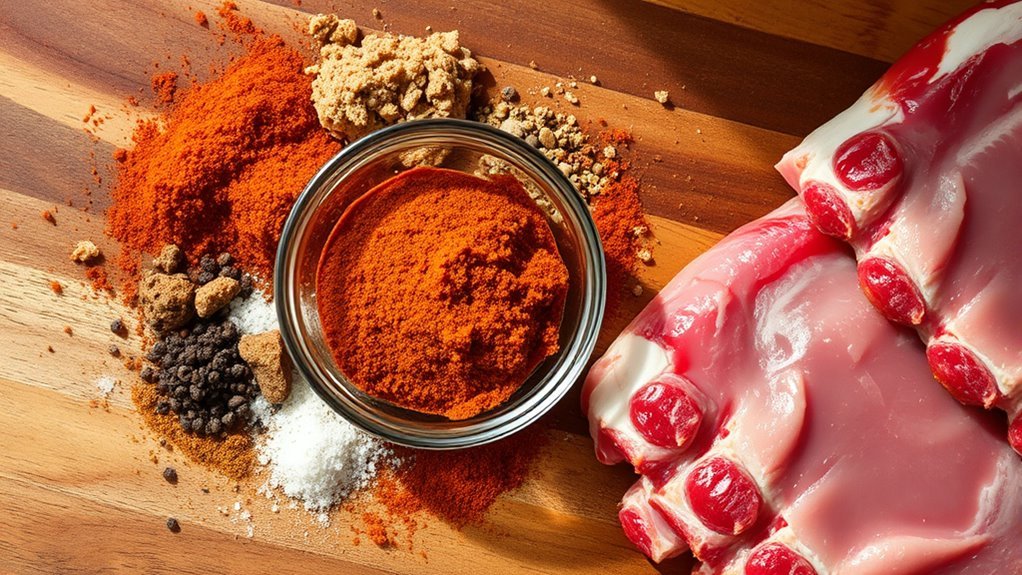
Start by mixing essential spices like paprika, garlic powder, onion powder, salt, black pepper, and a touch of cayenne for heat.
Coat your ribs with a thin layer of yellow mustard to help the rub stick and add flavor. Then, press the dry rub evenly onto all sides for a perfect seasoning base.
Essential Dry Rub Spices
When you prepare the dry rub for your BBQ ribs, combining key spices like paprika, garlic powder, onion powder, black pepper, and salt guarantees a rich, balanced flavor. This essential seasoning blend not only enhances the meat’s natural taste but also helps form a delicious crust during cooking.
To perfect your dry rub, choose fresh, high-quality spices for maximum flavor. You can also add a pinch of cayenne or cumin to personalize your seasoning and give it a little extra kick.
Apply the rub generously, pressing it into the meat for better adhesion. Then, let the ribs rest or refrigerate overnight to allow the spices to penetrate deeply.
Following these steps ensures your BBQ ribs have a bold, mouthwatering flavor from the inside out. It’s really worth the wait!
Applying Rub Techniques
Although the dry rub is key, how you apply it makes a big difference in flavor and texture. Start by patting a thin layer of mustard onto the ribs; this helps the dry rub and spices adhere better.
Next, generously coat the ribs with your seasoning mixture—salt, pepper, paprika, garlic powder, and onion powder—making sure to cover all sides. Use your hands to firmly pat the rub into the meat; this step is essential for creating a flavorful crust during baking.
Once coated, pop the ribs into the fridge for at least an hour. This resting period lets the seasoning penetrate deeply, which really boosts the taste and helps the crust form nicely when cooked.
The result? Tender, tasty BBQ ribs straight from your oven.
Applying Mustard and Seasoning
Because mustard helps the seasoning stick better and adds a subtle tang, you’ll want to spread a thin layer of yellow mustard on both sides of your ribs before applying the dry rub. Mustard acts as a binder, improving adhesion so the spices penetrate the meat more effectively without overpowering flavor.
Here’s how to apply mustard and seasoning for the best results:
- Use a thin, even coat of yellow mustard on all surfaces of the ribs.
- Generously sprinkle your dry rub over the mustard-coated ribs.
- Pat the rub gently to ensure it adheres without clumping.
- Let the ribs sit briefly to allow the spice and mustard flavors to meld.
This method ensures your ribs have enhanced spice flavor and a perfect seasoning crust. Give it a try, and you’ll notice the difference!
Wrapping the Ribs in Foil
After coating your ribs with mustard and seasoning, the next step is wrapping them in foil to lock in moisture. Use heavy-duty foil to wrap each rack meaty-side down, which helps the meat absorb seasoning while trapping steam.
Add a splash of water or apple juice before sealing to boost moisture. Make sure the foil is crimped tightly around the edges to prevent steam from escaping during baking.
This wrap creates a steamy environment, ensuring tender, juicy ribs.
| Step | Detail | Purpose |
|---|---|---|
| Foil type | Heavy-duty aluminum | Prevents leaks, keeps heat even |
| Placement | Meaty-side down | Retains moisture, flavor |
| Liquid added | Water or apple juice | Enhances steam and tenderness |
| Wrap method | Crimp tightly | Seals moisture inside |
| Cooking effect | Steam trapped inside | Juicy, tender ribs |
Preheating the Oven
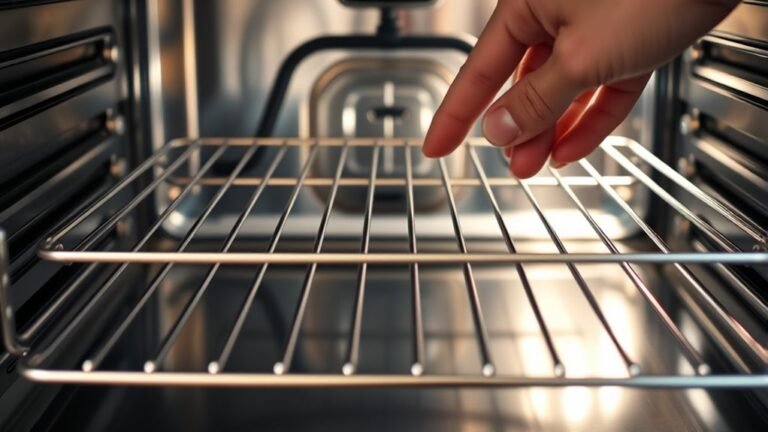
You’ll want to preheat your oven to 275°F for the best results in tenderness and flavor. Make sure the oven rack is placed in the middle to allow even heat circulation around the ribs.
Waiting until the oven is fully heated helps you avoid temperature drops that can affect cooking time. That way, your ribs cook evenly and come out just right every time.
Optimal Oven Temperature
When preparing BBQ ribs in the oven, setting the right temperature is crucial for achieving tender, flavorful results. You’ll want to preheat your oven to between 275°F and 300°F depending on your desired texture—275°F for fall-off-the-bone ribs, and 300°F for a firmer bite.
Use an oven thermometer to check temperature accuracy since oven settings can vary by 10-15°F. Let the oven fully preheat for 15-20 minutes to ensure even cooking throughout the slow roasting process. Keep the door closed during preheating to maintain consistent oven temperature and ideal cook time.
Here’s a quick guide:
- Choose temperature: 275°F or 300°F
- Preheat for 15-20 minutes
- Use a thermometer for accuracy
- Avoid opening the door during preheat
Oven Rack Placement
Although preheating your oven to the right temperature is essential, placing the oven rack correctly guarantees your ribs cook evenly without burning. You should position the oven rack in the middle or slightly lower to ensure even heat distribution and prevent hot spots.
Start slow cooking your ribs on the middle rack, then move them to the top rack for broil or caramelization to finish. Adjust ribs placement depending on size and cooking method for best results.
Always preheat fully before placing the rack with ribs inside to maintain consistent temperatures.
| Rack Position | Purpose | Effect on Ribs |
|---|---|---|
| Middle Rack | Slow cooking | Even cooking, no burning |
| Slightly Lower | Heat distribution focus | Prevents hot spots |
| Top Rack | Broil/Caramelization | Adds color and crust |
Baking the Ribs Low and Slow
Since slow, even heat is key to tender ribs, preheat your oven to 275°F and wrap your seasoned ribs tightly in foil to lock in moisture. Baking ribs low and slow in the oven guarantees they become juicy and tender without drying out.
Follow these steps for perfect ribs:
- Place the foil-wrapped ribs on a baking sheet and bake for 2.5 to 3.5 hours.
- Check for tenderness around the 2-hour mark by carefully unwrapping a corner.
- Use a meat thermometer to confirm the internal temperature reaches about 190°F.
- Once done, let the ribs rest for 10-15 minutes to allow juices to redistribute.
This method ensures tender ribs with consistent oven temperature and moisture retention. Easy, right? Just a little patience, and you’ll have ribs that fall right off the bone!
Applying BBQ Sauce
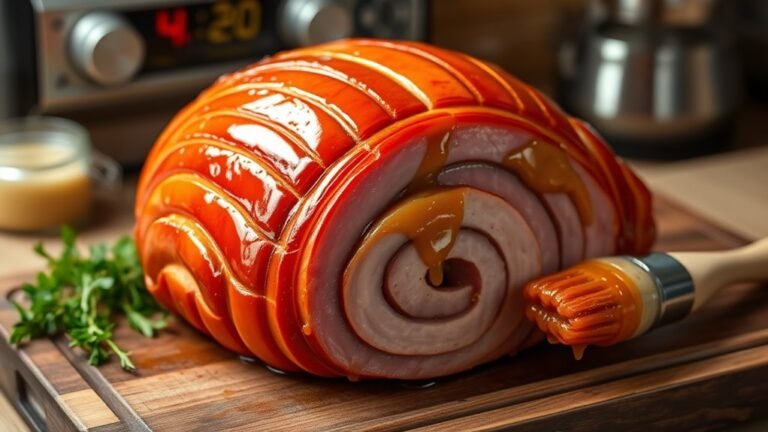
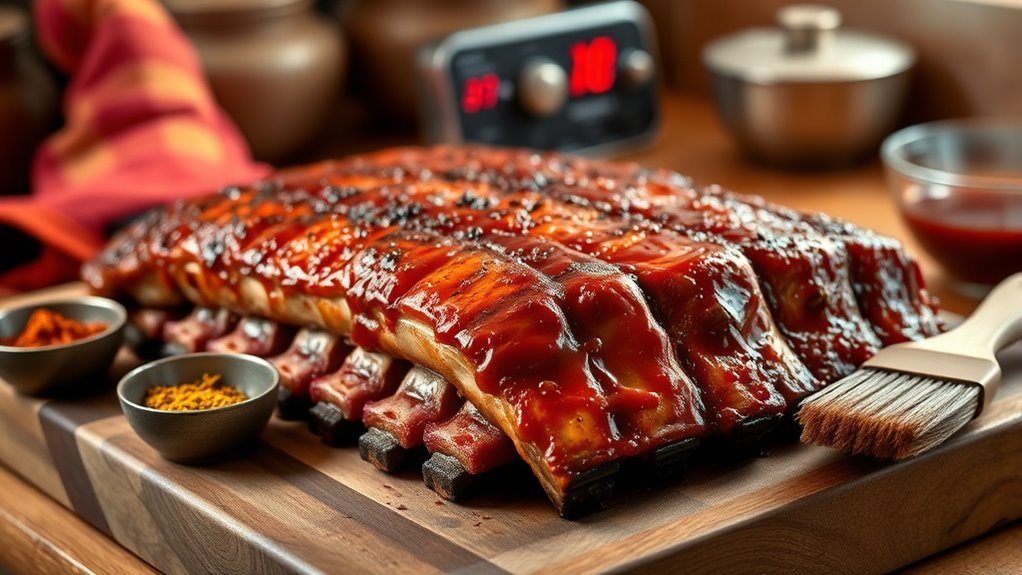
After your ribs have baked low and slow to tender perfection, it’s time to add the flavorful finishing touch: BBQ sauce. Use a brush to apply an even layer of sauce, coating all sides thoroughly.
For best results, do this during the last 15 minutes in the oven or under the broiler. Reapply another layer of BBQ sauce, then return the ribs to the oven to caramelize the glaze.
This creates a sticky, irresistible crust that locks in flavor.
| Emotion | Action | Result |
|---|---|---|
| Anticipation | Brush sauce | Flavor ignites |
| Satisfaction | Reapply | Rich glaze builds |
| Excitement | Oven/broil | Sauce caramelizes |
| Delight | Serve | Perfect sticky ribs |
Broiling for Perfect Caramelization
To achieve the perfect caramelization on your BBQ ribs, broiling for 3 to 4 minutes is key. After baking, position the oven rack about 6 inches from the broiler element. Generously baste your ribs with BBQ sauce to help the sugar in the sauce caramelize, creating that delicious, sticky crust.
Follow these steps to broil effectively:
- Set your oven to high broil (~400°F).
- Place ribs on the oven rack close to the broiler element.
- Keep a close eye on them; sugar can burn quickly.
- Remove ribs once you see a deep, golden-brown caramelization.
This quick broil step enhances flavor with a smoky, charred finish without drying out your ribs.
It’s a simple trick that really takes your ribs over the top. Just watch them closely, and you’ll get that perfect finish every time.
Resting and Serving the Ribs
Once your ribs have that perfect caramelized crust from broiling, it’s important to let them rest for at least 10 minutes. This resting time lets the juices redistribute, keeping your ribs tender and juicy.
Cover them loosely with foil to retain warmth without steaming. When rested properly, the ribs cut cleanly, preserving their presentation and enhancing flavor.
| Step | Purpose | Tip |
|---|---|---|
| Rest | Redistribute juices | At least 10 minutes |
| Cover | Retain warmth | Use loose foil |
| Cut | Maintain tenderness | Use a sharp knife |
| Serve | Present attractively | Arrange ribs neatly |
| Enjoy | Savor flavor & texture | Eat while warm |
Conclusion
Now that you’ve mastered these steps, your ribs will be the star of any meal, tender as a whispered secret and bursting with smoky flavor. Just like a symphony reaching its crescendo, each stage builds on the last to create mouthwatering harmony.
So, wrap ‘em up, bake low and slow, slather with sauce, and broil to perfection. Then sit back and savor the applause from your taste buds. You’ve got this!
With these easy steps, making BBQ ribs in the oven is no longer intimidating. Whether you’re craving tender, juicy ribs or a smoky BBQ flavor, this method delivers every time. Enjoy the process and the delicious results—oven-baked BBQ ribs are sure to impress at any meal!