How to Remove Your Oven Door in 5 Easy Steps
To remove your oven door safely and easily, start by clearing a flat workspace and gathering the necessary tools. This simple oven maintenance task can save you time and prevent damage when cleaning or repairing.
Fully open the door and flip the hinge latches at the bottom corners to disengage them.
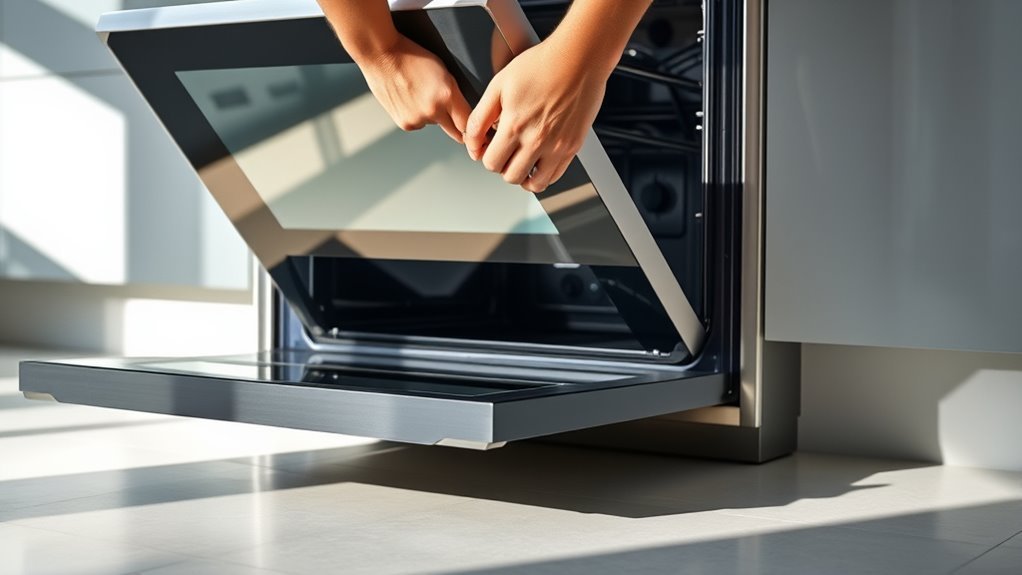
Next, grip the door firmly without using the handles. Wiggle it side to side gently and lift it off the hinges carefully. Place the door on a padded surface to avoid scratches or other damage.
Make sure the door is completely detached before moving on. Following these easy steps will help you handle your oven door effortlessly and confidently.
Prepare Your Workspace and Tools
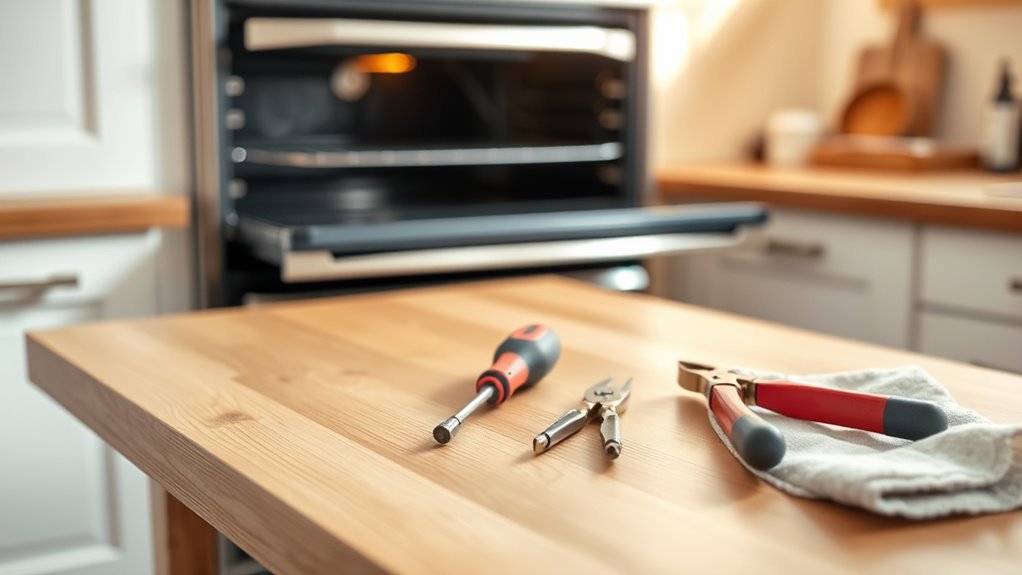
Before you begin removing your oven door, make sure to clear a flat, stable surface and cover it with a soft blanket or packing material to avoid any damage. This setup protects the oven door once you detach it.
Clear a flat surface and protect it with a soft blanket before removing your oven door to prevent damage.
Next, gather the tools you might need, such as a Phillips or flat-head screwdriver, depending on your oven’s design. Safety is essential—turn off the oven and unplug it from the power source before proceeding.
Fully open the oven door to access the hinges, latches, or pins holding it in place. Finally, consult your oven’s manufacturer instructions or user manual for model-specific guidance.
Preparing your workspace and tools correctly ensures a smooth, damage-free oven door removal process. It’s always better to be ready than to rush and risk any accidents!
Unlock the Hinge Latches
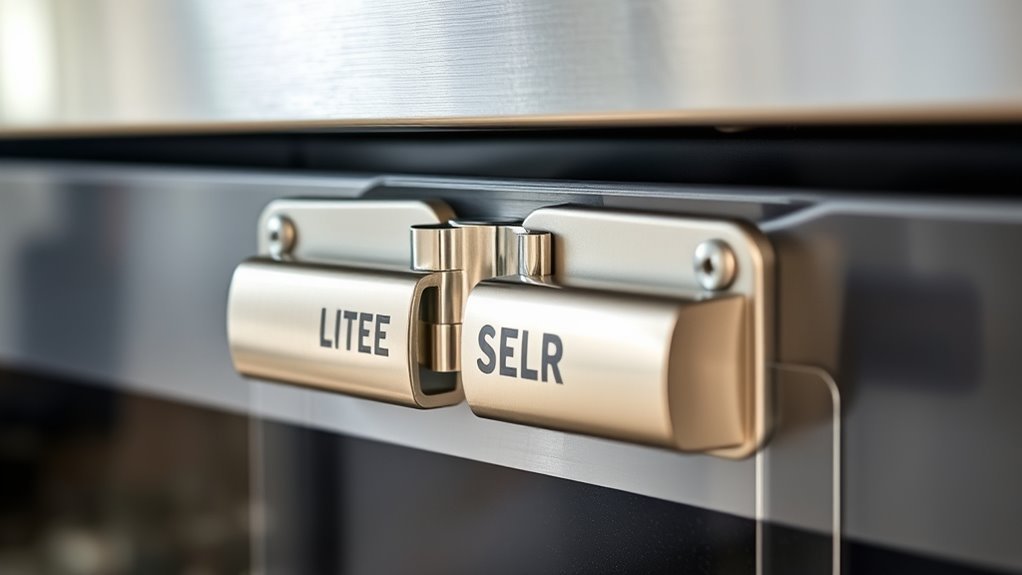
Once your workspace is set and the oven door is fully open, locate the hinge latches at the bottom corners of the door. These latches lock the door in place and must be released before removal.
Depending on your oven model, you might need to open the door slightly to access the latches comfortably. Flip or rotate each hinge latch from the locked position to unlocked—usually down or open.
Make sure both latches are fully disengaged to prevent damage when removing the door. Double-check that the latches sit securely in the unlocked position before proceeding.
Properly releasing these hinge latches is essential for a safe and smooth removal process, so take your time to confirm they’re correctly positioned before moving on.
Loosen and Detach the Oven Door
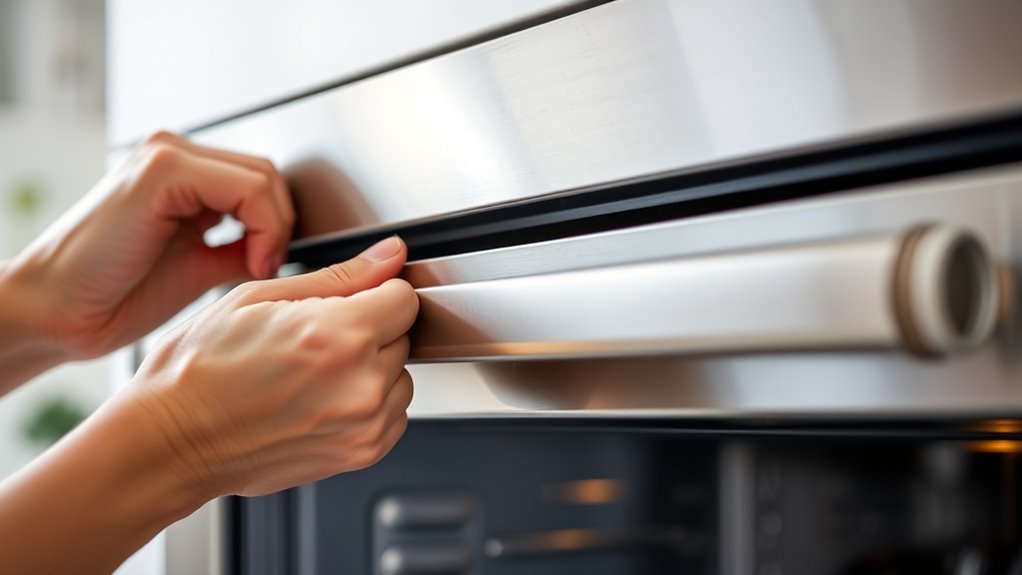
Although the hinge latches are unfastened, you’ll need to grip the oven door firmly at the midpoint on both sides—steering clear of the handle—to begin loosening it.
With a steady hold, gently shift the door side to side to break it free from the hinges.
Follow these steps to detach the door completely:
- Open the oven door fully for easy access.
- Slightly wiggle the door left and right while holding it securely.
- Once loosened, lift the door upward and pull it away from the hinges.
Safely Place the Oven Door Aside
When you lift the oven door straight upward, make sure you support it with both hands to prevent dropping or damaging it. Once the door is fully disengaged from the hinges, gently set it down on a flat surface that you’ve padded with a soft blanket or cushion.
This padding protects both the glass and the door’s exterior from scratches or cracks. Position the door so the handle rests down on the blanket, keeping the glass side well-protected.
Avoid putting any pressure on the glass or hinges as you move the door away from the oven. Handling it carefully during this step guarantees you won’t cause any damage or strain, making it safe to continue with your oven maintenance or cleaning.
Verify Complete Removal Before Proceeding
After placing the oven door safely aside, take a moment to confirm it’s completely detached from the hinges before moving forward. This guarantees you avoid damage or injury during your repair or maintenance tasks.
Here’s what you need to check:
- Make sure the door is lifted clear of the hinge pins and resting securely on a soft, flat surface.
- Visually inspect to verify no parts remain connected or engaged with the oven.
- Double-check that any hinge latches or locking mechanisms are fully disengaged to prevent accidental reattachment.
Handle the door carefully and only continue once you’re certain it’s fully removed. This extra verification step saves time and keeps your oven in good condition.
Conclusion
Removing your oven door might seem like trying to move a mountain, but with these five simple steps, you’ll breeze through it like a pro. Just prepare your space, unfasten those hinges, and carefully set the door aside.
Take a moment to double-check everything’s fully detached before moving on. Once it’s off, you’ll see how much easier cleaning or repairs can be—making your kitchen tasks feel lighter than ever!
By following these easy steps to remove your oven door, you can simplify maintenance and keep your appliance in top shape. Whether you’re tackling a deep clean or fixing an issue, removing the door makes the process safer and more efficient. So don’t hesitate—grab your tools and enjoy the convenience of having your oven door off in no time!