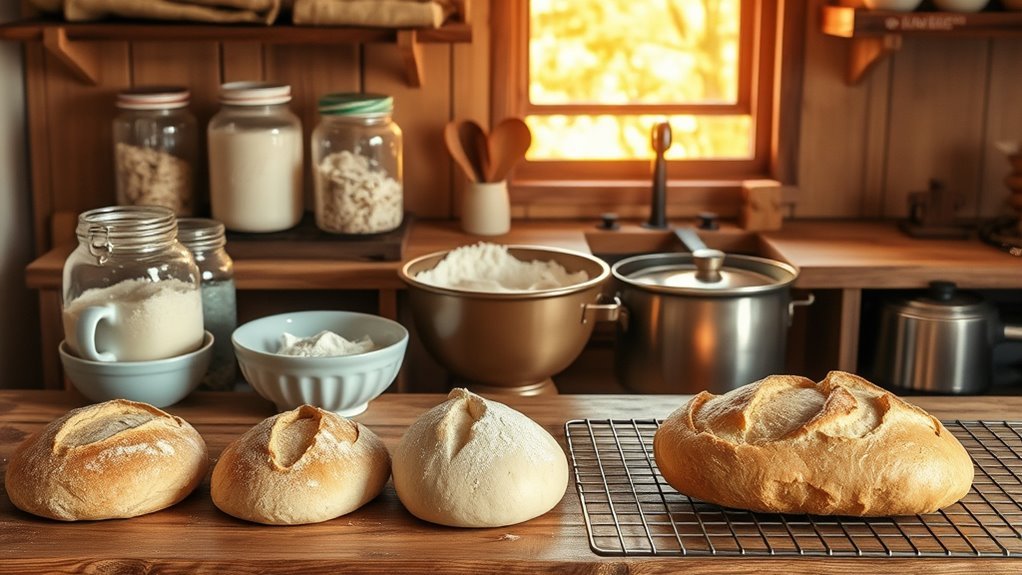
10 Steps to Bake Sourdough Without a Dutch Oven
To bake sourdough without a Dutch oven, start by gathering your ingredients and prepping your active starter. Mixing your dough properly is key, so take your time with this step.
After mixing, let the dough rest and perform stretch-and-folds during bulk fermentation to build gluten and develop structure.
Next, shape your loaf carefully to get that perfect rise. Preheat your oven with a baking stone or a cast iron skillet, which will help mimic the heat retention of a Dutch oven.
To create steam—essential for a crispy crust—add water to a hot pan in the oven.
When your oven is ready, score the dough to allow it to expand while baking. Bake your loaf until it’s golden and crusty, then cool it properly to set the texture.
Follow these steps closely and you’ll soon master sourdough baking right in your own kitchen, even without a Dutch oven!
Gather Essential Ingredients and Equipment
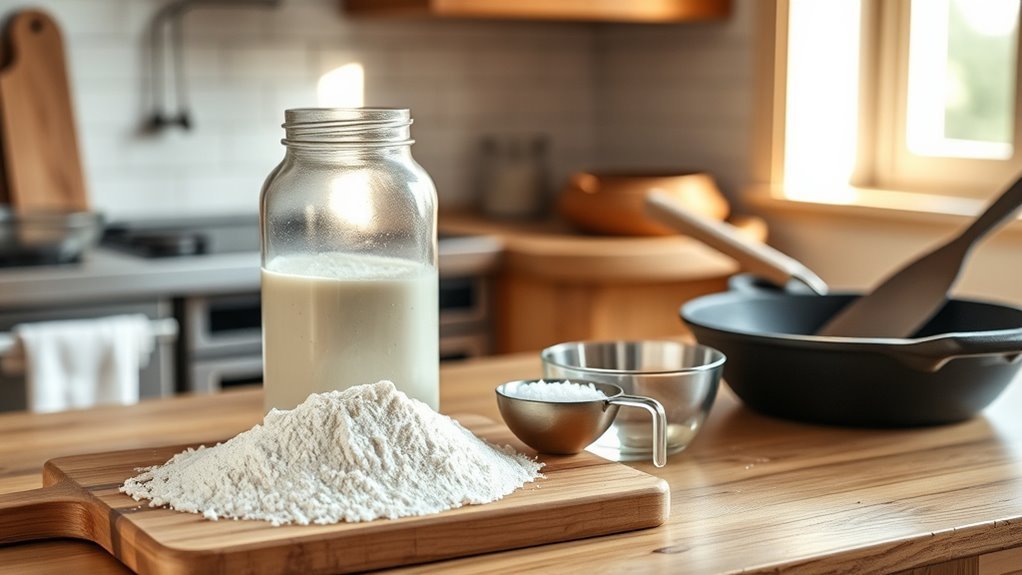
Before you begin baking sourdough without a Dutch oven, make sure you have an active starter that doubles in size within 6 to 8 hours and passes the float test to guarantee proper fermentation.
Ensure your starter is active and doubles in size within 6 to 8 hours before baking.
Next, gather your ingredients precisely—bread flour, water, salt, and optional sugar—using a kitchen scale to ensure consistency.
Assemble your equipment carefully: a baking stone, oven-safe casserole dish, or cast iron skillet will substitute the Dutch oven’s role.
Don’t forget essential tools like a sharp razor or lame for scoring, parchment paper for easy transfer, and a kitchen thermometer to monitor oven temperature.
A spray bottle comes in handy to humidify the dough during fermentation and create steam during baking, which helps develop a crispy crust.
With these ingredients and equipment ready, you’re set for successful sourdough baking.
Prepare and Feed Your Sourdough Starter
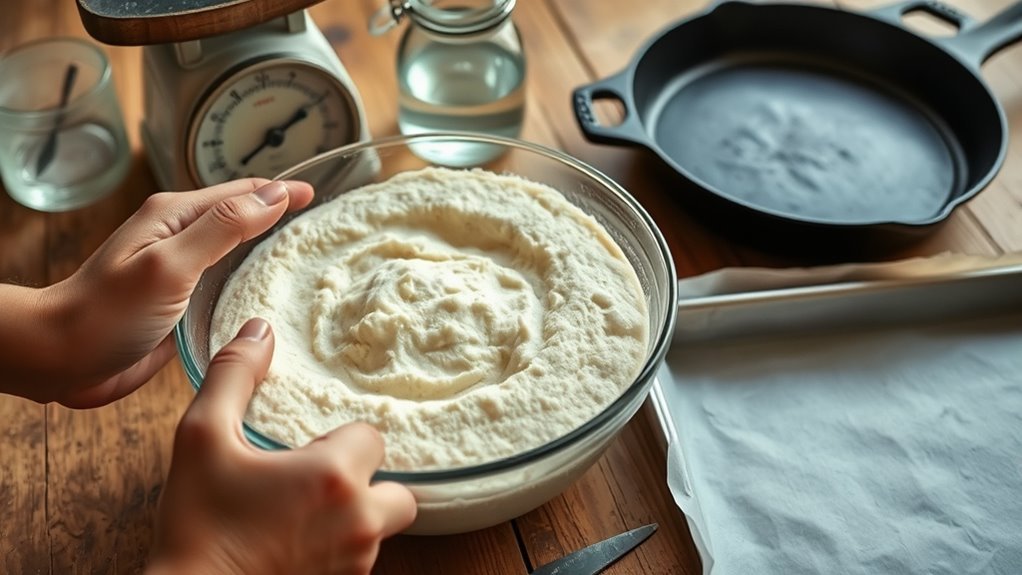
Although you can’t rush a good sourdough starter, feeding it properly 6 to 12 hours before baking guarantees it’s active and ready to give your bread the perfect rise.
Start by discarding some of your starter, then feed it with equal parts flour and water by weight—usually 50 grams each. Keep the starter at room temperature during feeding to encourage activity.
Make sure your starter has doubled in size, looks bubbly, and passes the float test before using it. A well-maintained starter, at least two weeks old, offers consistent rising power.
Regular feeding maintains its strength and vitality, so don’t skip this step. Proper feeding ensures your starter’s activity peaks right when you need it, setting the foundation for excellent sourdough bread without a Dutch oven.
Mix and Rest the Dough
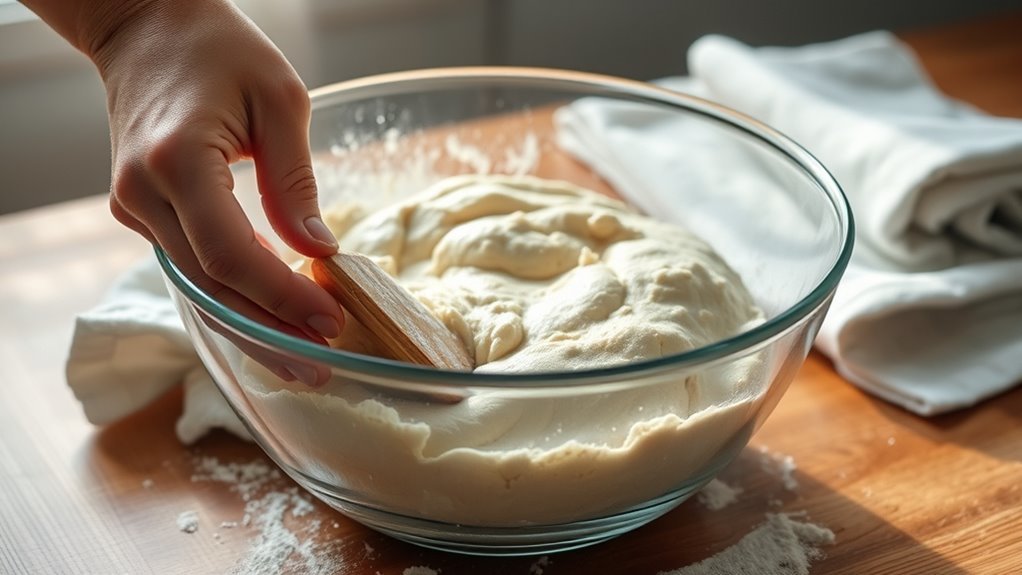
Once you’ve combined your active sourdough starter with flour, water, and salt, mix just until the dough comes together into a shaggy mass. Avoid overmixing to keep the dough light and airy.
Next, cover your dough with plastic wrap or a damp towel and let it rest for about 30 minutes. This resting period is essential—it allows the flour to hydrate fully and the gluten strands to start developing, setting the foundation for good texture.
During this resting phase, you’re not just waiting; you’re giving your sourdough dough the chance to strengthen naturally. After this rest, your dough will be ready for the next steps in fermentation and shaping, moving closer to that perfect loaf without needing a Dutch oven.
Perform Stretch and Fold During Bulk Fermentation
After the dough has rested and the gluten has started to develop, you’ll begin the stretch and fold process during bulk fermentation. This technique strengthens the dough and improves gluten development.
Perform stretch and folds every 30 minutes for the first 2 hours, aiming for 4 to 6 sessions depending on dough activity.
Follow these steps to guarantee even gluten development:
- Gently lift and stretch the dough from the edges.
- Fold it over the center to reinforce dough strength.
- Rotate the bowl ¼ turn between each fold.
- Repeat until the dough becomes smooth and elastic, passing the windowpane test.
This method builds structure without kneading, setting you up for a successful sourdough bake without a Dutch oven.
Shape the Dough for Baking
Now it’s time to shape your dough by folding the edges toward the center to create tension.
Place the shaped dough seam-side down on parchment paper or a floured surface for its final proof.
This step helps maintain the dough’s structure and prepares it perfectly for baking.
Folding for Tension
When you shape your sourdough, gently stretching the edges outward and folding them toward the center creates the surface tension that helps your loaf hold its shape. This tension is key during proofing, ensuring your dough doesn’t spread out too much.
To master folding for tension, follow these steps:
- Use your hands or a bench scraper to pull the dough’s surface taut.
- Fold the edges inward, trapping gas inside for a smooth outer skin.
- Seal the seam tightly to maintain a rounded loaf shape.
- Rest the dough seam-side down to let the surface tension set before proofing.
This dough shaping technique improves oven spring and results in a strong, well-structured sourdough loaf without needing a Dutch oven.
Give it a try—it really makes a difference!
Final Proof Placement
Although shaping your sourdough into a tight boule or batard takes practice, it’s essential for creating the surface tension that supports a strong rise.
For your final proof placement, set the dough on a piece of parchment paper or a floured banneton basket to maintain shape and prevent sticking. This smooth, taut surface is key for good oven spring and crust development.
Before proofing, score the top to control expansion. Let it proof until it doubles in size and gently springs back when pressed.
| Step | Purpose |
|---|---|
| Shape tightly | Creates surface tension |
| Use parchment paper | Prevents sticking, aids handling |
| Proper proofing | Ensures good oven spring |
Parchment Paper Use
Because handling sourdough can be delicate, using parchment paper makes shaping and transferring the dough much easier without sticking or tearing. When you’re shaping dough, parchment paper acts as a non-stick surface that helps maintain the loaf’s structure.
Here’s how to make the most of it:
- Lightly dust parchment paper with flour before shaping dough to prevent sticking.
- Shape your dough directly on the parchment to avoid unnecessary handling.
- Transfer the dough on parchment to a preheated baking stone or tray smoothly.
- Score the dough on parchment to allow proper expansion during baking, leaving extra paper edges for easy handling.
Using parchment paper streamlines shaping dough and transfer, ensuring your sourdough keeps its form and bakes evenly. It really makes the whole process less stressful and more efficient.
Proof the Dough Before Baking
You’ll want to proof your dough until it roughly doubles in size and feels light and airy, usually around 1.5 to 2 hours at room temperature.
Use the poke test by gently pressing your finger into the dough—if it springs back slowly with a slight indentation, it’s ready.
Watch for signs like elasticity and size to avoid overproofing, which can cause your dough to collapse.
Poke Test Technique
When you gently press your finger into the proofed dough, the poke test reveals if it’s ready to bake by how the dough responds. This simple technique helps you judge proper proofing, guaranteeing good oven spring and a well-risen loaf.
Here’s how to interpret the poke test results:
- Slow spring back with a slight indentation means the dough is perfectly proofed and ready to bake.
- Quick rebound with no indentation means the dough needs more proofing time.
- No spring back and no indentation suggests the dough is overproofed and may yield a flat loaf.
- Perform the poke test at room temperature after shaping for the most accurate results.
Mastering this test guarantees your sourdough rises beautifully without a Dutch oven.
Ideal Proofing Time
Although proofing times can vary, aiming for about 1.5 to 2 hours at room temperature usually gives your sourdough dough enough time to rise by 50%. This period allows fermentation to develop the dough’s flavor and structure properly.
Proper proofing guarantees your bread will achieve a good oven spring, resulting in a light, airy crumb. If you proof too long, the dough may become overproofed, collapsing in the oven and producing a dense loaf.
Underproofed dough, on the other hand, won’t rise enough and will lack oven spring. You can also extend fermentation by cold proofing in the fridge for 8-12 hours, which deepens flavor.
Focus on the dough’s texture and volume increase rather than just the clock to nail your ideal proofing time. It’s all about how the dough feels and looks!
Signs of Readiness
Before baking, make sure your dough shows clear signs of readiness to guarantee the best results. Properly proofed dough means fermentation is complete, and your loaf will bake with the right texture and rise.
Check these signs before putting your sourdough in the oven:
- The dough has doubled in size and feels light and airy to the touch.
- Perform the poke test: gently press your finger in, and if the indentation slowly springs back, it’s ready.
- The surface looks domed with visible bubbles underneath, showing active fermentation.
- When you lift or move the dough, it holds its shape and doesn’t collapse.
Confirming these signs ensures your sourdough is perfectly proofed and primed for baking without a Dutch oven. So, take your time checking—your bread will thank you!
Preheat Oven With Baking Stone or Alternative Surface
To achieve the perfect crust and oven spring, you’ll need to preheat your oven to at least 450°F (232°C) and give your baking stone or alternative surface a full 60 minutes to heat evenly.
Place the baking stone or steel on the middle or lower rack to maximize heat retention. Use an oven thermometer to confirm your oven temperature actually reaches 450°F, as many ovens run cooler than their settings.
Avoid opening the oven door during the first 30 minutes of preheating to maintain consistent heat. Ensuring your baking surface is thoroughly preheated before placing your sourdough dough on it will help develop an ideal crust and oven spring.
This step is essential for a successful bake without a Dutch oven. So, be patient and let your baking surface get nice and hot before you start baking.
Create Steam in the Oven Without a Dutch Oven
How can you create the necessary steam for your sourdough without a Dutch oven? Generating steam in your oven is vital for a crispy crust and proper rise.
Creating steam without a Dutch oven is key to achieving that perfect crispy crust and great sourdough rise.
Here’s how to do it effectively:
- Place a preheated heavy oven-safe dish, like a cast iron skillet, on the bottom rack to hold water and produce steam.
- Just before loading your dough, pour boiling water or add ice cubes into the hot dish to create immediate steam.
- Spritz your dough with water using a spray bottle right after placing it in the oven for extra moisture.
- Cover your dough with an inverted oven-safe bowl or casserole dish during the first 15-20 minutes to trap steam and enhance crust development.
Remove the cover and water source midway to let your crust brown beautifully.
Give it a try—it really makes a difference!
Score and Bake the Sourdough Loaf
Before you bake, scoring your sourdough properly is key to a beautiful rise and crust. Use quick, confident cuts with a sharp blade to control how your loaf expands in the oven.
Once scored, follow smart baking tips to replicate that perfect crust without a Dutch oven. It’s all about timing and temperature to get that crust just right.
Scoring Techniques Guide
Although scoring might seem like a small step, it plays a crucial role in both the appearance and texture of your sourdough loaf. Proper scoring controls how the bread expands in the oven, affecting oven spring and creating an appealing crust pattern.
To master scoring, follow these tips:
- Use a sharp, serrated blade or scoring lame to make clean cuts ½ to 1 inch deep.
- Score at a slight diagonal to help the dough expand evenly and form a beautiful crust pattern.
- Choose between multiple shallow scores or one long slash depending on your loaf’s shape and desired look.
- Score just before baking when the dough is properly proofed to ensure confident cuts that open well without tearing.
These techniques will enhance both the look and texture of your sourdough. Give them a try and watch your bread come to life!
Oven Baking Tips
When you score and bake your sourdough loaf, timing and technique play key roles in achieving the perfect oven spring and crust. Use a sharp razor blade or lame to score the dough at a 30-45 degree angle with deep cuts about ½ to 1 inch.
Score just before placing the loaf in the oven to prevent deflation and encourage proper bloom. Make sure the dough is cold or at room temperature—that way, you get clean cuts every time.
For baking, create steam inside the oven by placing a tray of water or spraying water to develop a crispy crust. Bake on a preheated baking stone or tray to ensure even heat distribution.
With confident, rapid scoring and proper steam, your sourdough will expand beautifully and develop a stunning crust. Trust me, it makes all the difference!
Cool and Store Your Sourdough Bread Properly
Even though your sourdough looks perfect fresh from the oven, you need to let it cool on a wire rack for at least an hour. This helps keep the crust from turning soggy. Proper cooling and storage are key to preserving the crust’s crispness and the bread’s flavor.
Let your sourdough cool on a wire rack for at least an hour to keep the crust crisp and flavorful.
Here’s how to cool and store your sourdough properly:
- Cool the bread completely on a wire rack to allow moisture to escape.
- Store your loaf in a paper bag or bread box for up to 5 days. This helps maintain freshness and crust texture.
- Avoid sealing warm bread in plastic bags. Trapped moisture causes mold and a gummy crust, which nobody wants.
- For longer storage, freeze slices or the whole loaf wrapped tightly in plastic wrap and foil. Just thaw at room temperature before use. Easy!
Conclusion
Baking sourdough without a Dutch oven might seem like skipping the hero in a story, but you’re the true protagonist here. With patience and these steps, you’ll coax magic from simple ingredients and a humble oven.
Remember, every loaf you bake is a small victory—a delicious affirmation of your dedication and creativity. So, embrace the process, and soon enough, your kitchen will be filled with the warm aroma of homemade triumph.
Sourdough baking without a Dutch oven is totally doable and just as rewarding. By following these 10 steps, you’ll master the technique and enjoy crusty, flavorful bread right from your regular oven. Keep experimenting, and you’ll find your own rhythm and style in this fun baking adventure. Happy baking!