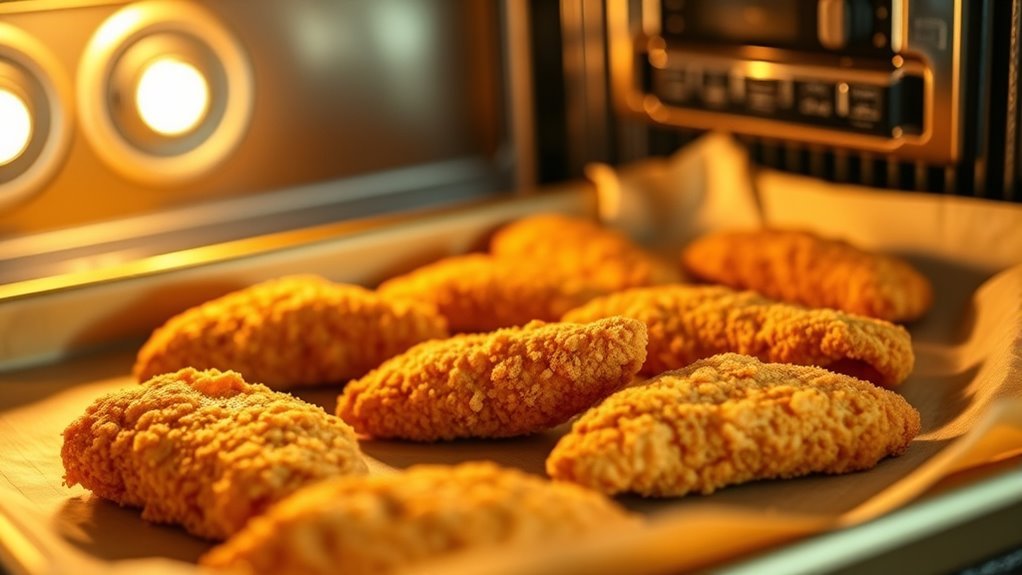
How to Reheat Chicken Tenders in the Oven in 5 Easy Steps
To reheat chicken tenders in the oven, start by preheating it to 400°F. This temperature ensures your tenders heat evenly and get that perfect crispiness.
Next, let the tenders come to room temperature and pat them dry with a paper towel. This step helps avoid sogginess, keeping the outside nice and crunchy.
Arrange the tenders on a baking tray in a single layer. If you have a wire rack, use it — it helps the heat circulate for extra crispiness.
Bake them for 10-15 minutes, flipping halfway through so both sides warm up nicely. When they’re hot and crispy, take them out and let them rest for a few minutes. This locks in all the juiciness.
Keep reading for more tips that’ll help you enjoy perfectly reheated chicken tenders every time!
Preheat the Oven
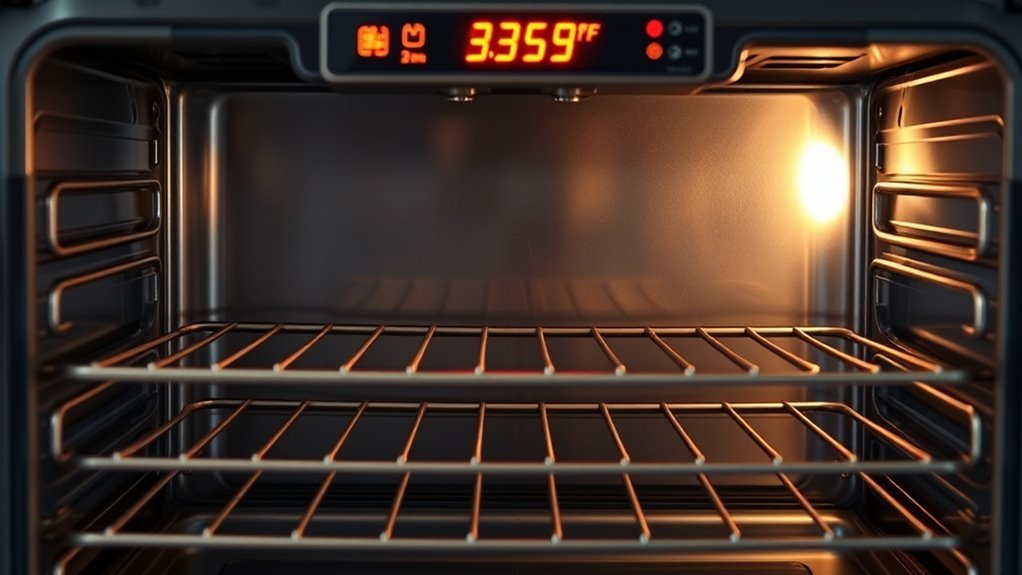
Before you place your chicken tenders in the oven, make sure to preheat it to 400°F (200°C). Preheating is essential because it allows the oven to reach the right temperature, ensuring the heat spreads evenly for consistent cooking.
If you skip this step, your tenders might end up reheated unevenly, with some parts soggy or cold. Set the oven and give it about 10-15 minutes to fully preheat, depending on your oven’s heating speed.
If your oven has a convection setting, use it to circulate hot air more effectively. This helps bake the tenders evenly while keeping them crispy on the outside and juicy inside.
Taking time to preheat will save you from disappointing reheating results. Trust me, it’s worth the wait!
Prepare the Chicken Tenders
While your oven is heating up, let the chicken tenders come to room temperature for about 15 minutes. This step guarantees even reheating and better texture.
Before placing them in the oven, focus on reheating preparation by following these tips:
- Pat dry the chicken tenders with paper towels to remove excess moisture.
- Remove any sauces or dips to prevent sogginess during reheating.
- Confirm the tenders were kept in proper storage, ideally in an airtight container.
- Make sure the chicken tenders are fully cooled before refrigeration and consume within 3-4 days for safety.
Moisture removal is key to maintaining crispiness. Taking these steps will help your chicken tenders reheat evenly and stay delicious.
Arrange on a Baking Tray

Once your oven is ready, line a baking tray with aluminum foil or parchment paper. This will catch drips and make cleanup easier.
Next, arrange the chicken tenders in a single layer on the tray. Make sure to leave enough space between each piece so they heat evenly. You don’t want to overcrowd the tray because that can make the tenders soggy and unevenly heated.
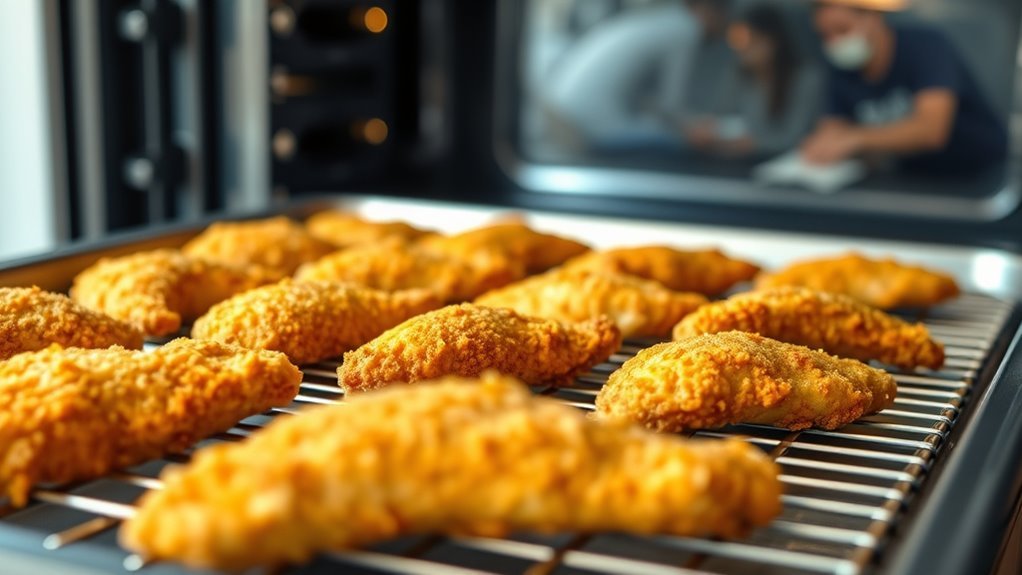
If you’re after extra crispiness, try placing the tenders on a wire rack set on the baking tray. Once they’re all arranged, pop the baking tray on the middle rack of your preheated oven.
This spot helps distribute heat evenly, so your chicken tenders reheat perfectly. Following these steps will set you up nicely for the next stage of reheating in your oven.
Bake and Monitor Crispiness
Set your oven to 400°F (200°C). This gets it hot enough to reheat your chicken tenders evenly and bring back their crispiness.
Place the tenders on a wire rack set over a baking sheet. This helps air circulate and keeps them from getting soggy.
Bake them for the right amount of time—10-15 minutes if refrigerated, or 20-25 minutes if frozen. Don’t forget to flip the tenders halfway through so all sides get crispy.
Keep an eye on them during the last few minutes. You want to avoid overbaking, which can dry the chicken out.
- Use a wire rack over a baking sheet for even reheating
- Bake at 400°F (200°C) for maximum crispiness
- Flip halfway through baking time
- Watch closely to prevent overbaking and dryness
Rest Before Serving
After you take the chicken tenders out of the oven, let them rest for 2-3 minutes to allow the juices to redistribute. Resting is vital when you reheat chicken tenders because it promotes moisture retention, ensuring a juicy interior without sacrificing the crispy exterior.
During this resting time, cover the tenders loosely with foil to keep the temperature steady while preventing steam buildup that could soften the crust. This brief rest before serving also guarantees the internal temperature stays at 165°F, which is essential for safety and ideal flavor.
Skipping the rest can lead to dry, tough tenders. So, give your reheated chicken tenders a moment to rest, and you’ll enjoy a perfectly moist and crispy bite every time.
Conclusion
Now that you’ve mastered reheating chicken tenders in the oven, you’re just moments away from crispy, golden bites that taste like they’re fresh off the fryer. Like a warm hug for your taste buds, this simple method revives every tender with that perfect crunch and juicy center.
So go ahead, savor each bite and let the oven’s magic bring your leftovers back to life. Reheating chicken tenders in the oven ensures they stay crispy and delicious, just like when they were first cooked. This easy technique makes every meal feel like a celebration, turning your leftovers into a tasty treat you’ll look forward to.
With these easy steps, reheating chicken tenders in the oven is quick and foolproof. Enjoy that perfect crunch and juicy inside every time!