7 Easy Steps to Make Toast in the Oven
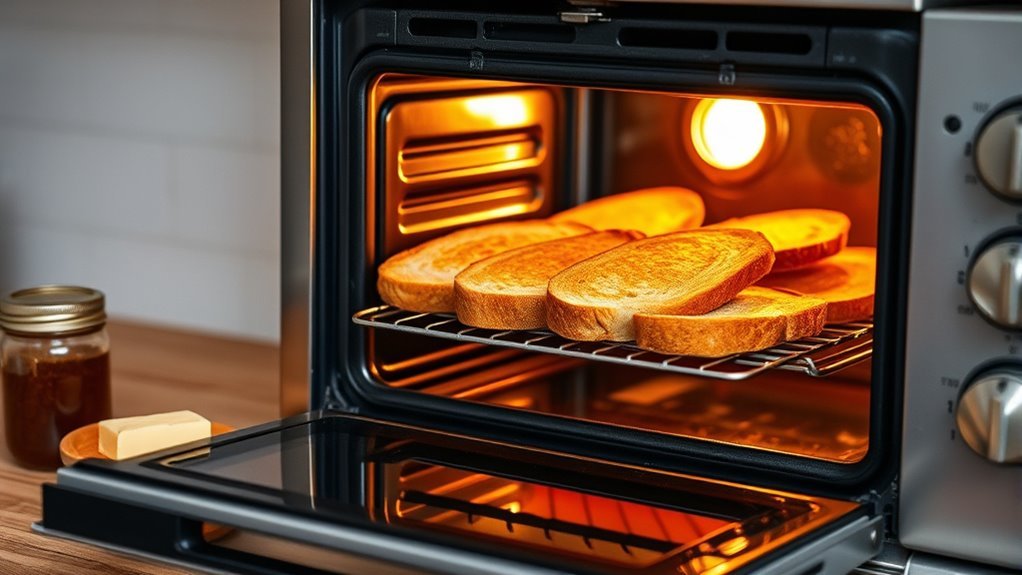
To make toast in the oven, start by preheating it to 350°F or set it to broil. This simple oven toast method is perfect when you want crispy, evenly toasted bread without a toaster.
Choose sturdy bread and slice it evenly about ¼ inch thick. Arranging the slices on a baking sheet without overlapping helps them toast perfectly. You can even brush the bread with butter or oil if you want extra flavor.
Toast the slices for 4-6 minutes, flipping them halfway through. Keep a close eye on them to avoid burning—they can go from golden to burnt quickly!
Once your toast is golden and crisp, carefully remove it from the oven and enjoy. Keep practicing, and you’ll discover tips for perfectly even, tasty results every time.
Preheat Your Oven Properly
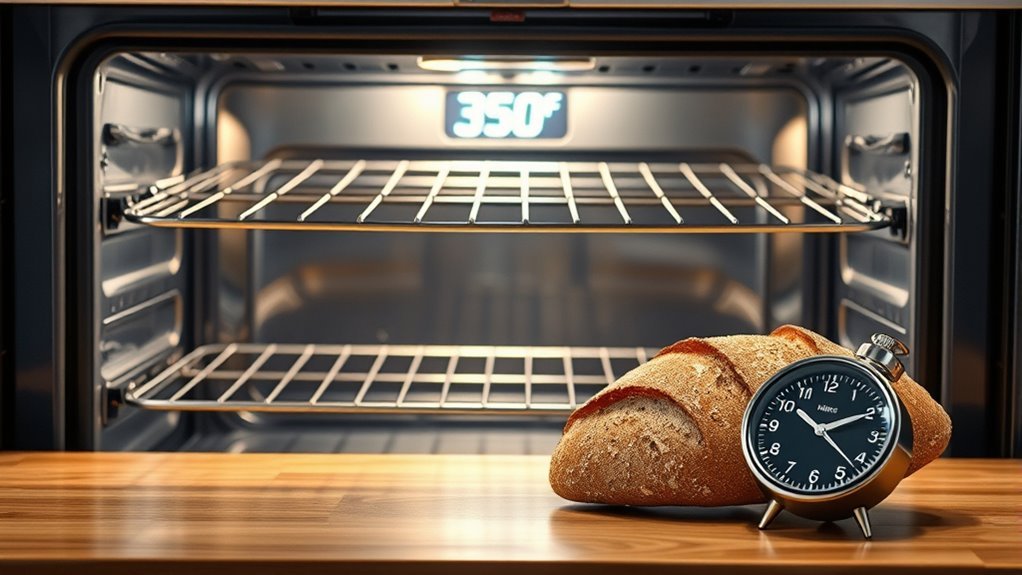
Before you start toasting, make sure you preheat your oven properly by setting it to 350°F or 375°F, depending on your recipe. Turn the oven on at least 10-15 minutes before you plan to toast to allow enough preheating time.
This guarantees the oven temperature reaches the right level for even heat distribution. Place the oven rack in the middle or upper position to maximize even heat around your bread slices.
Avoid opening the oven door during preheating, as it causes temperature drops and uneven heat. To be precise, use an oven thermometer since some ovens run hotter or cooler by 10-20°F.
Proper preheating sets the stage for perfectly toasted bread with consistent color and texture every time.
Choose the Right Bread and Slice Thickness
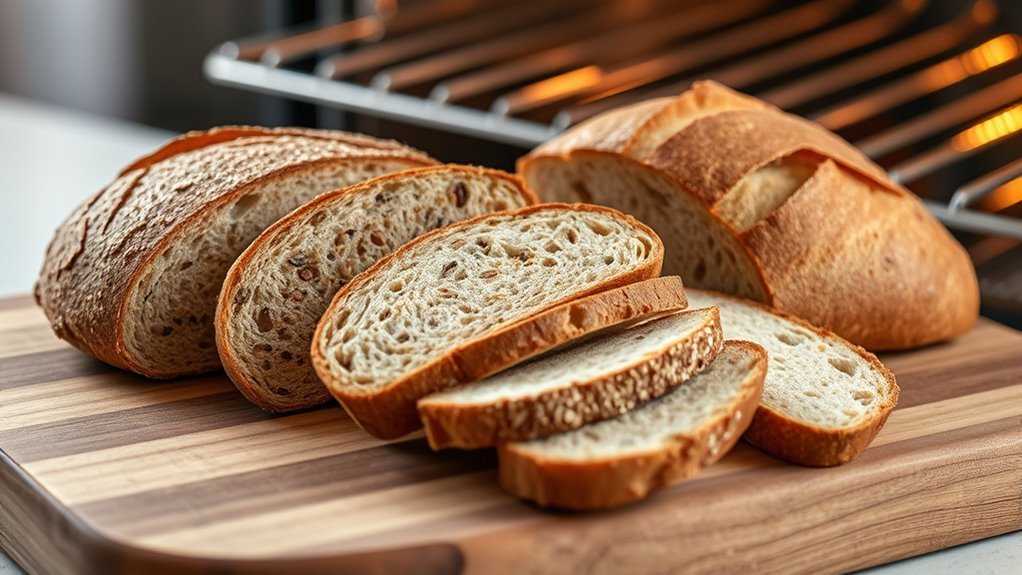
Choose a bread you enjoy, whether it’s classic white, hearty whole wheat, or something special like brioche. Slice your bread evenly, aiming for about 1/4 to 1/2 inch thick to get the best toasting results.
Bread Types Overview
Three key factors will help you get the best toast in your oven: the type of bread, its thickness, and moisture content. When choosing bread, sturdy options like sourdough, whole grain, or classic white bread work best. These breads toast evenly and develop a satisfying crunch.
Avoid overly dense or moist bread, as it won’t toast properly on your baking sheets. Sugary breads like cinnamon raisin or brioche brown faster, so keep an eye on them. Make sure your slices of bread are uniform in thickness to promote even toasting.
While we’ll cover ideal slice thickness next, remember that the right bread type sets the foundation for delicious, golden toast every time. Use sturdy bread and consistent slices for the best oven-toasted results.
Optimal Slice Thickness
The type of bread you pick influences the ideal slice thickness for toasting. Thinner slices, around 1/4 inch, promote even toasting and usually crisp up within 4-6 minutes. They’re perfect for softer breads.
For denser breads like sourdough or artisan loaves, aim for slice thickness of at least 1/4 inch to avoid burning before achieving the right crispness. Thicker slices, about 1/2 inch or more, need longer oven toast time to develop a browned, crispy exterior.
To guarantee uniform slices, use a sharp knife or slicer. Consistent slice thickness helps all pieces toast evenly.
Adjusting the slice thickness based on your bread type and texture preference lets you balance crispness and toasting time perfectly. That way, you get the best oven toast every time.
Effects on Toasting
How does the thickness and type of bread affect your toasting results? Thicker slices, about 1/2 inch, need longer toasting time—around 5-7 minutes—to get that perfect crispness. Thin slices, roughly 1/4 inch thick, toast faster, usually within 3-4 minutes, giving you a golden texture quickly.
Consider bread density too: denser varieties like sourdough or whole grain require extra toasting time compared to lighter white bread. Also, watch out for bread with higher sugar content, such as cinnamon raisin, which toasts faster and can burn if left unattended.
To ensure even browning, use uniformly cut slices; uneven thickness leads to inconsistent results. Choosing the right bread and slice thickness helps you control toasting time and achieve delicious, evenly toasted bread every time.
Arrange the Bread on a Baking Sheet
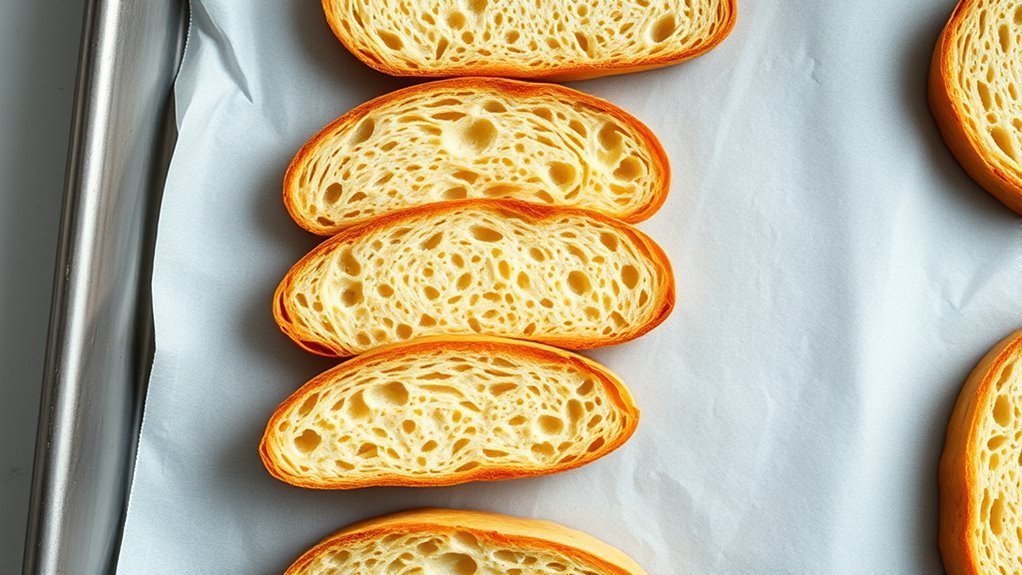
Start by placing each slice of bread flat on a rimmed baking sheet, making sure they don’t overlap. Arrange your bread slices in a single layer to guarantee even heat reaches every surface during toasting.
Avoid crowding the baking sheet; leave space between slices to promote uniform browning and crispiness. Use a clean, dry baking sheet without butter or oil to prevent smoking and uneven toasting.
Position the baking sheet on the middle oven rack for the best results—this spot allows consistent heat circulation around the bread slices. Proper arrangement on the baking sheet is key to achieving perfectly toasted bread with an even texture and golden finish every time you use your oven.
Apply Optional Butter or Oil for Flavor
You can brush your bread with melted butter or olive oil before toasting to boost flavor and get a crispier texture. This simple step also helps your toast turn a perfect golden brown.
Plus, adding a bit of fat keeps the bread from drying out while baking. It’s an easy trick that makes a big difference!
Butter Before Toasting
Applying a thin layer of butter or oil before toasting your bread can considerably boost its flavor and texture. When you butter your bread before placing it in the oven, you’ll notice a richer taste and a crisper, more golden crust.
Here’s why you should try it:
- Butter enhances browning thanks to the Maillard reaction.
- It creates a crouton-like crunch on the bread’s surface.
- Spread butter evenly just before toasting for best results.
- Buttered bread browns faster; watch closely to avoid burning.
- Toasting with butter slightly increases calories but greatly improves aroma and flavor.
Oil Brushing Benefits
How does brushing your bread with oil or butter before toasting transform its flavor and texture? Oil brushing amplifies flavor and promotes a crispy crust while preventing sticking.
It also encourages even toasting and browning through the Maillard reaction. Applying a light layer just before oven time creates a golden, flavorful toast with a moist interior and crispy exterior.
| Benefit | Effect | Tip |
|---|---|---|
| Flavor Enhancement | Richer taste | Use melted butter or oil |
| Crispy Crust | Crunchy texture | Brush lightly before toasting |
| Browning | Attractive color | Promotes Maillard reaction |
| Even Toasting | Uniform cooking | Ensures all sides brown well |
Give oil brushing a try for perfectly toasted bread with enhanced flavor and texture every time. You’ll love the difference it makes!
Toast Bread Using the Oven Broiler Method
When you position the oven rack in the second from the top spot and preheat the broiler, you set the stage for quick, even toasting. To toast bread using your oven’s broiler, follow these steps:
- Arrange bread slices in a single layer on a rimmed baking sheet without any butter or grease. Broil the bread for 1 to 1.5 minutes until the surface turns golden brown—watch closely to avoid burning.
- Flip each slice to toast the other side evenly under the broiler. Broil the flipped slices for about 1 minute until both sides are crispy and golden.
- Remove promptly, add your favorite toppings, and serve immediately for the best taste.
Using the broiler in your oven lets you toast bread quickly and evenly to a perfect golden brown. It’s super convenient and gives you that crispy texture you want in no time.
Toast Bread in the Oven Without the Broiler
Although using the broiler is a quick way to toast bread, you can achieve delicious results by baking it in the oven without the broiler. Start by preheating your oven to 350°F and arrange your bread slices in a single layer on a rimmed baking sheet.
Bake them for 4 to 6 minutes until the edges turn golden and crispy. Then, flip the slices carefully to ensure even browning and bake for another 4 to 5 minutes.
This baking method takes a bit more time than broiling but gives you a perfectly toasted and crispy result. If your oven has a convection setting, use it to cut down the baking time by about 25%.
Just keep an eye on your toast to avoid over-browning and enjoy!
Monitor and Flip Bread for Even Browning
To get evenly browned toast, flip your bread slices halfway through the toasting time—usually after 1 to 2 minutes if you’re using the broiler or baking at 350°F. Monitoring your bread carefully ensures you catch the perfect moment for flipping.
Use tongs or a spatula to carefully flip each slice without tearing the bread. Rotate the baking sheet 180 degrees halfway to combat oven hot spots.
Keep a close eye on the bread during broiling; it can brown quickly. Adjust flip timing based on bread thickness and your oven’s heat.
Watch for even browning on both sides before removing from the oven. This way, you’ll get that perfect toast every time!
Conclusion
Now that you know how to make toast in the oven, you might wonder if using the broiler really makes a difference. Turns out, it does—broiling gives you that perfect crisp faster, while baking brings out a gentler, even toastiness.
So, depending on your mood, you can tweak your method for the ideal crunch. Give both a try and see which one suits your taste best—your oven toast game just got a delicious upgrade!
Whether you prefer the quick, crispy finish of broiling or the slow, even toast of baking, knowing these options helps you make toast exactly how you like it. Experiment with these simple steps to make toast in the oven and elevate your breakfast or snack time effortlessly. Happy toasting!