How to Bake Polymer Clay in the Oven in 7 Easy Steps
Start by gathering your materials and setting up a clean workspace. Conditioning your polymer clay until it’s soft is key—it makes shaping your design way easier and smoother.
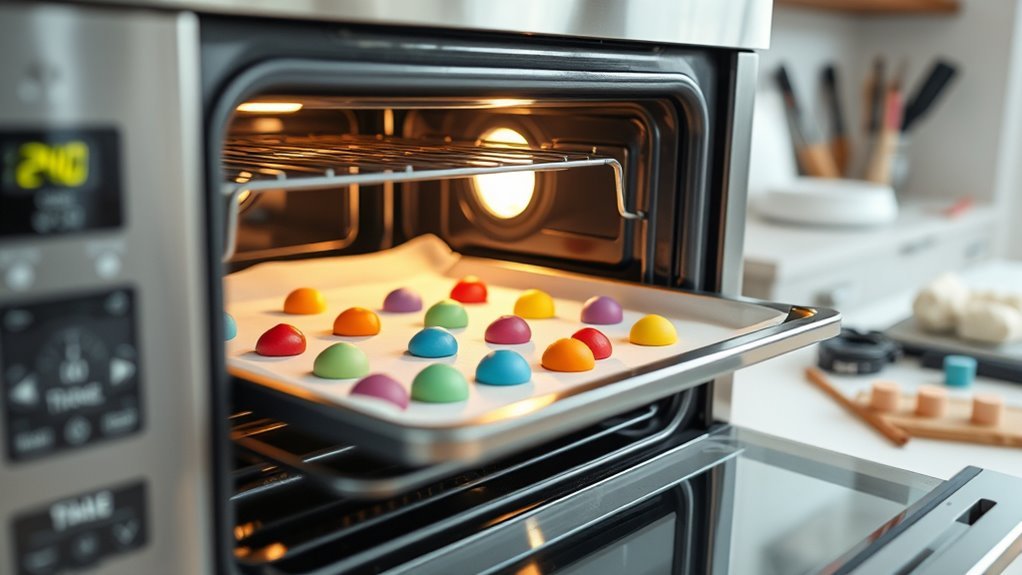
Once your clay feels good to work with, shape it exactly how you want. Next, preheat your oven to around 275°F (135°C). Using an oven thermometer helps keep the temperature accurate, which is super important for baking polymer clay properly.
Place your clay on a heat-resistant surface. If you need to, cover it to protect the piece during baking. Then, calculate the baking time based on the thickness of your clay—usually about 15-30 minutes per ¼ inch.
Bake safely, then let your piece cool completely before handling. Doing this ensures your polymer clay creation is durable and flawless. Follow these steps to guarantee great results and check out tips to perfect your baking process even more!
Gather Your Materials and Prepare Your Workspace
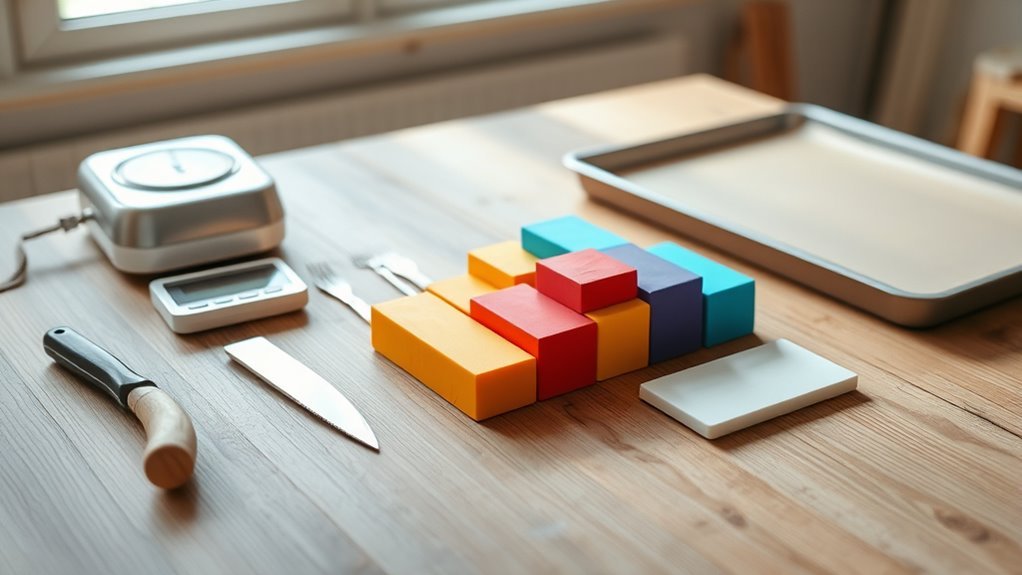
Before you start baking polymer clay, gather all your materials and set up a clean, flat workspace. Choose a stable work surface like a laminated hardwood table or plastic palette to prevent clay contamination.
Prepare a clean, flat workspace with a stable surface to keep your polymer clay free from contamination.
Cover it with parchment paper or a silicone mat for easy cleanup and to stop the clay from sticking. Make sure your workspace is free of dust and debris to keep your clay clean during prep.
Collect all necessary tools—rolling pin, conditioning tools, sharp blade—in one spot. Organize these tools in accessible containers or trays to streamline your workflow.
This tools organization helps you stay focused and efficient. With your setup complete and workspace tidy, you’re ready to handle the clay without interruptions, making your project smoother from start to finish.
Condition and Shape Your Polymer Clay
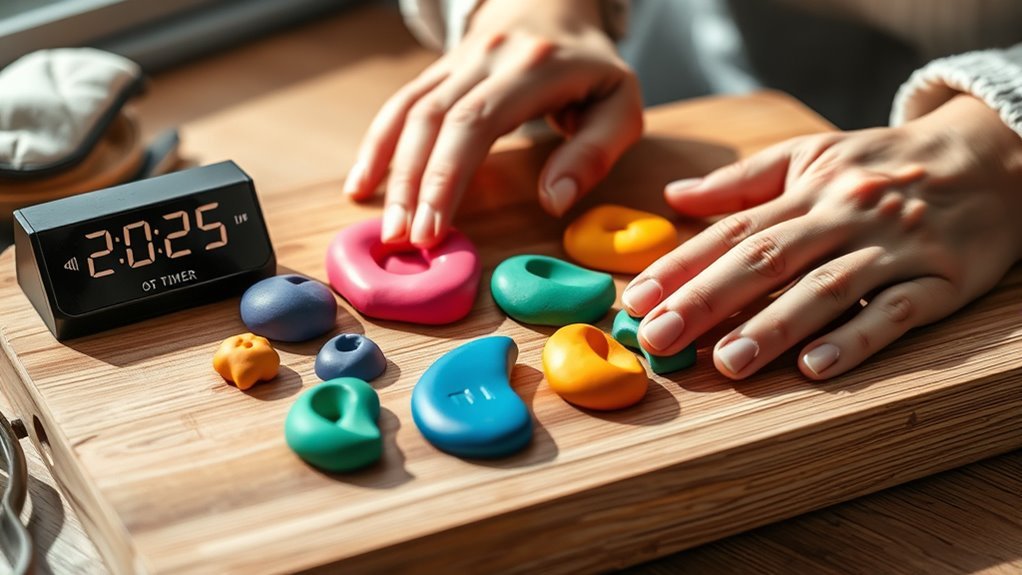
Once you’ve gathered your materials, start by conditioning the polymer clay—knead it thoroughly until it feels soft and pliable. This helps distribute warmth and oils evenly, making the clay easier to shape and smoother to work with.
Next, follow these steps to shape your clay:
- Use a rolling pin to flatten the clay into uniform slabs on a smooth surface. Be careful to avoid any texture imprints.
- Cut shapes using tools or press clay into molds for detailed designs. This lets you get creative with your pieces.
- Support delicate shapes with foil or paper towels to maintain their form while you work on them.
- Create pre-bake holes or attachment points with a tool like the end of a paintbrush. This helps prevent cracking after baking.
Proper conditioning and shaping really set the foundation for successful baking and beautiful finished pieces. So take your time and enjoy the process!
Preheat Your Oven to the Correct Temperature
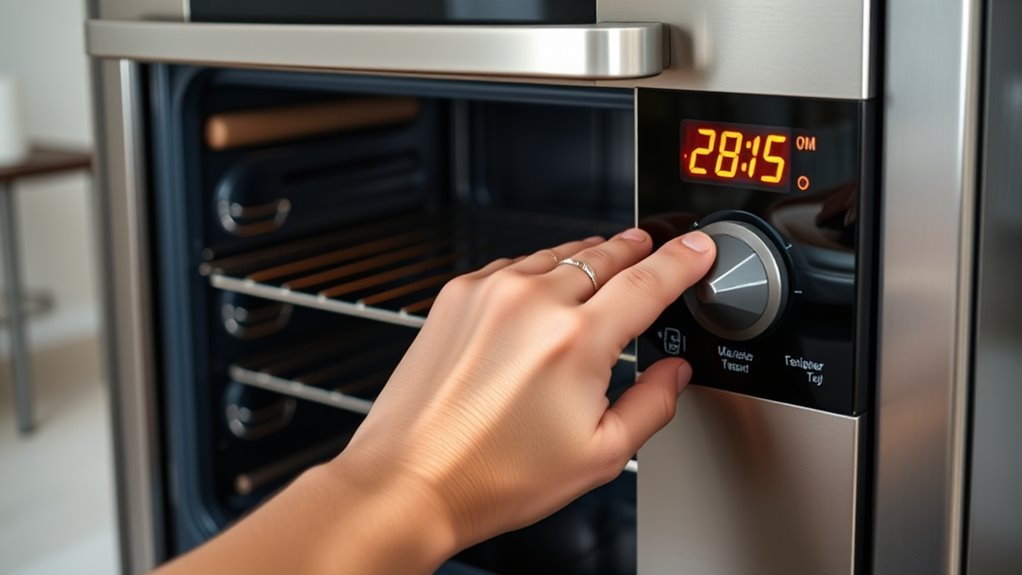
After shaping your polymer clay, the next step is to preheat your oven to the exact temperature recommended on the package, usually around 275°F (135°C). Always use an oven thermometer to verify the oven reaches and maintains the correct temperature, since the oven indicator or setting alone can be unreliable.
Allow the oven to preheat fully for at least 10-15 minutes to guarantee even heat distribution throughout. Avoid placing your clay in a cold oven just turned on; waiting until the oven is at the right temperature prevents uneven baking.
Checking the temperature with a thermometer helps you control the heat precisely, ensuring your polymer clay cures perfectly without burning or underbaking. This step is vital for a successful bake every time.
Choose the Right Baking Surface and Setup
Choose a flat, heat-resistant surface like a ceramic tile or metal sheet to bake your polymer clay evenly. It really helps to get consistent results.
Place a layer of parchment or cardstock between the clay and the surface. This stops the clay from sticking and keeps shiny spots at bay.
To protect your pieces from direct heat and keep their shape, cover them with foil or use supports like bead racks. These little tricks make a big difference!
Best Oven-Safe Surfaces
When you bake polymer clay, selecting a flat, smooth, and heat-resistant surface like ceramic tiles, glass, or metal baking sheets helps guarantee even heat distribution and prevents sticking.
Choosing the right oven-safe surfaces ensures your creations bake evenly without damage. Here’s what to keep in mind:
- Use ceramic tiles, glass, or a metal baking tray for a stable baking surface.
- Place parchment or plain paper between clay and surface to prevent shiny spots.
- Avoid textured or porous surfaces that cause uneven baking or unwanted imprints.
- Support delicate shapes with foil or bead racks to maintain form during baking.
Following these steps will help you achieve professional results while protecting both your clay and oven surface.
It’s pretty simple once you get the hang of it! Just remember these tips and your polymer clay projects will come out looking great every time.
Using Heat-Stabilizing Tiles
Although it might seem simple, using heat-stabilizing tiles can make a big difference in how evenly your polymer clay bakes. Place a ceramic tile or another heat-resistant tile on the oven rack to create a stable baking surface that absorbs and distributes heat evenly.
This setup helps prevent hot spots and scorching by positioning the tile in the center of the oven, away from heating elements. Always check your oven temperature with an oven thermometer to ensure accuracy during baking.
If you have delicate pieces, use wire racks or folded foil on the heat-stabilizing tile to support them and maintain their shape. Avoid textured or plastic surfaces, and bake directly on the tile or a baking tray placed on it for consistent, even baking results.
Protective Covers for Baking
Using a heat-stabilizing tile sets the stage, but protecting your polymer clay during baking takes careful attention to the surface and coverings you use. To guarantee even curing and prevent scorching, follow these steps:
Place your clay on a heat-conductive baking surface like a ceramic or unglazed tile to promote consistent heat exposure. Use plain, non-glossy paper underneath the clay to avoid shiny spots caused by direct contact with hard surfaces.
Cover your piece with aluminum foil, an oven-safe lid, or a baking pan to act as a protective cover that shields it from direct oven heat. If you can, enclose the clay in a metal container to prevent scorching and discoloration.
These precautions ensure your polymer clay cures evenly without damage. It’s all about giving your project the best chance to come out perfect!
Calculate and Set the Baking Time Based on Thickness
Since proper curing depends on thickness, you’ll need to calculate and set your baking time accordingly. Measure the thickest part of your polymer clay project to determine how long to bake it.
The general rule is 15-30 minutes per ¼ inch at 275°F (130°C). Use an oven thermometer to confirm your oven temperature is accurate, as this affects curing.
For larger or thicker projects, increase baking time in 5-minute increments, checking the hardness after each interval. To avoid mistakes, bake a small test piece of similar thickness first to find the ideal baking time without overbaking.
This careful approach guarantees your polymer clay cures evenly and achieves the best hardness for your project size.
Bake Your Polymer Clay Safely and Evenly
Make sure your oven is preheated to the exact temperature recommended by the manufacturer. It’s a good idea to use an oven thermometer to double-check.
Place your clay on a non-stick surface. Then, cover it with foil or a baking pan to guarantee even heat distribution.
These steps help you bake your polymer clay safely. Plus, they help you avoid uneven curing or burning.
Oven Temperature Accuracy
Though your oven dial might say one temperature, you can’t always trust it to be accurate when baking polymer clay. Oven dials often lack precision, so relying on them alone risks uneven curing or burning.
To verify oven accuracy and maintain a consistent temperature, follow these steps:
- Use an oven thermometer for thermometer verification of your oven’s internal heat.
- Preheat your oven fully, then check the baking temperature with your thermometer.
- Calibrate your oven settings by comparing the thermometer reading to the dial and adjust accordingly.
- Keep the oven door closed during baking to avoid heat fluctuations that disrupt temperature consistency.
It’s a simple trick, but it makes a big difference. Just remember, your oven’s dial isn’t always telling the whole story!
Protective Baking Covers
After ensuring your oven maintains the right temperature, the next step is protecting your polymer clay during baking. Use baking covers like aluminum foil or an oven-safe lid to prevent scorching and shiny spots caused by direct heat contact.
For rounded or delicate pieces, try tenting polymer clay with foil to avoid burning. Placing your clay under a baking pan or using a metal cover helps guarantee even heat distribution, minimizing uneven curing or cracking.
Covering during baking also reduces surface discoloration and browning by limiting exposure to oven elements. Once baking finishes, always remove the cover and let your piece cool completely.
This careful use of baking covers guarantees your polymer clay cures safely and evenly, preserving both appearance and durability.
Allow Your Piece to Cool Completely Before Handling
Because your polymer clay piece remains fragile while warm, you should let it cool completely on a heat-resistant surface before handling it. Proper cooling prevents warping and cracking, especially in delicate projects.
Here’s what to keep in mind:
- Place your piece on a heat-resistant surface immediately after baking.
- Allow adequate cooling time—usually 30 minutes to an hour depending on size and thickness.
Avoid handling it until it reaches room temperature to maintain final hardness and durability. Remember, premature handling can deform your work and damage the surface.
Conclusion
So, there you have it—baking polymer clay without turning your oven into a toxic wasteland or a melted mess. Follow these steps, and you won’t need a hazmat suit or a fire extinguisher.
Just remember: patience is key, unless you want your masterpiece to look like a lumpy pancake. Baking polymer clay properly ensures your creations come out strong and vibrant every time.
Now go forth, bake with confidence, and maybe keep the smoke alarm handy—just in case your “easy” project decides to rebel. Happy baking! With these simple tips, mastering how to bake polymer clay in the oven becomes a breeze.