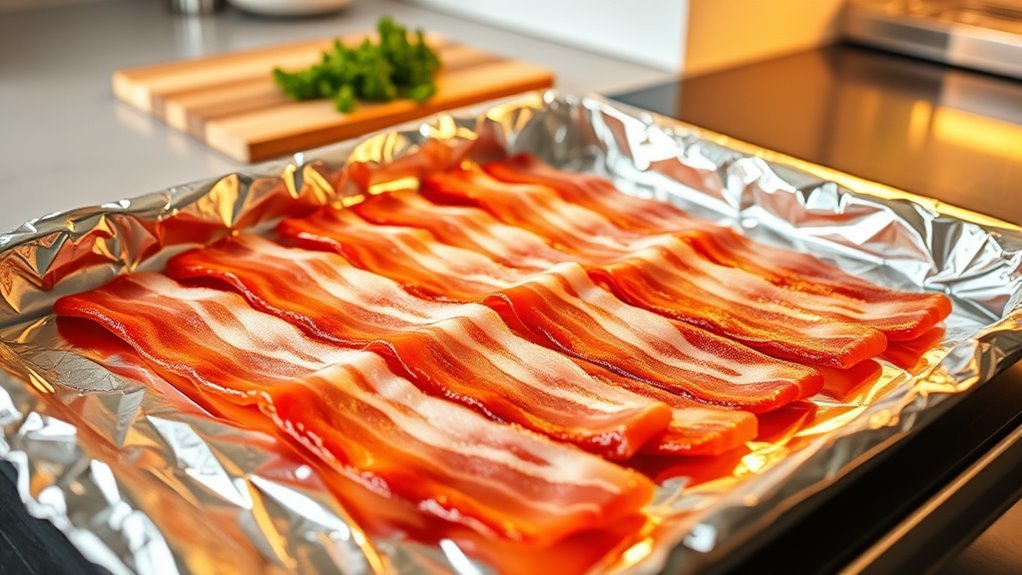
How to Cook Bacon in the Oven With Aluminum Foil in 10 Easy Steps
Start by preheating your oven to 400°F. Then, line a rimmed baking sheet with aluminum foil to make cleanup a breeze.
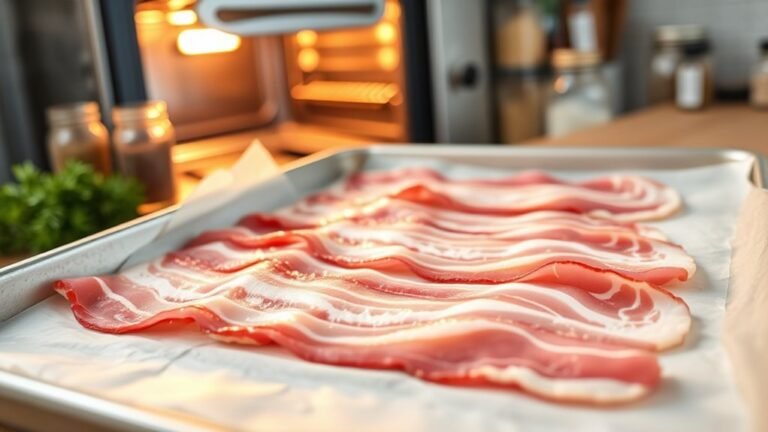
Next, lay your bacon strips in a single layer right on the foil. You can also use a wire rack placed over the foil if you want the bacon to cook a bit more evenly.
Pop the baking sheet into the oven and bake the bacon for 15-20 minutes until it’s perfectly crispy. Keep an eye on it towards the end so it doesn’t burn.
Once done, transfer the bacon to paper towels to drain any excess grease. If you like, save that flavorful bacon fat for cooking other dishes.
This easy oven-baked bacon method not only saves you time but also guarantees even cooking.
Plus, sticking to using foil means cleanup is super simple. Keep reading for more tips on how to store and clean up after cooking bacon this way!
Gather Your Ingredients and Tools
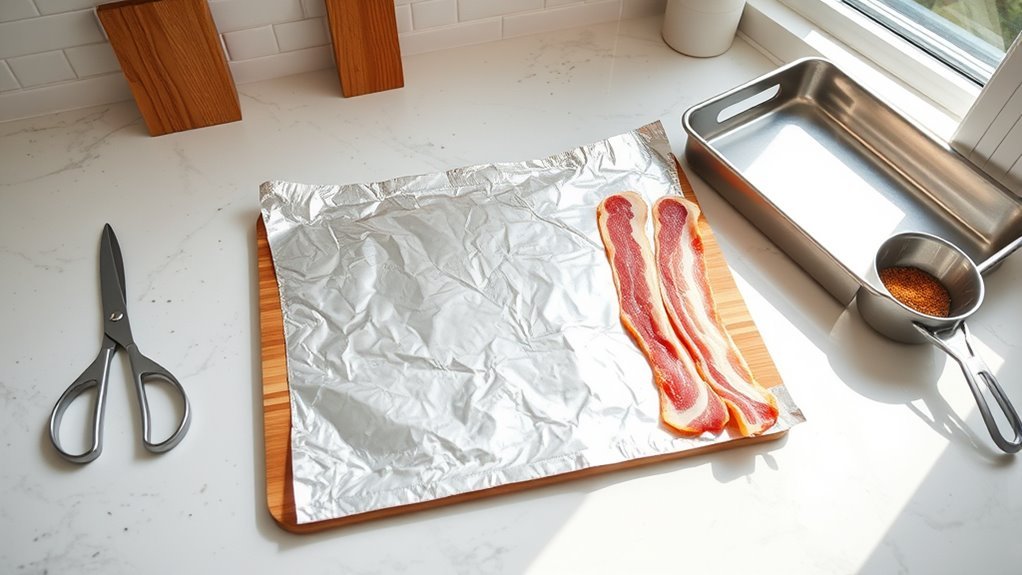
Before you start cooking, gather a pound of thick-cut, evenly sliced bacon and prepare a large rimmed baking sheet lined with aluminum foil for easy cleanup. You’ll want to use a sheet that fits comfortably in your oven and allows the bacon to lay flat.
Start with thick-cut bacon and a foil-lined rimmed baking sheet for easy cleanup and even cooking.
Optionally, place a wire rack inside the baking sheet to elevate the bacon. This helps the heat circulate and makes the strips crispier.
Have paper towels ready to drain the cooked bacon and a pair of tongs for safe handling. These simple tools and ingredients streamline your baking process and guarantee your bacon cooks evenly without sticking.
With everything prepped, you’ll be ready to put your oven to work and enjoy perfectly cooked bacon with minimal mess.
Preheat Your Oven to the Perfect Temperature
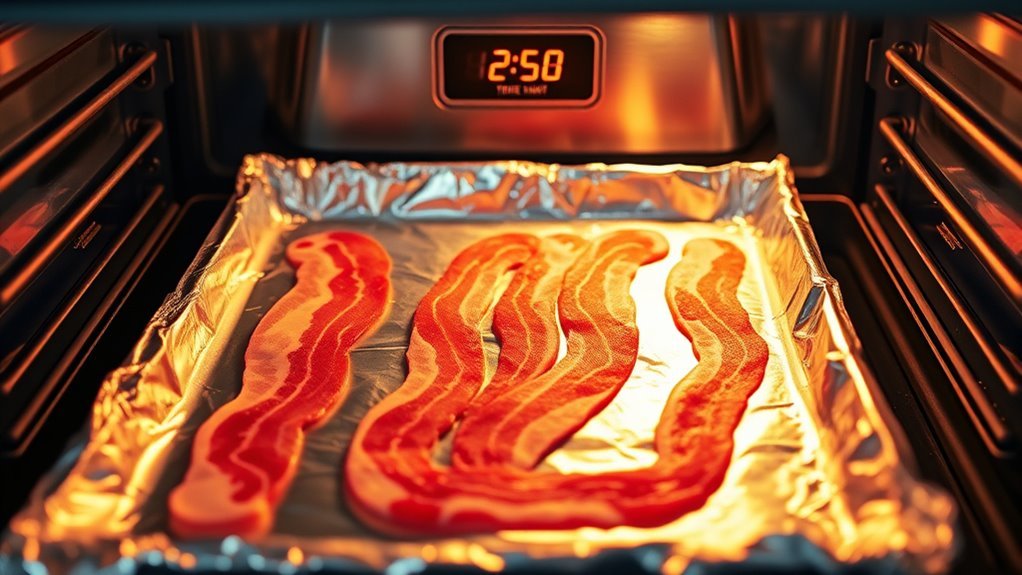
When you preheat your oven to 400°F (204°C), you set the stage for perfectly crispy bacon that cooks evenly every time. Make sure to allow the oven to fully reach this temperature before placing your bacon inside to guarantee even cooking.
If your oven’s accuracy is questionable, use an oven thermometer to check the oven temperature. Starting with a preheated oven not only guarantees uniform doneness but also reduces cooking time, preventing soggy or unevenly cooked bacon.
- Always preheat to 400°F for best results
- Use an oven thermometer to verify temperature
- Avoid placing bacon in a cold oven
- Preheating ensures even cooking and shorter cooking time
Prepare Your Baking Sheet With Aluminum Foil
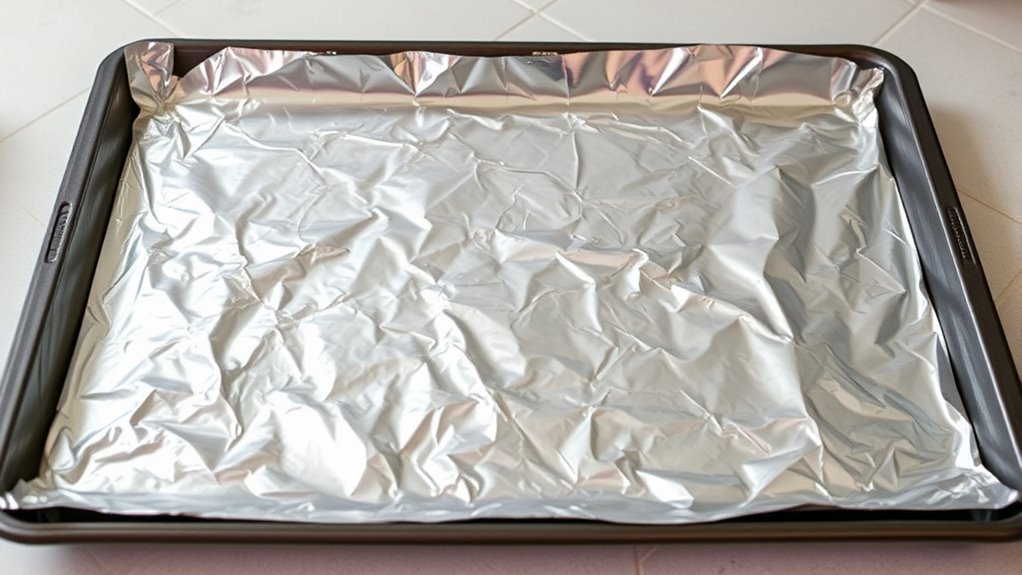
Start by lining your rimmed baking sheet with aluminum foil to catch drippings and make cleanup a breeze.
Make sure to extend the foil slightly up the sides to prevent grease from spilling over.
Crumple the foil a bit before placing it to help it fit snugly and avoid tearing during cooking.
Lining for Easy Cleanup
Although lining your baking sheet with aluminum foil might seem simple, it’s a crucial step to make cleanup much easier after cooking bacon. Aluminum foil catches grease splatters and prevents them from sticking directly to your sheet pan.
That means less scrubbing afterward. To make cleanup effortless, extend the foil edges slightly so drips don’t escape. Using heavy-duty aluminum foil also helps resist tearing under high heat, keeping your pan protected.
Here’s how you can make cleanup a breeze:
- Line the sheet pan with foil, folding edges upward
- Use foil to catch all grease splatters
- Crumple foil into an accordion to elevate bacon and reduce grease contact
- Let the foil cool before discarding for quick, mess-free cleanup
This simple step saves you time and effort every time you cook bacon.
Foil Placement Tips
To make the most of your aluminum foil lining, you’ll want to place it carefully on your baking sheet before arranging the bacon. Start by using a single large sheet of aluminum foil that extends slightly over the edges of the baking sheet for easier cleanup.
Avoid overlapping multiple sheets, as this can affect heat distribution. For improved grease collection, crumple the foil gently into a shallow bowl shape or fold it into accordion ridges. This helps catch drippings and prevents grease from spilling onto the pan.
Once your foil is properly placed, arrange your bacon directly on top for even oven-baked bacon. After cooking, let the foil cool before folding it into a ball for quick, tidy disposal and an effortless cleanup.
Arrange Bacon Strips on a Wire Rack
Place a wire rack inside your rimmed baking sheet to keep the bacon elevated above the drippings. Arrange the strips in a single layer without overlapping to guarantee even cooking and crispiness.
Make sure each slice lies flat to prevent curling and get that perfect crunch. It really helps to keep everything cooking evenly, trust me!
Benefits of Wire Rack
When you arrange bacon strips on a wire rack, you let the fat drain away, which helps the bacon get crispy all over. Using a wire rack improves drainage and allows even heat to circulate around each slice, so you avoid uneven cooking and sogginess.
This method guarantees your bacon comes out perfectly crispy without sitting in excess grease. Plus, elevating bacon on a wire rack reduces sticking and promotes uniform browning.
Cleanup also gets easier since the fat drips onto the foil-lined baking sheet below, keeping the bacon less greasy and your pan cleaner.
- Promotes even heat circulation for crispy bacon
- Allows fat drainage, preventing sogginess
- Minimizes sticking and uneven browning
- Simplifies cleanup by catching excess grease
Proper Bacon Arrangement
Elevating bacon on a wire rack sets the stage for perfect crispness, but how you arrange the strips makes all the difference. For the best bacon arrangement, place each strip in a single layer on the wire rack over a rimmed baking sheet lined with aluminum foil.
Make sure the strips don’t overlap; this ensures even cooking and allows hot air in the oven to circulate around each slice. Lay the bacon close together with just enough space to avoid overcrowding, maximizing how much you can cook at once without sacrificing crispy bacon quality.
Starting with a preheated oven locks in this arrangement’s benefits, helping every piece cook uniformly. This method guarantees consistently crispy bacon with minimal effort.
Place the Baking Sheet in the Oven
Before sliding your baking sheet into the oven, make sure it’s lined with aluminum foil that extends past the edges to catch any drips. This setup helps you keep the oven clean and makes cleanup a breeze.
When you place the baking sheet, follow these tips: Lay the foil flat and smooth on the baking sheet to avoid tears or bunching. Use a rimmed baking sheet to contain grease and prevent spills.
Position the foil-lined baking sheet on the middle or lower oven rack for even heat distribution. Slide the sheet in carefully, making sure it’s level to avoid dripping. This way, you’re all set for a clean and safe baking experience!
Monitor Cooking Time for Desired Crispiness
Since oven temperatures and bacon thickness vary, you’ll need to monitor cooking time closely to achieve your preferred crispiness. Cooking bacon at 400°F usually takes between 12 and 20 minutes, but thinner slices may cook faster, around 10 to 12 minutes.
Start checking for doneness at the 12-minute mark to avoid overcooking. Look for a deep golden-brown color and a crisp texture as signs your bacon is ready.
Remove Bacon and Drain Excess Grease
Once your bacon is perfectly crispy, use oven mitts to carefully remove the baking sheet from the oven. Transfer the slices onto a paper towel-lined plate to soak up excess grease and let them cool for a few minutes.
Handling the bacon properly helps you avoid burns and guarantees a cleaner, safer cooking area. It’s a simple step but really makes a difference!
Draining Techniques
After baking your bacon, grab tongs or a slotted spoon to transfer the strips onto a paper towel-lined plate. This lets the towels soak up the excess grease.
To drain excess grease effectively, you can:
- Gently tilt the baking sheet to pour off residual fat into a heatproof container for disposal or reuse.
- Place bacon on a wire rack set over paper towels to catch additional grease while keeping the strips crispy.
- Let the bacon rest for 2-3 minutes so residual fat can drip off naturally.
- Allow the grease to solidify as the bacon cools, making it easier to remove and discard.
Following these steps ensures your bacon stays crispy without being greasy. Plus, it helps you safely manage leftover fat.
Proper Bacon Handling
While the bacon is still hot, use tongs or a slotted spatula to carefully lift each strip and place it on a paper towel-lined plate to drain excess grease. Cooking bacon in the oven with aluminum foil helps contain the grease, making cleanup easier.
Let the cooked bacon rest on the paper towels for a few minutes to allow grease to drain and solidify. You can gently squeeze each strip with tongs to remove additional grease before serving or storing.
Once cooled, discard or save the bacon grease by pouring it through a fine strainer into a heatproof container for future use. Just make sure the bacon is completely cooled before wrapping or storing it to prevent moisture buildup and keep it fresh longer.
Tips for Extra Crispy Bacon
If you want bacon that’s extra crispy, start by elevating the slices on a wire rack over a foil-lined pan to let hot air circulate evenly. This setup guarantees your crispy bacon cooks uniformly in the oven.
Adjust the baking time depending on thickness, typically 15-20 minutes at 400°F, and keep an eye on it to avoid burning. Removing any foil cover during the last few minutes helps moisture escape, boosting crispiness.
After baking, pat the bacon dry with paper towels to remove excess grease.
- Use thinner slices or cut thicker bacon into smaller strips for faster crispiness.
- Line your pan with aluminum foil for easy cleanup and even heat distribution.
- Monitor baking time closely to get perfect crispiness without overcooking.
- Remove foil cover near the end to maximize crunchiness.
Easy Cleanup After Cooking
Although cooking bacon can be messy, lining your baking sheet with aluminum foil makes cleanup a breeze. The foil catches all the grease and drips, preventing them from sticking to the pan.
Once the bacon cools, simply let the foil and grease cool, too, so you won’t risk burns when handling. Then, roll the foil into a ball, trapping the grease inside for easy disposal.
This method saves you from scrubbing stubborn grease off the baking sheet, speeding up your cleanup. For even better results, you can fold or crumple the foil neatly before cooking to contain grease and food bits.
Using foil this way keeps your cleanup quick, simple, and efficient every time you cook bacon in the oven. It’s seriously one of the easiest tricks to keep your kitchen tidy!
Storing and Reheating Leftover Bacon
Wondering how to keep your leftover bacon fresh and tasty? Store it in an airtight container in the fridge for up to 4-5 days to maintain its flavor and texture.
Keep leftover bacon fresh by storing it in an airtight container in the fridge for up to 4-5 days.
If you want to keep it longer, freeze the bacon on parchment-lined sheets first, then transfer it to airtight bags. This way, it’ll last up to 3 months without losing its goodness.
When you’re ready to reheat, you’ve got two great options. One, use a preheated oven at 350°F with the bacon on a wire rack to avoid sogginess.
Or, place the bacon on a paper towel-lined plate and microwave it for 20-30 seconds. Quick and easy!
Just remember to always check for any off smells or discoloration before eating.
Also, keep leftover bacon separated when freezing so the pieces don’t stick together.
Doing all this keeps your bacon delicious and ready whenever you want to enjoy it!
Conclusion
Now that you’ve mastered cooking bacon in the oven with aluminum foil, you’re all set to enjoy crispy, delicious strips without the mess. Just like a medieval knight wouldn’t charge into battle without his armor, don’t skip prepping your baking sheet—it’s key to easy cleanup.
Whether you’re making breakfast for one or a feast for many, this simple method saves time and effort. So, grab your bacon and get cooking—you’ve got this! Cooking bacon in the oven with aluminum foil is super easy and helps keep your kitchen tidy.
With these 10 easy steps, you’ll get perfectly cooked bacon every time, whether you want it crispy or chewy. Give it a try and enjoy bacon that’s flavorful with less fuss and mess!