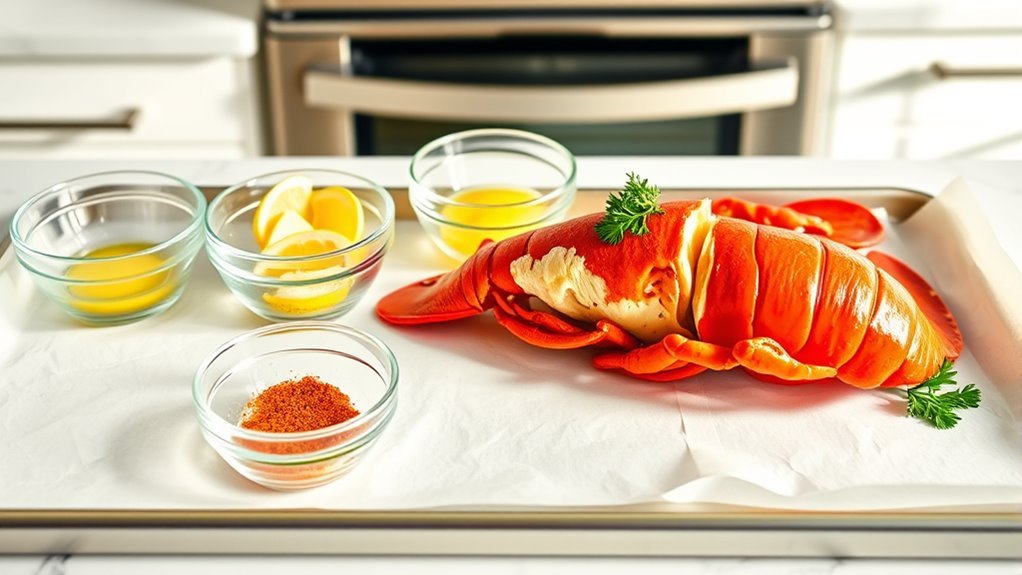
How to Bake Lobster Tails in the Oven in 5 Simple Steps
Start by choosing fresh or thawed lobster tails—this is key for that perfect bake. Use kitchen shears to cut the shell lengthwise, then gently lift the meat so it sits on top of the shell.
Next, brush the lobster meat with melted garlic butter mixed with herbs and a splash of lemon juice. This combo really amps up the flavor.
Preheat your oven to 400°F. Place the lobster tails on a baking sheet and loosely cover them with foil to keep them moist while baking.
Bake for 12-15 minutes until the meat turns opaque and firm. That’s how you know it’s perfectly cooked.
Keep going to discover tips for perfect seasoning and some tasty serving ideas that’ll make your lobster tails the star of the meal.
Selecting and Preparing Your Lobster Tails
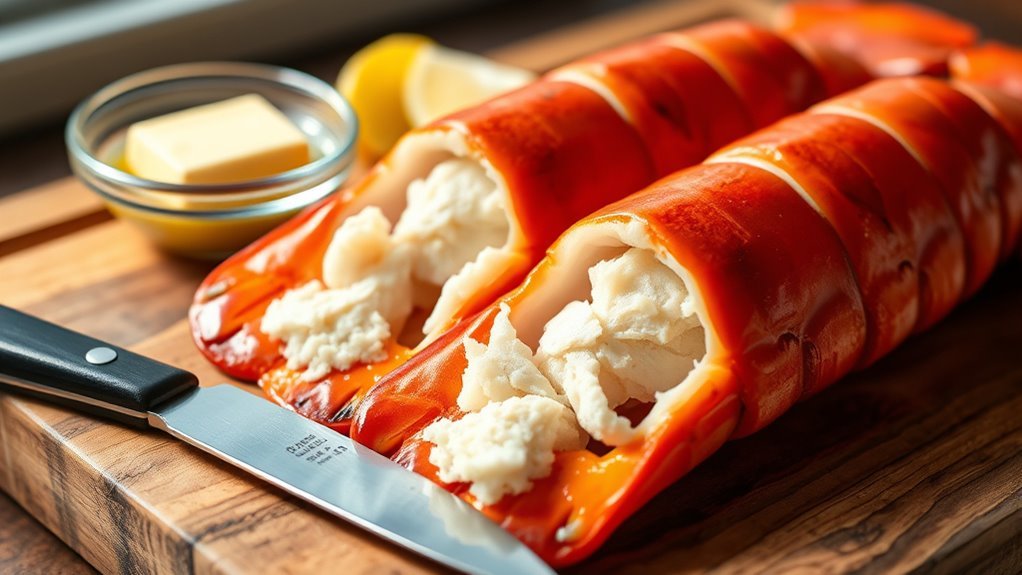
When selecting lobster tails, choose ones that are firm with shells free of discoloration or grayish tones. This guarantees freshness and quality. It’s best to opt for fresh lobster tails or high-quality frozen ones if fresh isn’t available.
Before you prepare the lobster meat, make sure to thaw the lobster tails in the refrigerator overnight. This helps ensure even cooking.
Thaw lobster tails overnight in the refrigerator for even cooking and the best flavor.
When you’re ready to prep, use kitchen shears to cut down the top of the shell, from the base all the way to the tip. Then, gently pry the meat upward, keeping it partially attached at the base for a nice presentation.
Don’t forget to remove the shell membrane and any veins. This will give you clean lobster meat that cooks evenly and looks great on your plate. Following these simple steps makes the whole process easier and your meal more enjoyable.
Thawing and Butterflying Techniques
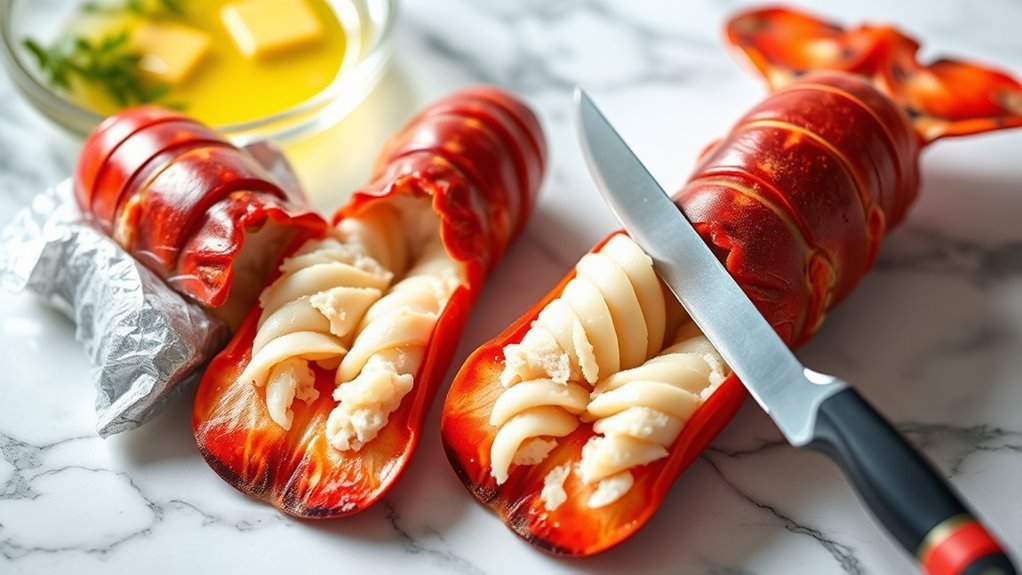
Although thawing lobster tails might seem straightforward, doing it properly is essential for even cooking and perfect texture. Start thawing lobster tails in the refrigerator overnight to ensure the meat defrosts evenly.
When you’re ready for lobster tail preparation, grab kitchen shears and carefully cut straight down the top of the shell from the open end to the fin. This butterflying lobster tail technique exposes the lobster meat without tearing the shell.
If the meat sticks, boiling lobster tails for 3 minutes loosens it, making shell removal easier. Gently pry the shell apart, lifting the lobster meat to rest on top of the shell.
This approach not only improves presentation but also promotes even cooking during baking. It ensures your prepping lobster process is efficient and yields delicious results.
Seasoning With Garlic Butter and Herbs
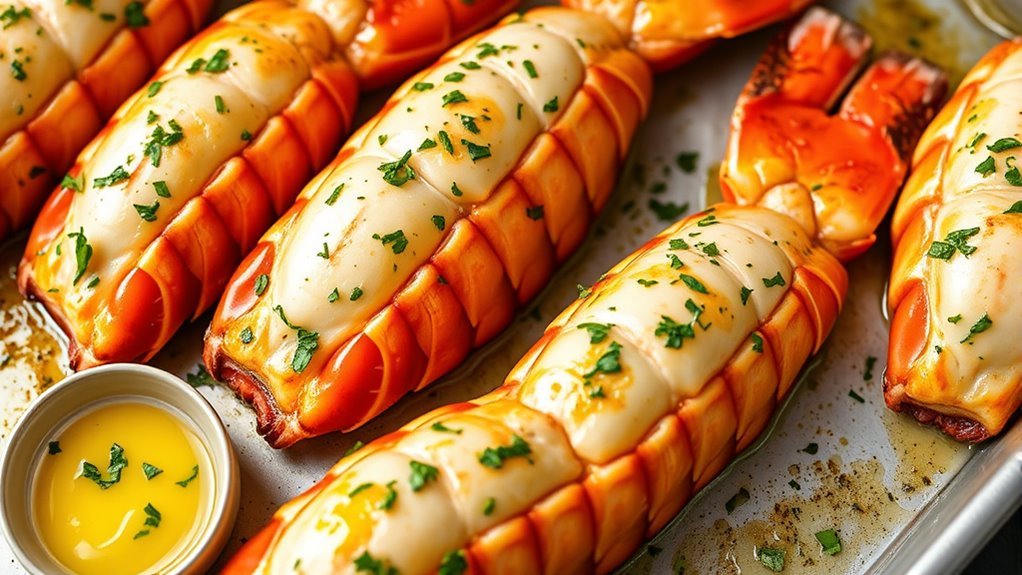
After preparing your lobster tails by thawing and butterflying, the next step is to enhance their flavor with a rich garlic butter sauce. Melt unsalted butter and mix in minced garlic, chopped parsley, lemon juice, and your favorite seasoning for a flavorful boost.
This garlic butter not only tenderizes the lobster tails but also infuses them with a savory, aromatic essence. Adding fresh herbs like parsley complements the natural sweetness of the seafood perfectly.
Garlic butter tenderizes and flavors lobster tails, while fresh parsley enhances their natural sweetness beautifully.
Before baking, brush the lobster meat generously with this mixture, ensuring every bite is rich and moist. For even more flavor, baste the lobster tails with extra garlic butter during baking.
This simple seasoning step transforms your baked lobster into an irresistible dish packed with vibrant, fresh flavors.
Baking Lobster Tails to Perfection
To bake lobster tails to perfection, you’ll want to preheat your oven to 400°F. Next, prepare the tails by cutting a straight line down the shell and butterflying the meat. This technique lets the garlic butter and herbs seep in, enhancing flavor.
Place the lobster tails on a baking sheet and brush them generously with melted butter mixed with garlic, parsley, and lemon juice. Cover the tails loosely with foil to keep the meat tender and prevent overcooking.
Bake for 12-15 minutes. You’ll know the baked lobster is fully cooked when the shell turns bright red and the meat becomes opaque and firm. Just be sure to avoid overcooking so the lobster meat stays juicy and tender.
With these steps, your cooking lobster process in the oven will yield perfectly baked lobster tails every time. Easy, right?
Serving Suggestions and Storage Tips
When serving your baked lobster tails, complement them with classic sides like mashed potatoes, sautéed asparagus, or Cheddar Bay biscuits. This creates a well-rounded meal that really highlights the seafood’s rich flavor.
For an elegant plating presentation, add lemon wedges and a drizzle of garlic butter to enhance the taste. You might also want to pair your lobster with a crisp white wine and some fresh seafood sides, like a side salad or creamy risotto.
Keep these storage tips in mind for any leftover lobster: Store it in an airtight container in the fridge for up to 2 days. When reheating, do it gently to keep it tender.
And if you’re looking for a quick, tasty meal, use leftover lobster in salads or pasta. These simple steps will help your lobster stay fresh and flavorful.
Conclusion
Baking lobster tails in your oven is like painting a masterpiece—you start with quality ingredients and follow simple steps to create something unforgettable. By selecting fresh tails, thawing and butterflying them carefully, seasoning with flavorful garlic butter, and baking just right, you’ll serve a delicious dish that feels like a celebration.
Remember, practice makes perfect, so enjoy the process and savor every bite of your ocean-inspired creation. Baking lobster tails is easier than you think, and with these simple steps, you can impress your guests or treat yourself to a gourmet meal at home. So go ahead, gather your ingredients, preheat that oven, and get ready to bake lobster tails that are tender, juicy, and bursting with flavor. Your taste buds will thank you!