7 Steps to Cook Duck Perfectly in the Oven
Choose a wild duck with a thin fat layer, then rinse and pat it dry.
Scoring the skin helps the fat render out nicely during cooking. Season the duck well, and stuff the cavity with aromatics like garlic and fresh herbs to boost flavor.
Roast your duck at 375°F for about 20-25 minutes per pound. Keep an eye on the breast temperature—it should reach 165°F for perfect doneness.
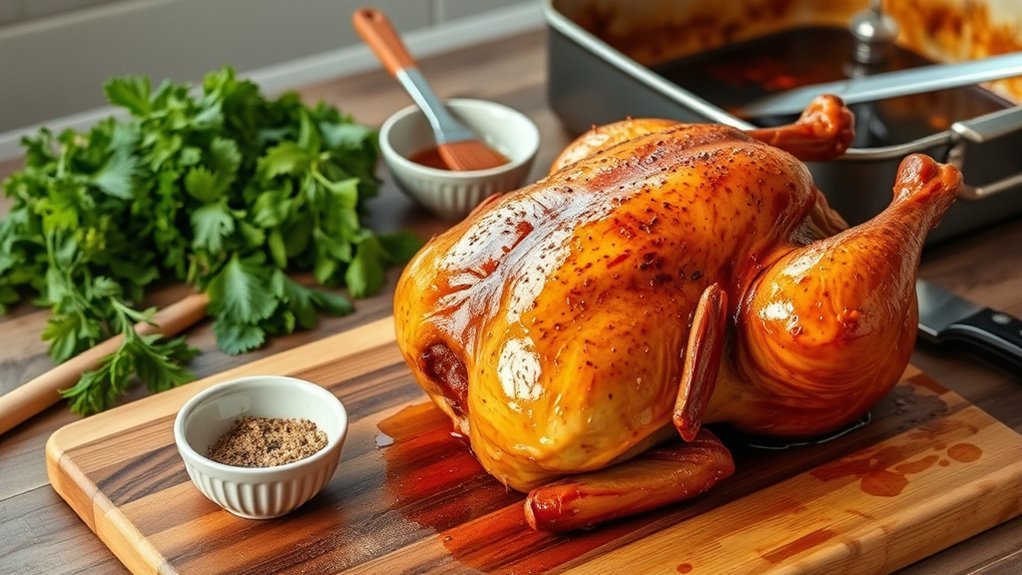
Near the end of roasting, brush on a honey-balsamic glaze to get that crispy, caramelized skin everyone loves.
Once it’s done, let the duck rest before carving. This step is key to juicy, tender meat.
Stick around, and I’ll share some great tips on perfect seasoning and the best ways to serve your oven-roasted duck!
Selecting the Right Duck for Roasting
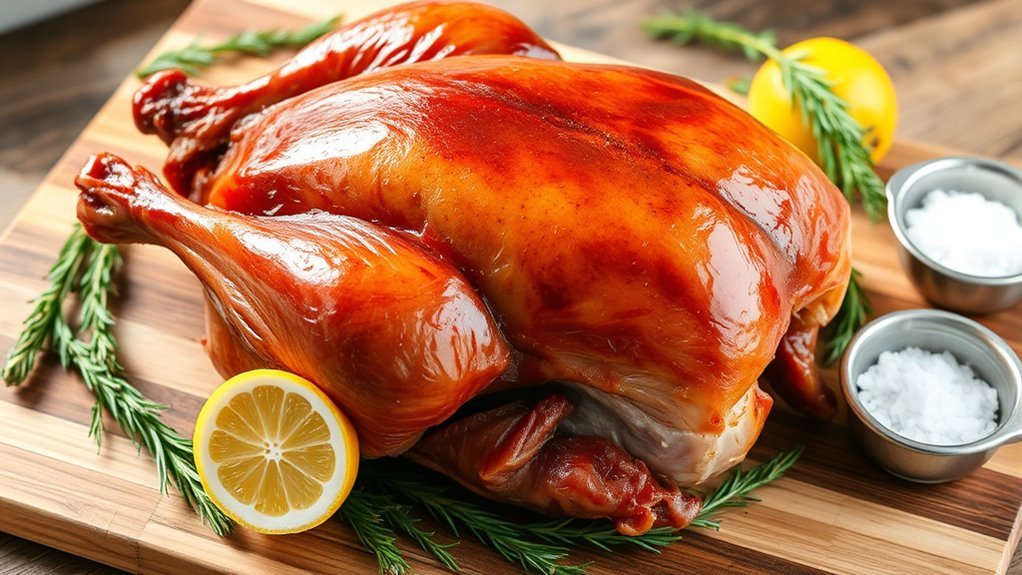
When selecting a duck for roasting, focus on wild ducks with a breast fat layer no thicker than 1/8 inch. You want a leaner duck because excess fat under the skin acts like an insulator, preventing the skin from crisping properly in the oven.
Domesticated ducks and geese usually have too much fat, making them less ideal for roasting. In some areas, like California’s Central Valley, even wild ducks can carry extra fat, so it’s important to check carefully.
To assess fat thickness, remove the breast and either look or gently feel for a thin, even fat layer. Choosing a duck with just the right amount of fat ensures you’ll get that perfect, crispy skin and a deliciously textured roast every time.
Preparing the Duck for the Oven
Before roasting, fully defrost your duck in the refrigerator for 1 to 2 days to guarantee it cooks evenly.
Start preparing by removing giblets and excess neck skin, then rinse the duck inside and out with cool water. Pat the skin dry with paper towels to ensure it crisps up beautifully.
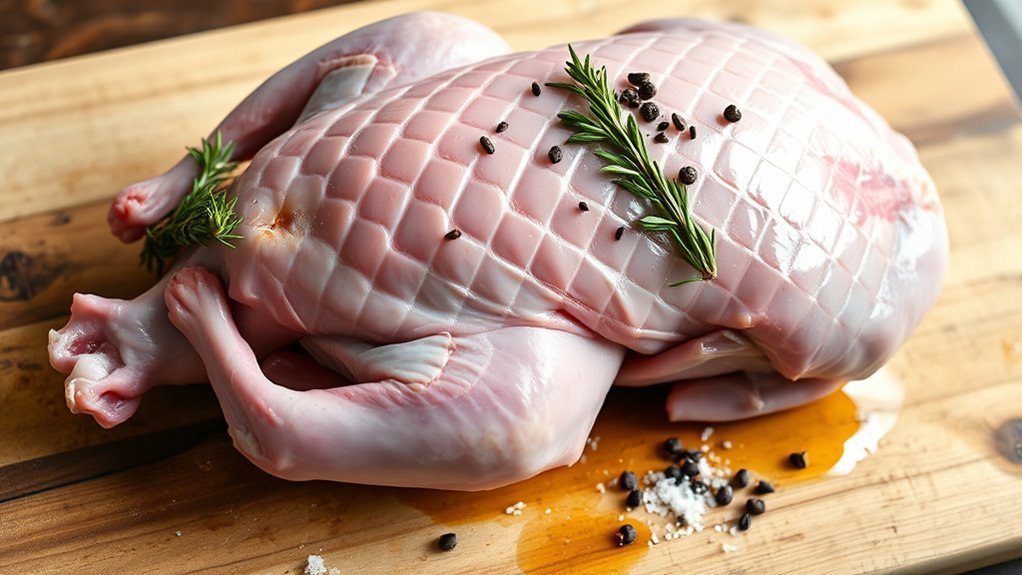
Score the skin in a diamond pattern—just the skin, not the meat—to help render fat and boost crispiness.
| Step | Purpose |
|---|---|
| Defrosting | Ensures even cooking |
| Removing giblets | Preps cavity for roasting |
| Rinsing duck | Cleans and refreshes |
| Drying skin | Promotes crisp texture |
| Scoring skin | Renders fat, enhances crisp |
These steps set the foundation for perfectly crisp, delicious duck. You’ll be glad you took the time to do them right!
Seasoning and Stuffing the Duck
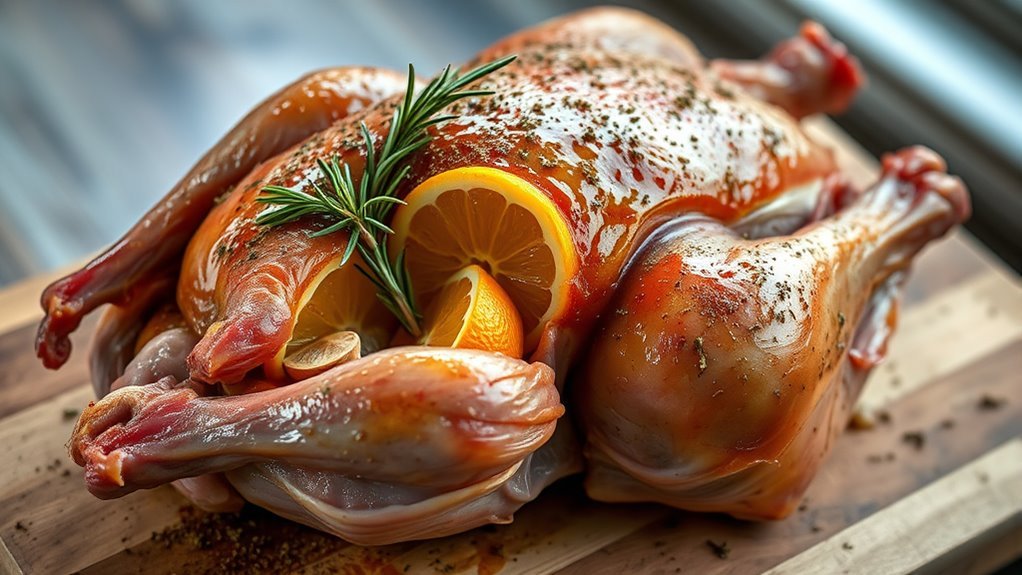
Start by patting the duck’s skin dry to make sure it crisps up nicely. Then, season it generously inside and out with salt, pepper, and your favorite spices.
Don’t forget to stuff the cavity with aromatics like garlic, lemon slices, or fresh herbs to boost the flavor as it roasts. It really makes a difference!
Seasoning Techniques
How do you guarantee your duck has the perfect balance of flavor and crispiness? Start by patting the duck dry with paper towels—this step is *vital* for achieving crisp skin.
Next, rub the skin generously with a seasoning mix of salt, pepper, and optional spices like paprika to boost flavor and help crispness. Score the skin in a diamond pattern without cutting into the meat; this lets the fat render evenly and allows the seasoning to penetrate better.
Don’t forget to stuff the cavity with aromatics such as garlic cloves and lemon slices to infuse the meat with subtle, savory notes during roasting. For an even deeper flavor, consider marinating or seasoning the duck overnight, then pat it dry before cooking.
Stuffing Ingredients
Once you’ve seasoned the duck’s skin and scored it for crispiness, turn your attention to the cavity. Start by seasoning the inside generously with salt and pepper to boost flavor.
Next, stuff the cavity with fresh garlic cloves and lemon slices—these add a bright, savory essence as the duck roasts. Incorporate aromatic herbs like thyme or rosemary to infuse the meat with a fragrant aroma.
If you want, toss in some onions or orange slices for extra complexity, but be careful not to overstuff. A loosely filled cavity allows heat to circulate evenly, ensuring the duck cooks properly.
This simple mix of garlic, lemon, and herbs will elevate your roast, making it both flavorful and aromatic without overwhelming the natural taste of the duck.
Roasting Temperature and Timing Guidelines
Because roasting temperature and timing greatly influence both the texture and flavor, you should set your oven to 375°F (190°C) and plan for about 20-25 minutes per pound when cooking a medium-sized duck. This roasting temperature guarantees even cooking and helps develop crispy skin.
Keep an eye on cooking times, adjusting slightly based on your oven’s performance or duck size. Use a meat thermometer to check the internal temperature—aim for 165°F (74°C) in the thickest part of the breast to guarantee safety and juiciness.
Start roasting with the duck breast side up to promote even heat distribution. Once done, let the duck rest for 10-15 minutes to allow juices to redistribute before carving.
Following these guidelines ensures a perfectly cooked duck every time.
Applying Glaze and Enhancing Crispiness
While the duck roasts, you can elevate its flavor and texture by applying a honey-balsamic glaze during the final 20 minutes. Make sure the skin is completely dry before brushing on the glaze, as moisture can prevent the crispy skin you want.
Apply the glaze every 10 minutes in this stage to build layers of flavor and encourage caramelization. The acidity in balsamic vinegar tenderizes the skin while honey’s natural sugars promote browning without adding extra sweetness.
To maximize crispiness, finish by briefly broiling the duck—this intensifies caramelization and creates a beautifully textured, glossy exterior. By carefully glazing and timing these steps, you’ll achieve a perfectly crispy skin with rich flavor that’s sure to impress.
Resting and Carving the Duck
Once your duck is out of the oven, let it rest uncovered for at least five minutes to keep the juices locked in. This step makes the meat juicier and easier to carve without losing moisture.
When you’re ready, use a sharp knife to slice the breast and legs into thin, even pieces for the best presentation and flavor. This way, every bite tastes just right!
Importance of Resting
Why should you let your duck rest after roasting? Resting is essential because it allows the juices to redistribute evenly throughout the meat, ensuring it stays tender and juicy. If you cut into the duck immediately, those flavorful juices will escape, leaving the meat dry and less enjoyable.
During resting, the internal temperature stabilizes, helping the duck reach the perfect doneness without overcooking from residual heat. This step preserves moisture and improves texture, making your duck more succulent and easier to carve.
Techniques for Carving
How do you carve a perfectly roasted duck to showcase its tenderness and flavor? Start by resting the duck uncovered for 5 to 15 minutes. This step lets the juices redistribute, ensuring juicy, tender meat and making carving easier.
Use a sharp carving knife to remove the legs and thighs first, then slice the breast meat into thin, even pieces against the grain. After resting, gently peel away the crispy skin and slice it into strips for serving or garnish.
Resting not only preserves moisture but also helps maintain that irresistible crispy skin. By following these carving techniques, you’ll present clean, smooth cuts that highlight the duck’s rich flavor and texture, making every bite a delight.
Serving Suggestions and Festive Side Dishes
While roasting the perfect duck is an accomplishment, serving it with vibrant, festive side dishes will truly elevate your meal. To achieve a stunning festive presentation, consider these top picks:
- Roasted Brussels sprouts, butternut squash glazed with cinnamon and maple syrup, and green beans tossed with pine nuts add color and seasonal flavor.
- Incorporate bright ingredients like cranberries, pecans, or pomegranate seeds into your side dishes to boost visual appeal and complement the roasted duck.
- Balance the richness of the duck with classic sides such as garlic mashed potatoes, roasted root vegetables, or a fresh green salad.
Arrange your side dishes artfully around or atop the duck on the platter. This creates a cohesive, festive holiday menu that delights both the eyes and palate.
Conclusion
Now that you’ve mastered these seven steps, your oven-roasted duck will be so incredibly delicious, it might just cause a culinary revolution in your kitchen! By selecting the right bird, prepping carefully, seasoning thoughtfully, and roasting to perfection, you’re set to impress everyone at your table.
Don’t forget to rest and carve it just right, then pair with festive sides for a truly unforgettable meal. Get ready to wow your guests like never before! Cooking duck perfectly in the oven is easier than you think, and these simple steps will ensure juicy, flavorful results every time.
So, whether it’s a holiday feast or a special dinner, confidently follow these tips for the best oven-roasted duck experience. Your kitchen is about to become the hottest spot for delicious, perfectly cooked duck!