How to Season Cast Iron Without an Oven in 7 Easy Steps
Start by thoroughly cleaning your cast iron with warm water and mild soap. Then dry it completely using a cloth and a bit of stovetop heat to avoid any rust forming.
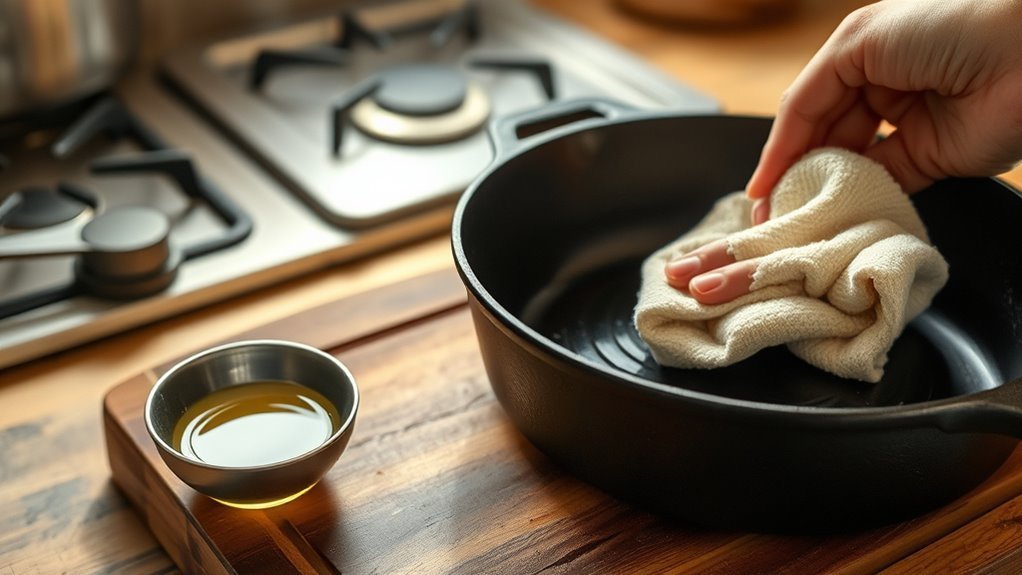
Next, choose a high smoke point oil, like vegetable or canola oil. Apply a very thin, even layer of oil all over the entire pan.
Heat the skillet on your stovetop until it starts to smoke slightly, then let it cool down fully. This helps create that durable seasoning layer.
Repeat the process of oiling and heating several times to build a strong, non-stick surface.
Keep going to discover tips for maintaining your pan’s durability and performance.
Clean Your Cast Iron Thoroughly
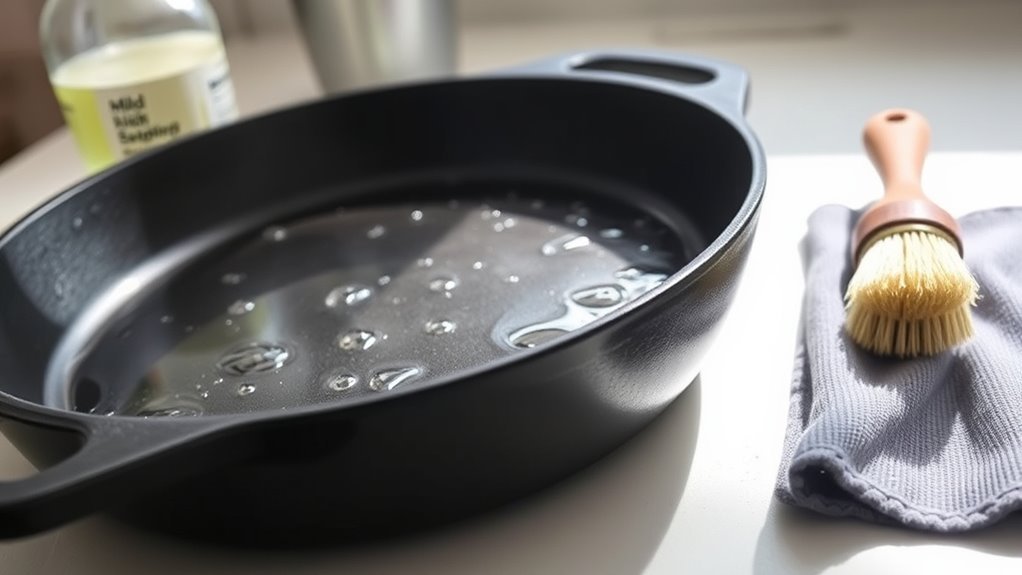
Before you begin seasoning your cast iron, make sure to clean it thoroughly using warm water and mild dish soap to remove any dirt, rust, or old seasoning. Scrub the surface well to get rid of all debris, then rinse the pan thoroughly to eliminate any soap residue that might interfere with the new seasoning layers.
Clean your cast iron well with warm water and mild soap before seasoning to ensure lasting, even layers.
Take a good look at your cast iron for any stubborn rust spots or leftover grime. If you find any, use a scrubber or sandpaper to get rid of them.
Proper cleaning guarantees your seasoning will stick and develop evenly. Remember, a clean cast iron surface is the foundation for a durable, non-stick seasoning that improves with every use.
Following these steps helps make sure your skillet lasts a long time and performs great in the kitchen. It’s definitely worth the effort!
Dry the Pan Completely
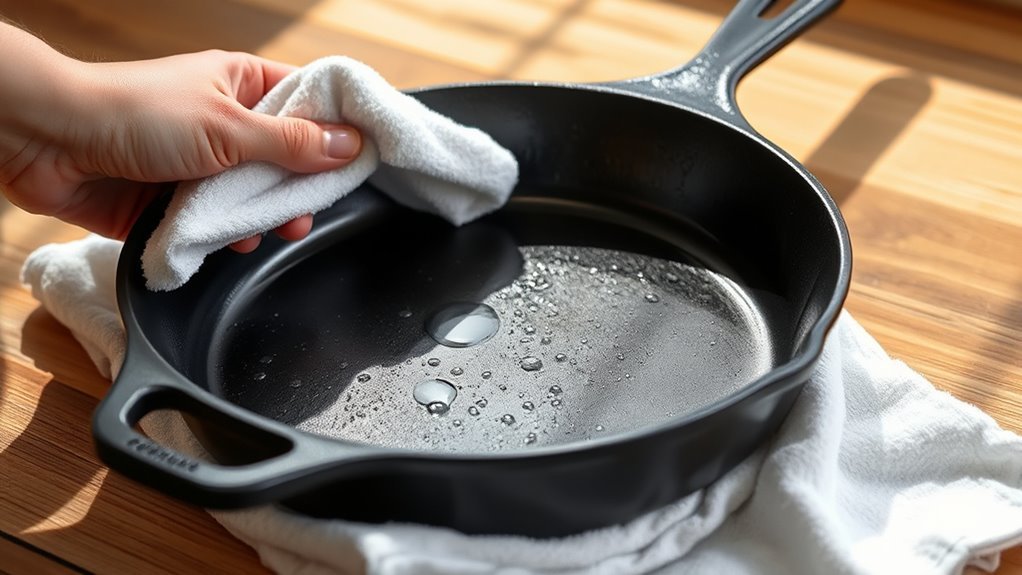
After thoroughly cleaning your cast iron, the next step is to dry it completely to keep rust at bay. Immediately wipe away all water using a lint-free cloth or paper towel, making sure to dry every surface, including the handle and outside edges.
Don’t leave any moisture behind, as even small droplets can cause rust. To guarantee the pan is fully dry, place it on a stovetop burner over low heat for a few minutes. This evaporates any residual water that your cloth might have missed.
Properly drying your pan is essential before moving on to seasoning because water can interfere with oil bonding to the surface. Taking care to dry your cast iron thoroughly sets the foundation for a long-lasting, rust-free seasoning layer.
Choose the Right Oil for Seasoning
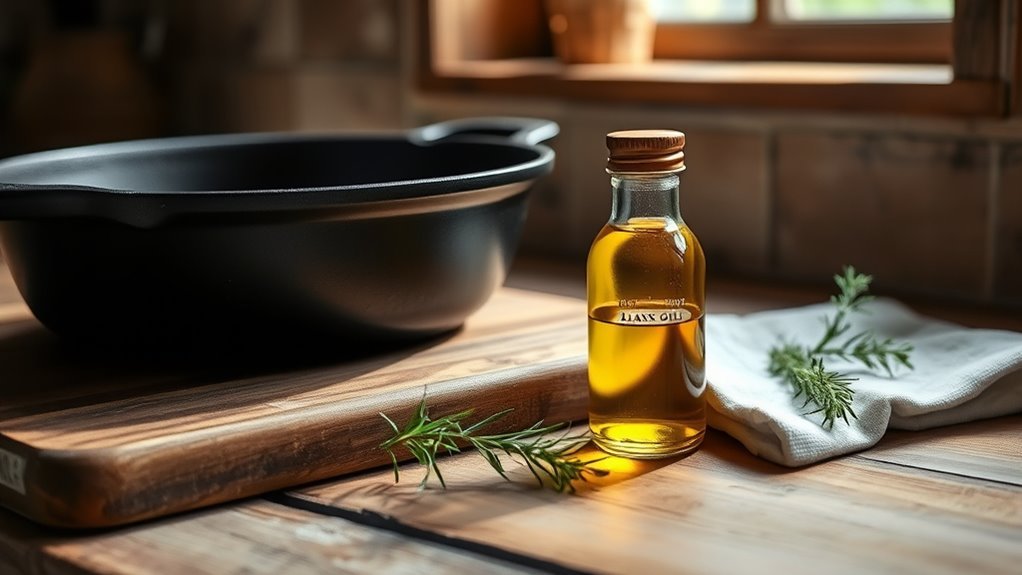
To get the best seasoning results, pick oils with high smoke points like vegetable or canola oil. Make sure to apply only a thin layer to avoid sticky spots or uneven coating.
Avoid low smoke point oils, as they can cause your seasoning to flake or burn. Trust me, a little extra care here makes all the difference!
High Smoke Point Oils
Choosing the right oil is essential when seasoning your cast iron. Oils with high smoke points like vegetable, canola, and melted shortening work best because they withstand the heat without burning.
High smoke point oils handle the temperatures involved in the seasoning process without breaking down. This ensures a smooth, durable layer on your cookware.
You’ll want to avoid low smoke point oils like butter or unrefined oils. These can leave a sticky, uneven coating that’s harder to maintain.
For reference, vegetable oil smokes around 450°F, while canola oil is about 400°F. Both are ideal for building a resilient, nonstick surface through repeated heating.
Using these oils in a very thin, even layer prevents pooling and promotes a hardening effect. This effect actually improves the more you use your cast iron.
Oil Application Tips
When you apply oil to your cast iron, make sure to use a very thin, even layer that covers all surfaces without pooling. Proper oil application ensures the seasoning bonds well and prevents sticky or uneven spots.
Choose oils with high smoke points like vegetable, canola, or melted shortening for the best results. Avoid unrefined oils, as they can smoke excessively and ruin your seasoning layers.
Use a lint-free cloth or paper towel to spread the oil smoothly and control how much you apply. Remember, building strong layers of seasoning happens through repeated cycles of light oiling and heating.
Apply a Thin, Even Layer of Oil
Although seasoning your cast iron requires patience, applying a thin, even layer of oil is crucial for creating a durable, non-stick surface. Use a lint-free cloth or paper towel to spread a small amount of high-smoke-point oil—like vegetable, canola, or shortening—over every part of your cast iron, including the handle and exterior.
Make sure the layer of seasoning is very thin to avoid pooling or drips, which can cause uneven seasoning and flaking later. After coating the entire surface, wipe off any excess oil so it looks just lightly coated, not sticky or greasy.
This careful application ensures your layer of seasoning bonds well, setting the stage for a long-lasting, reliable finish on your cast iron cookware.
Heat the Pan on the Stovetop
Since proper heat is vital for seasoning, place your cast iron pan on a stovetop burner set to medium or high. This ensures even heating, which is essential for developing a durable seasoning layer.
Let the pan heat until it starts to smoke lightly—that’s your signal the oil will polymerize correctly. Use heat-resistant gloves or tongs to handle the hot cast iron safely and avoid burns.
Maintain consistent heat to prevent hot spots, which can cause uneven seasoning or even warp your pan. While the pan is still hot, apply a thin, even layer of oil to all surfaces using a cloth or paper towel.
This step helps lock in the seasoning, creating a smooth, non-stick finish that improves with each use.
Repeat Oiling and Heating to Build Layers
To build a strong, durable seasoning, you’ll want to apply multiple thin layers of oil and heat the pan between each coat. Make sure each layer is evenly spread to avoid pooling, which can ruin the finish.
Waiting for the pan to cool slightly before reapplying helps the oil bond properly and creates a better nonstick surface. It’s all about patience and layering!
Importance of Multiple Coatings
When you repeat the process of applying oil and heating your cast iron 3 to 4 times, you build multiple seasoning layers that create a durable, nonstick surface. Each coating undergoes polymerization when heated, transforming the oil into a tough, bonded layer that strengthens your pan’s finish.
These multiple coatings fill in tiny surface imperfections, resulting in a smoother, more even seasoning. By building up several thin layers instead of one thick one, you reduce the chance of flaking and improve rust resistance.
The consistent process gradually enhances your cast iron’s seasoning, making it more effective and long-lasting. So, don’t skip repeating the oil application and heating — it’s key to a resilient, well-seasoned pan that performs beautifully every time.
Timing Between Applications
Although applying oil and heating your cast iron multiple times builds a strong seasoning, the timing between each application plays a crucial role in achieving the best results.
After each thin, even layer of oil is heated and polymerized, you need to let your pan cool completely before adding the next coat. This timing between applications allows each layer to bond properly and prevents sticky or uneven seasoning.
Repeating this cycle 3-4 times helps develop a durable, smooth black surface that improves nonstick qualities. When you season cast iron with careful attention to timing, your pan gains long-lasting protection and a better finish without needing an oven.
Patience in these intervals is key to building a quality seasoning layer. So, take your time—it really pays off in the end!
Achieving Even Coverage
Building on the importance of timing between applications, focusing on even coverage guarantees your seasoning forms a smooth, consistent layer. To build durable seasoning on your cast iron, you’ll want to repeat applying thin layers of oil followed by heating.
Each cycle fills in uneven spots, creating a uniform coating that strengthens over time.
Keep these tips in mind to achieve even coverage:
- Apply a very thin, even layer of oil to avoid pooling.
- Heat the pan thoroughly after each oiling to bond the seasoning.
- Allow the cast iron to cool completely before the next application to prevent excess oil buildup.
Consistently repeating this process on your stovetop or open fire will give your cast iron a glossy, black, nonstick surface without an oven.
Cool and Store Your Seasoned Pan Properly
How should you cool and store your cast iron pan to keep its seasoning in top shape? First, let your cast iron cool completely before handling or putting it away. This helps prevent moisture buildup and rust.
Once it’s cooled, wipe off any leftover oil or food bits with a clean cloth or paper towel. For proper storage, keep your skillet in a dry place. Ideally, leave the lid off or slightly ajar to allow airflow and avoid trapping moisture.
Try not to stack heavy items on it — that way, you protect the seasoning from scratches or damage. If you’re storing it long-term, place a paper towel inside the pan to soak up any extra moisture.
Following these simple steps will keep your cast iron well-seasoned and ready for your next cooking session.
Conclusion
Seasoning your cast iron without an oven isn’t just doable—it’s a game-changer. Like painting a masterpiece stroke by stroke, each layer of oil you apply and heat strengthens your pan’s non-stick magic.
With a little patience and care, you’ll turn that bare iron into a kitchen champion, ready for countless delicious meals. Keep it dry, keep it oiled, and your cast iron will reward you with years of flawless cooking.
Remember, seasoning cast iron without an oven means using heat sources like stovetops or grills, making the process accessible anywhere. This method helps build up a durable, natural non-stick surface that improves with every use. So, whether you’re camping or just skipping the oven, you can still enjoy perfectly seasoned cast iron that’s ready to tackle any recipe. Keep up with regular seasoning, and your cast iron skillet will stay rust-free and reliable for years to come.