How to Reheat Chicken Tenders in the Oven in 5 Easy Steps
First, preheat your oven to 400°F for even heat. This step is crucial for reheating chicken tenders perfectly without drying them out.
Next, let your chicken tenders cool slightly and pat them dry. Doing this helps avoid sogginess and keeps the coating crispy.
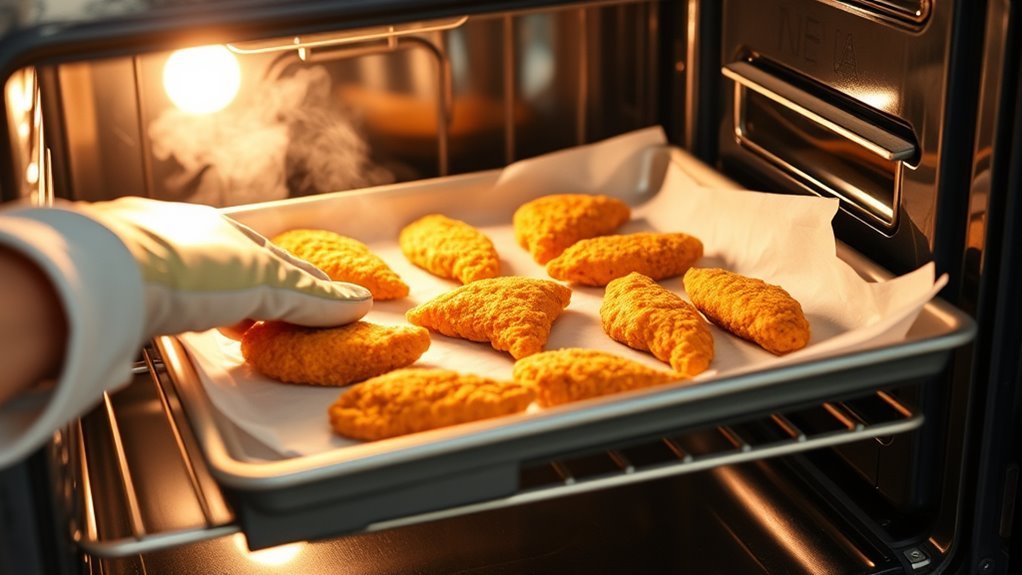
Arrange the tenders in a single layer on a foil-lined baking sheet. If you have a wire rack, place the tenders on it for extra crispiness.
Reheat the tenders for 10-15 minutes, flipping them halfway through. This ensures they get heated evenly and stay crispy all around.
Finally, let the chicken rest for a few minutes before serving. This keeps the juices locked in, making every bite delicious.
Keep going to uncover tips for perfect results every time!
Preheat Your Oven to the Right Temperature
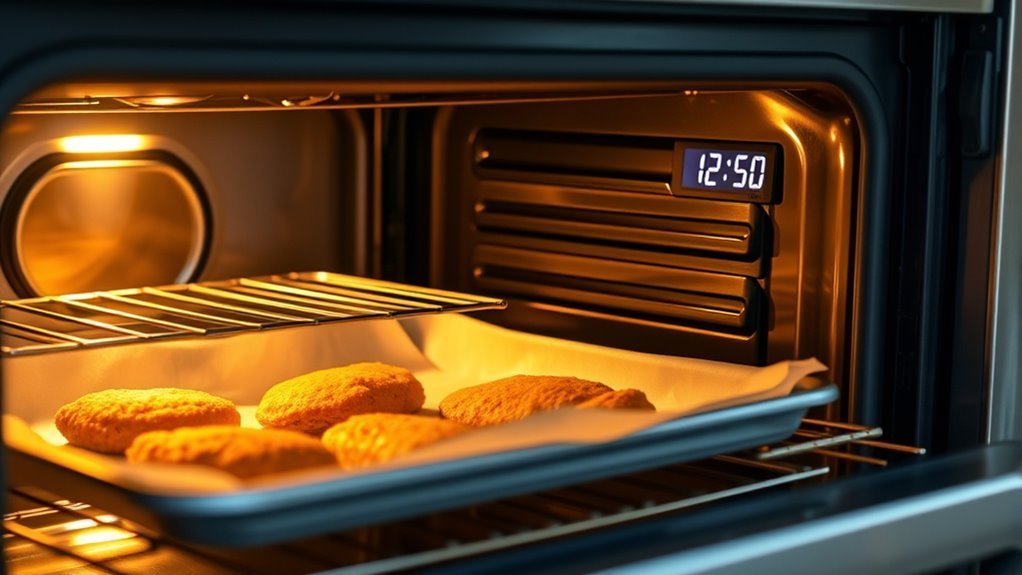
Before you reheat your chicken tenders, preheat your oven to 400°F (204°C) and wait at least 10 minutes to guarantee it’s fully heated. Preheating ensures the oven reaches the desired temperature, which is vital for ideal reheating and even heating of your tenders.
Preheat your oven to 400°F and wait 10 minutes for perfectly reheated chicken tenders.
When you preheat your oven properly, the temperature will be consistent throughout, preventing uneven cooking or sogginess. While you can increase the oven temperature to 425°F (218°C) for crispier results, it’s riskier without careful monitoring.
For larger batches, consider lowering the oven temperature to 350°F (177°C) to avoid overcooking. Always allow enough time for the oven temperature to stabilize before placing your chicken inside.
Taking these steps to preheat your oven guarantees the best texture and flavor when reheating chicken tenders. It’s a simple step that really makes a difference!
Prepare the Chicken Tenders for Reheating

Once your chicken tenders have cooled to room temperature for about 10-15 minutes, pat them dry with paper towels to remove any surface moisture. This step is vital to help restore their crispy texture during reheating.
Next, remove any sauce or toppings, as these can make the tender layer soggy and prevent even heat distribution. By eliminating excess moisture and sauce, you guarantee the tenders heat uniformly.
Using a wire rack promotes airflow, but before that, preheat your oven to 400°F (204°C) to assure quick reheating. When arranging, place the tenders in a single layer to avoid overlapping, which can trap steam and reduce crispiness.
Taking these steps prepares your chicken tenders perfectly for a delicious, evenly reheated result.
Arrange Chicken Tenders on a Baking Sheet

When you arrange your chicken tenders on a baking sheet, place them in a single layer to guarantee they reheat evenly. Line the baking sheet with aluminum foil to simplify cleanup.
Make sure to space the tenders apart; this promotes air circulation, preventing overcrowding that leads to uneven heating and sogginess. For extra crispiness, consider using a wire rack on the baking sheet to keep tenders elevated, allowing heat to surround each piece fully.
| Tip | Reason |
|---|---|
| Single layer | Ensures even reheating |
| Aluminum foil | Eases cleanup |
| Space between pieces | Enhances air circulation |
| Wire rack | Prevents sogginess, boosts crispiness |
Remember to preheat your oven before arranging chicken tenders for the best results. You’ll thank yourself later!
Reheat Chicken Tenders for Optimal Crispiness
Although reheating chicken tenders might seem straightforward, using the right technique guarantees they stay crispy and delicious. To reheat chicken tenders for ideal crispiness, preheat your oven to 400°F (200°C).
Place your leftover chicken on a wire rack set over a baking tray—this setup promotes even oven reheating by allowing hot air to circulate around each piece. Bake refrigerated tenders for 10-15 minutes, or frozen ones for 20-25 minutes, flipping halfway through to ensure crispy results on all sides.
Use a wire rack on a baking tray to evenly reheat chicken tenders for crispy, all-around crispiness.
For extra crispiness, finish with 1-2 minutes of broiling, but watch closely to avoid burning. Always check the internal temperature, aiming for 165°F (74°C), to ensure your chicken is safely reheated while maintaining that perfect crunch.
These reheating tips will keep your chicken tenders tasting fresh and crispy. Give it a try, and enjoy your crispy chicken just like when it was first cooked!
Let the Chicken Tenders Rest Before Serving
To keep your reheated chicken tenders juicy and flavorful, let them rest for 2-3 minutes after taking them out of the oven. This resting period allows the juices to redistribute, preventing drying and enhancing taste.
Cover your tenders loosely with foil during resting to retain heat without trapping moisture. It’s a simple step but makes a big difference!
Keep these tips in mind during the resting time: avoid cutting into the tenders immediately to keep the juices inside. Let the internal temperature stabilize around 165°F for safety and ideal juiciness.
You can use this resting time to prepare your serving area so you can serve immediately. That way, everything’s ready to go once your tenders are perfectly rested.
Conclusion
Reheating your chicken tenders in the oven not only brings back their crispy goodness but also keeps them safe to eat. Did you know that 90% of people prefer reheated food that’s crispy rather than soggy?
By following these simple steps, you’ll enjoy tender, flavorful bites every time. So, next time you’ve got leftovers, skip the microwave and give your chicken tenders the oven treatment—they’ll taste just like fresh!
Using the oven to reheat chicken tenders ensures they stay crispy and delicious. It’s a simple method that preserves texture and flavor better than other reheating options. Plus, it’s easy to do and takes just a few minutes.
Trust me, once you try reheating chicken tenders in the oven, you won’t want to go back to soggy leftovers. It’s a game changer for enjoying your favorite snacks anytime!