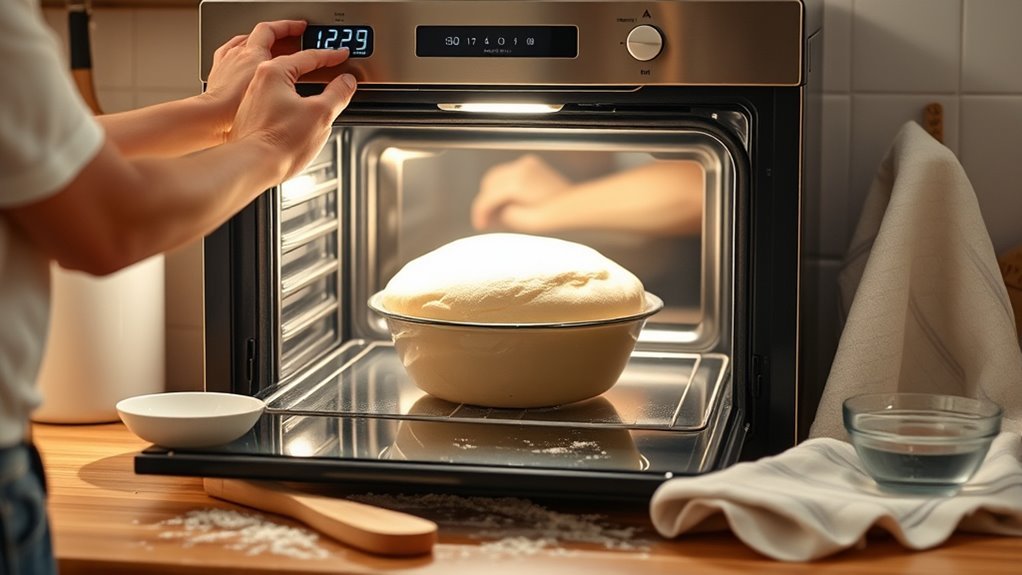
How to Proof Dough in Oven in 10 Easy Steps
To proof dough in your oven, start by activating active dry yeast in warm water with a bit of sugar until it becomes bubbly. This step is crucial because it wakes up the yeast and kick-starts the fermentation process.
Next, shape your dough and place it in a lightly oiled, oven-safe clear bowl.
Preheat your oven to 400°F, then turn it off quickly and place the bowl inside on the middle rack.
Cover the dough with plastic wrap to keep moisture and warmth trapped in.
Let the dough rise until it roughly doubles in size and looks bubbly on the surface.
This method creates the perfect warm environment for proofing dough in your oven without overdoing the heat.
Keep practicing, and you’ll soon discover tips to perfect your proofing every time!
Choose the Right Yeast for Your Dough
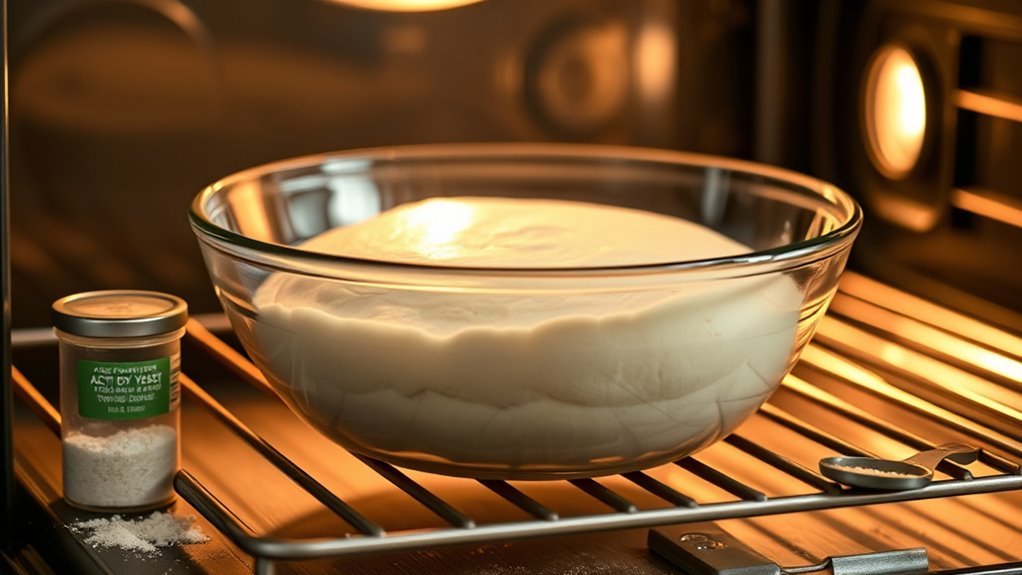
Although you can choose between active dry yeast and instant yeast, selecting the right type is essential for proofing your dough correctly. Active dry yeast is preferred because it requires proofing by blooming in warm water, usually between 105-110°F.
This step ensures the yeast activates and begins fermentation, producing gas bubbles necessary for your dough to rise. You’ll dissolve the yeast in warm water with a pinch of sugar and wait for it to foam, confirming it’s alive and ready.
Instant yeast skips this step, mixing directly with dry ingredients, but active dry yeast’s proofing process gives you more control and reliability. Remember, expired or dead yeast won’t produce the gas needed, so choosing fresh active dry yeast makes a significant difference in your dough’s success.
Activate Your Yeast Properly
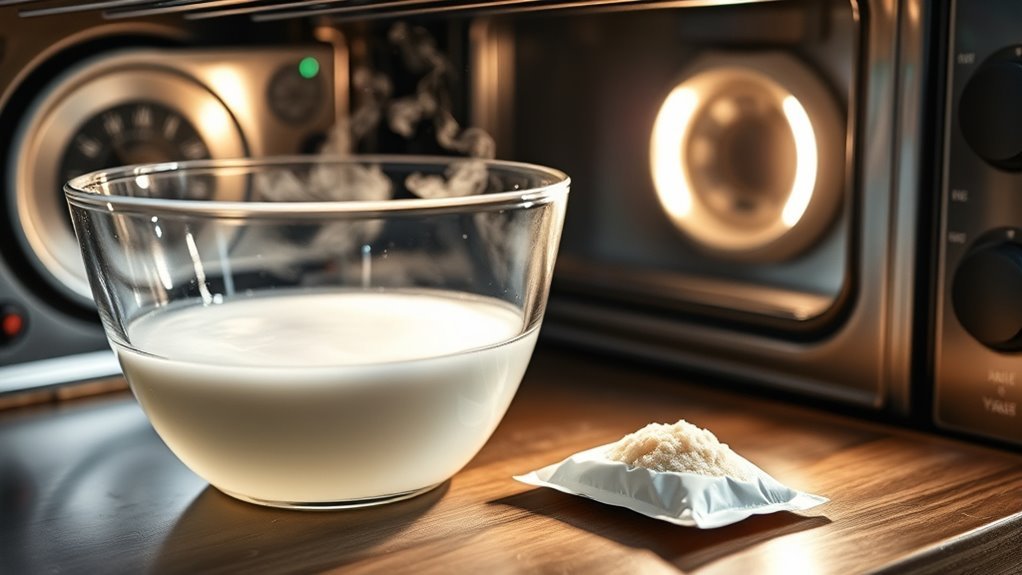
Once you’ve selected the right yeast, the next step is to activate it properly to guarantee your dough rises as expected. To activate active dry yeast, dissolve it in warm liquid—water or milk heated to about 100-110°F.
Add a teaspoon of sugar to feed the yeast and promote foaming during proofing. Let the mixture sit for 10-15 minutes until it becomes foamy or bubbly; this indicates the yeast is alive and ready to work.
Add sugar to feed yeast and wait 10-15 minutes for foaming to ensure it’s active and ready.
If no foam appears, discard the yeast as it’s dead and won’t leaven your dough. Properly activating your yeast is essential for reliable proofing, ensuring your dough rises well and prevents underproofing or flat baked goods.
Master this step to set your dough up for success.
Prepare Your Dough for Proofing
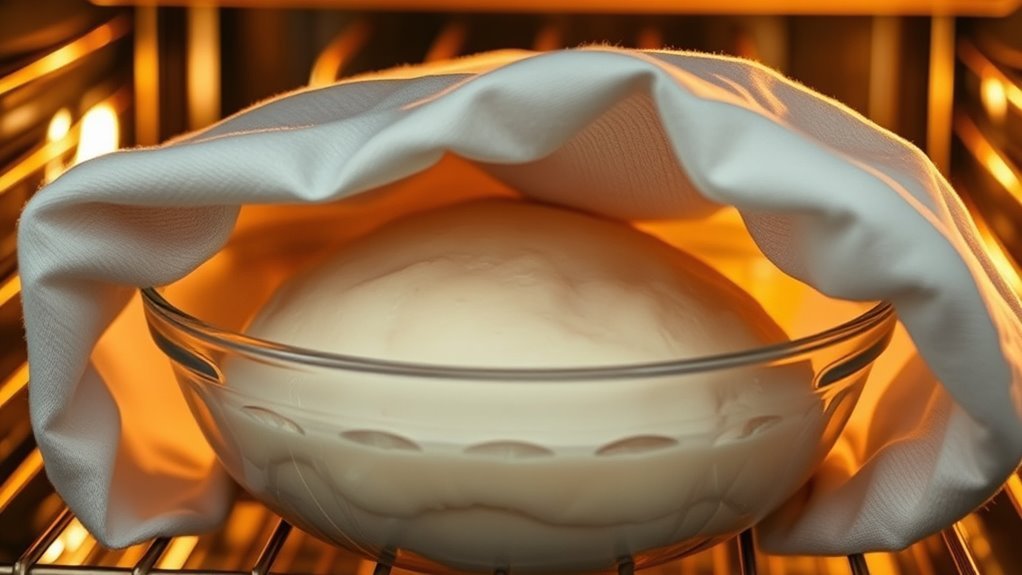
Start by placing your dough ball into a clean, large, heatproof clear bowl. This way, you can easily watch it rise.
Lightly oil the bowl to prevent sticking and make handling smoother. Choosing the right bowl and positioning it properly sets the stage for a perfect proofing process.
Dough Ball Placement
When you place your dough ball into a large, clean, heatproof glass or plastic bowl, you make it easy to keep an eye on it during proofing. Lightly oil the bowl with canola or extra virgin olive oil spray so your dough won’t stick.
Shape the dough into a smooth, round ball and tuck the edges underneath to help it rise evenly. Then, position the bowl on the middle rack of your oven. Make sure there’s enough space above for the dough to expand as it proofs.
Cover the bowl with plastic wrap or a damp cloth to keep the moisture and warmth in—both are super important for proofing.
| Step | Tip |
|---|---|
| Dough Ball | Shape into a smooth, round ball |
| Bowl Preparation | Lightly oil to prevent sticking |
| Oven Placement | Middle rack, space above for expansion |
Bowl Selection Tips
Although it might seem like a simple choice, selecting the right bowl plays an essential role in how well your dough proofs. Use a large, heatproof bowl made of clear glass or food-grade plastic so you can easily monitor the dough’s rise during proofing in your oven.
Make sure the bowl is clean and lightly oiled or sprayed with non-stick spray to prevent sticking. Pick a bowl at least twice the size of your dough to give it plenty of room to expand without overflowing.
Choose a bowl with smooth, rounded edges to avoid tearing the dough when handling or shaping. And it’s best to opt for non-reactive materials like glass or plastic to prevent any chemical reactions with your ingredients during proofing.
This way, you’re set up for a perfect rise every time!
Select a Suitable Oven-Safe Bowl or Pan
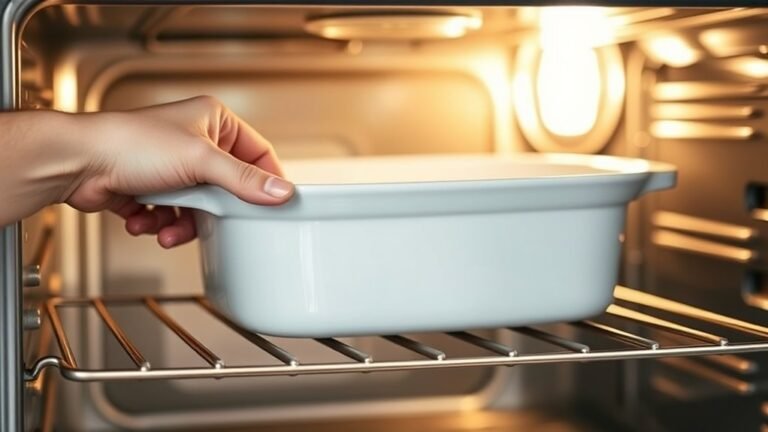
Because dough expands considerably during proofing, you’ll want to select a large, heatproof glass or ceramic bowl that lets you easily monitor its rise. Choose a bowl big enough to accommodate the dough’s expected volume increase without crowding.
Lightly oil or spray the inside of the bowl to prevent sticking when removing the dough after proofing. Avoid metal bowls since they conduct heat unevenly and can disrupt the proofing environment inside your oven.
Before placing your dough in the bowl, make sure it’s clean and completely dry to prevent contamination or uneven rising. Using a suitable large bowl ensures your dough proofs properly in the oven, creating the ideal conditions for a perfect rise.
Position the Dough Correctly in the Oven
Place your dough on the upper third rack of the oven. This gives it enough room to rise without touching the ceiling.
Keep the oven off but warm, and add a pan of boiling water below to create steam. This setup provides the perfect space and humidity for your dough to proof properly.
Oven Rack Placement
When positioning your dough in the oven, you’ll want to use a middle or upper rack to give it plenty of room to rise without restriction. Proper oven rack placement is key for even proofing and maintaining the right temperature around your dough.
Here’s what to keep in mind:
- Place the dough on a stable, level oven rack to avoid tipping.
- Use the middle rack for balanced heat and humidity.
- Ensure at least 2-3 inches of clearance above the dough for expansion.
- Avoid the oven floor or spots near heating elements to prevent uneven proofing.
- Center the rack in the oven to maintain consistent temperature.
Space Above Dough
Although positioning your dough correctly in the oven might seem simple, giving it enough space above guarantees it can rise without restriction. Place your dough on an oven rack set in the upper third of the oven to provide ample space above dough for expansion during proofing.
Make sure the rack is centered so airflow and temperature remain consistent around the dough. Avoid overcrowding by leaving at least 2-3 inches of clearance around the dough.
This space above dough is essential, as it allows the rising dough to expand freely without hitting the oven ceiling or other items. Positioning the dough this way also takes advantage of the heat and humidity from water placed below, promoting proper proofing and ensuring your dough rises perfectly.
Using Heat Sources
Since proper heat and humidity are crucial for dough to rise effectively, you’ll want to position it strategically in the oven. When proofing your dough using heat sources, follow these steps for excellent oven proofing:
- Place your dough on the upper third oven rack to give it room to rise.
- Put a shallow baking dish with boiling water on the lower rack to create warmth and humidity.
- Preheat the oven to 400°F for one minute, then turn it off before placing the dough inside.
- Close the oven door to trap residual heat and steam, maintaining a consistent environment.
- Cover the dough lightly with plastic wrap or a damp cloth if extra moisture is needed, though the boiling water usually suffices.
This method ensures your dough proofs evenly with ideal heat sources.
Create a Warm and Humid Environment
To create the perfect proofing environment, you’ll want to harness gentle warmth and humidity that encourage your dough to rise effectively. Start by preheating your oven to 400°F for just one minute, then turn it off.
This creates a warm environment that’s ideal for proofing without overheating the dough. Next, place a pan of boiling water on the bottom rack to add humidity, which keeps the dough moist and boosts yeast activity.
Keep the oven door closed during proofing to maintain consistent warmth and humidity, preventing drafts and temperature drops. Using a clear glass bowl lets you monitor the dough’s rise and spot bubbles forming.
This combination of residual heat and steam creates the perfect natural environment to help your dough expand beautifully. It’s simple but super effective!
Preheat and Turn Off the Oven at the Right Time
You’ll want to preheat your oven to 400°F and then turn it off right away to create the perfect proofing environment. Timing the turn-off is essential because the residual heat helps your dough rise without cooking it.
Keep the oven door closed to maintain warmth and humidity throughout the process. This way, your dough gets just the right conditions to rise beautifully.
Optimal Oven Preheating
Although it might seem counterintuitive, preheating your oven to 400°F and then turning it off immediately creates the perfect environment for proofing dough. This method uses the oven’s residual heat to maintain an ideal temperature without cooking the dough.
For ideal oven preheating, keep these tips in mind:
- Preheat your oven fully to 400°F for consistent warmth.
- Turn off the oven within one minute of reaching temperature to avoid overheating.
- Do not open the oven door after turning it off to preserve heat and humidity.
- Use this gentle warmth to activate yeast and encourage dough rising.
- Maintain a steady temperature that enhances proofing without risking premature baking.
Timing the Oven Turn-Off
When you preheat the oven to 400°F, turning it off after exactly one minute creates an ideal proofing environment. This timing guarantees the oven’s residual temperature stays warm enough to activate yeast without cooking the dough.
Use a timer to avoid overheating, and keep the oven door closed after turning it off to preserve humidity. This controlled temperature supports consistent proofing results every time.
| Step | Action | Reason |
|---|---|---|
| 1 | Preheat to 400°F for 1 min | Warm oven for ideal proofing temp |
| 2 | Turn oven off | Maintain low, stable temperature |
| 3 | Keep door closed | Retain heat and humidity |
Mastering this timing is key to perfect dough proofing in your oven. It’s a simple trick, but it makes all the difference!
Cover the Dough to Retain Moisture
Since dough can dry out quickly during proofing, covering it with plastic wrap or a damp towel helps you retain moisture and keep the surface soft. This step is vital for a successful rise and texture.
Here’s what to keep in mind when covering your dough:
- Use plastic wrap or a damp towel to lock in moisture.
- Ensure the covering is loose-fitting to create a humid environment.
- Avoid towels that stick to the dough or dry out.
- Skip covering if you’re proofing in a steam-filled oven.
- Proper coverage keeps dough soft and pliable, aiding gluten development.
Monitor the Dough’s Rise and Bubbles
Keeping your dough covered helps maintain moisture, but you’ll also want to keep an eye on how it rises and forms bubbles.
During proof, visible gas bubbles show active yeast fermentation, so spotting these bubbles means your dough is fermenting properly. If you use a clear bowl, watch for bubbles rising from the bottom, confirming good activity.
Your dough should roughly double in size, signaling it’s ready for baking. A puffed, bubbly, or slightly jiggly texture indicates successful proofing and proper bubble formation.
When the surface is dotted with small bubbles and feels light and airy, your dough has proofed perfectly. Monitoring the dough’s rise and bubbles closely ensures you catch the ideal moment to move on to the next step in baking.
Adjust Proofing Time Based on Dough and Conditions
Although proofing times generally range from 30 minutes to over two hours, you’ll need to adjust based on your dough’s temperature, yeast activity, and room conditions. Keep a close eye on the dough rise rather than relying solely on the clock.
Warmer oven temperature speeds up proofing, while cooler settings slow it down. To fine-tune proofing time, consider these tips:
- Check for a 2x increase in dough size, not just elapsed time
- Increase proofing time in cooler environments
- Decrease proofing time if dough rises quickly
- Avoid under-proofing to prevent dense bread
- Prevent over-proofing that leads to dough collapse
Conclusion
By following these simple steps, you’ll master proofing dough in your oven every time. Did you know that properly proofed dough can increase in size by up to 50% or more? This makes your bread lighter and airier, which is exactly what you want.
This rise isn’t just about looks—it’s essential for texture and flavor. So, take your time with proofing. Enjoy the delicious results of perfectly risen, homemade bread right from your oven!
Proofing dough in your oven is a game-changer for homemade bread. It ensures your dough rises just right, giving you that soft, fluffy texture with great flavor. With these easy proofing tips, you’ll consistently bake bread that tastes bakery-fresh. Remember, a well-proofed dough is the key to light, airy bread that’s delicious every time. So, get ready to impress yourself and others with your oven-proofed bread!