10 Easy Steps to Clean an Oven Without Oven Cleaner
To clean your oven without harsh cleaners, start by gathering natural supplies like baking soda, vinegar, and lemon juice. These common kitchen ingredients make a great alternative to chemical-based oven cleaners.
First, remove the oven racks and soak them separately in warm, soapy water. This will help loosen any baked-on grime while you focus on the oven interior.
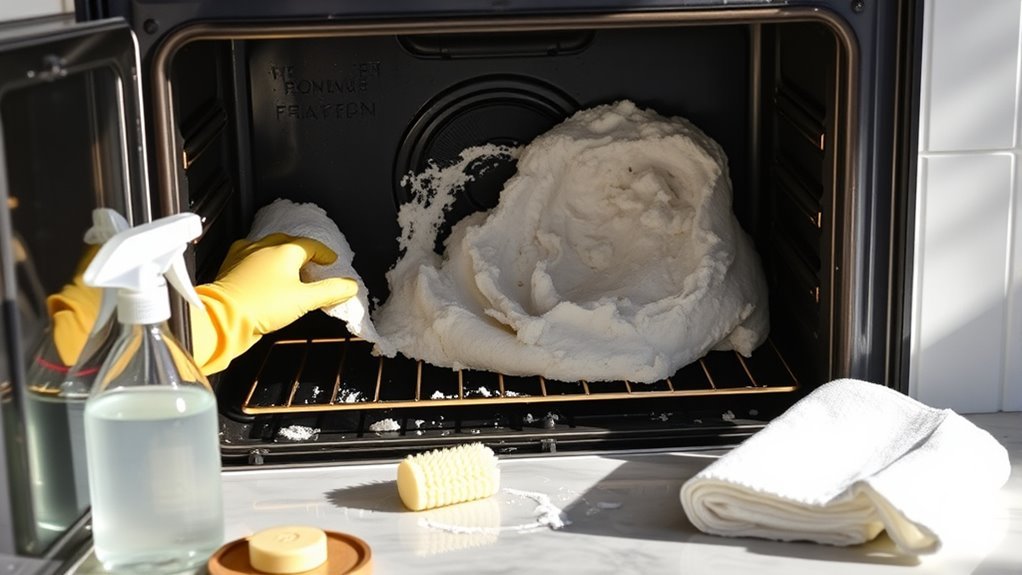
Next, make a thick paste using baking soda and water. Spread this paste evenly inside the oven, but be careful to avoid the heating elements.
Let the paste sit overnight so it can break down tough grease and grime.
The next day, wipe off the baking soda paste with a damp cloth. Then, spray vinegar over the surfaces where the paste remains; the vinegar will react and foam, helping to loosen any stubborn residue.
Finally, give the oven a thorough wipe-down to remove all cleaning residues.
Once the oven racks are dry, put them back in, and your oven will shine like new.
Keep reading to discover more helpful tips and tricks that make oven cleaning even easier and more effective!
Gather Your Natural Cleaning Supplies

Before you begin cleaning your oven, gather natural supplies like baking soda, vinegar, lemon juice, and dish soap. These common kitchen ingredients form the foundation of effective natural cleaning solutions.
Baking soda works as a gentle abrasive and deodorizer, breaking down grease and grime without harsh chemicals. Vinegar acts as a natural disinfectant and reacts with baking soda to loosen stubborn residues, making scrubbing easier.
Lemon juice adds a fresh scent and contains natural acids that help dissolve mineral deposits and stains. Dish soap complements these by cutting through grease.
Having these natural cleaning supplies on hand ensures you can safely and efficiently clean your oven without relying on commercial oven cleaners. This approach protects your health and the environment while delivering excellent results.
Remove Oven Racks and Accessories
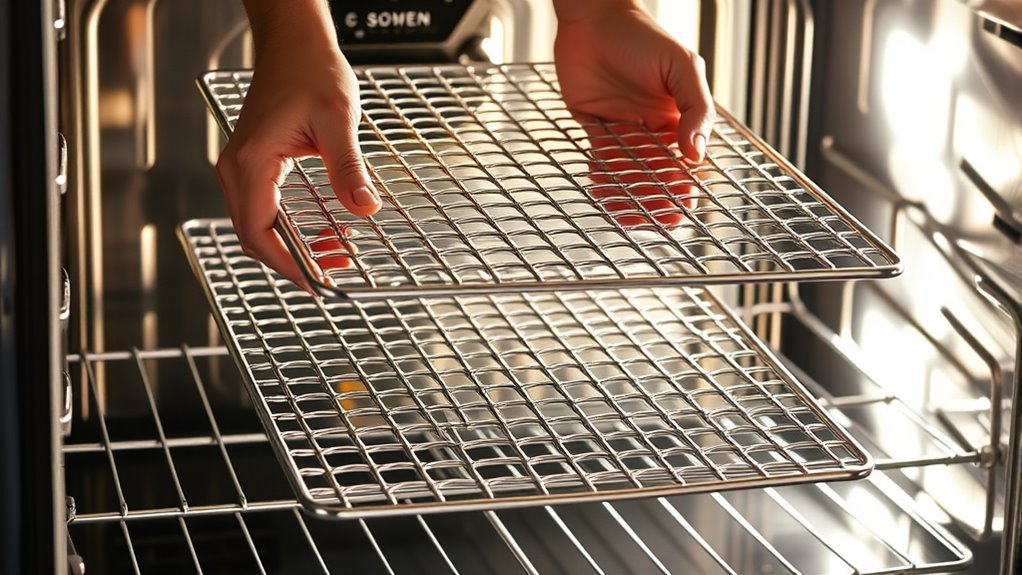
Once you’ve gathered your natural cleaning supplies, start by removing all oven racks, trays, and accessories. Taking out the oven racks clears the way for thorough cleaning and prevents damage or leftover residue during the process.
Without these racks in place, you can easily apply natural cleaning solutions to every corner of your oven interior. Be sure to remove any cleaning accessories as well to avoid trapping residue and ensure every surface gets attention.
After you finish cleaning the oven’s interior, you can clean the oven racks separately, using a soak or a natural scrub with baking soda and vinegar. This step not only protects your racks but also makes your overall cleaning more effective and hassle-free.
Prepare a Baking Soda Paste
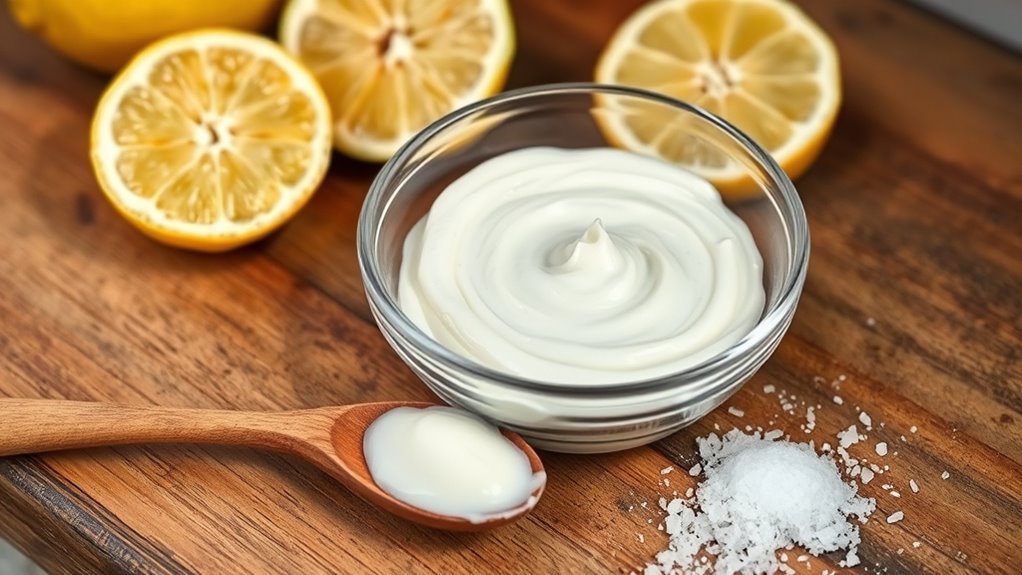
Since baking soda works as a gentle abrasive and natural deodorizer, you’ll want to mix half a cup with a few tablespoons of water to form a thick paste. Use a bowl to combine the baking soda and water, adjusting the amounts until the paste reaches a consistency similar to pancake batter.
This guarantees the paste is moist enough to stick to oven surfaces without dripping. Stir thoroughly with a spatula or spoon until smooth and spreadable.
Preparing this baking soda paste correctly is essential for effective cleaning, as it will cling to grime and grease inside your oven. Having this paste ready sets you up perfectly for the next step of applying it to your oven’s interior surfaces.
Apply the Paste to Oven Surfaces
Use a spatula or your fingers to spread the baking soda paste evenly over all oven surfaces, steering clear of the heating elements.
Focus on thickly covering stubborn, greasy areas to help break down tough grime.
Keeping the layer uniform will make the next cleaning steps much easier.
Evenly Spread Cleaning Paste
Although it might take some patience, you’ll want to spread the baking soda paste evenly over all the oven’s interior surfaces, steering clear of the heating elements. Use a spatula or cleaning sponge to apply paste in a uniform layer about 1/8 to 1/4 inch thick.
This helps prevent uneven drying or cracking. Focus on stubborn grease and baked-on stains to ensure your clean oven looks its best. Work in small sections, especially in corners and crevices where grime tends to build up.
Cover these areas thoroughly for maximum effectiveness. After you apply the baking soda paste, let it sit undisturbed for at least 15 minutes or longer if your oven has tougher stains.
This step is key to loosening grime before you wipe it away.
Avoid Heating Elements
When applying the baking soda paste, make sure you avoid the heating elements to prevent damage or uneven cleaning. These elements are delicate and can warp or malfunction if coated with the paste or exposed to moisture.
For effective oven cleaning, focus the baking soda application on the oven walls, floor, and door, steering clear of the heating coils. Covering heating elements can interfere with their function and might cause electrical issues when you use the oven later.
Before you start, check your oven’s manual to locate the heating elements precisely and ensure they stay free of paste. By carefully avoiding these sensitive parts, you’ll protect your oven and achieve a cleaner, safer result without risking damage.
Focus on Stubborn Areas
Since stubborn oven stains can be tough to remove, apply a thick layer of baking soda and dish soap paste directly onto these areas to loosen baked-on grease and grime effectively. Use a sponge or brush to spread the paste evenly, focusing on hard-to-reach spots where grease tends to build up.
Let the paste sit for up to an hour to break down tough residues, then gently scrub with a non-abrasive pad. For deep cleaning, you can reapply the paste and allow it to soak overnight on heavily stained surfaces.
Finally, wipe away the loosened grime and paste residue with a damp cloth. This method targets stubborn areas efficiently, using baking soda’s natural cleaning power without harsh chemicals. It really gets the job done without any fuss!
Let the Paste Sit Overnight
Let the baking soda paste sit overnight to maximize its grime-loosening power. This step is vital for effective cleaning and breaking down tough grease and burnt-on food.
Here’s why you should let it rest: Baking soda works best with extended contact, loosening stubborn residues. Leaving the paste overnight (at least 12 hours) ensures deep penetration.
Make sure to cover the oven interior well to keep the paste moist and active. This natural process reduces the need for harsh scrubbing or chemicals.
Clean the Oven Racks Separately
Although cleaning the oven interior is essential, you shouldn’t overlook the oven racks, which need separate attention to remove grease and baked-on residue effectively.
Start by removing the oven racks and placing them in a bathtub or large sink. Fill it with warm water and add a natural cleaner like baking soda or vinegar.
Let the racks soak for several hours or overnight to loosen stubborn grime. After soaking, use a non-abrasive scrub brush or sponge to scrub away any remaining residue.
Rinse the oven racks thoroughly with clean water and dry them completely before putting them back in the oven. Regularly cleaning your oven racks this way helps prevent grease buildup and keeps your oven looking and functioning like new.
Wipe Away the Baking Soda Paste
When the baking soda paste has dried, you’ll want to use a damp cloth or sponge to gently wipe it away from the oven surfaces. Follow these steps to remove the baking soda effectively:
Use a damp cloth to wipe the baking soda paste in a circular motion, lifting grime and residue. For stubborn spots, gently scrape with a plastic spatula to avoid scratching.
Rinse your damp cloth frequently in clean water to prevent spreading baking soda residue. After removing all paste, follow with a dry cloth to wipe off excess moisture and leave the oven shiny.
Spray Vinegar to Loosen Residue
Spray vinegar evenly over the baking soda residue to trigger a foaming reaction that loosens grime. This acidic spray breaks down stubborn buildup, making it easier for you to wipe away.
Let the vinegar sit for a few minutes to maximize its cleaning power before scrubbing. It really helps to give those tough spots a good soak!
Vinegar Spray Benefits
Two simple ingredients—vinegar and baking soda—can transform your oven cleaning routine by loosening stubborn grease and grime with minimal effort. Using vinegar spray during cleaning your oven offers several benefits for a natural oven care approach.
Here’s why vinegar spray works wonders:
- It breaks down baked-on grease and acidic residues, making grime easier to remove.
- When combined with baking soda, it creates a foaming action that lifts dirt effectively.
- Vinegar spray dissolves stubborn stains without harsh chemicals, keeping your oven eco-friendly.
- You can reapply vinegar spray repeatedly during cleaning, reducing scrubbing and effort.
Application Techniques
If you want to loosen baked-on grime effectively, apply vinegar directly onto the baking soda residue inside your oven. Use a spray bottle filled with equal parts water and vinegar, and spray vinegar evenly from different angles to reach all corners.
This triggers a foaming reaction that helps break down grease. Let it sit for 5 to 10 minutes before wiping. Reapply spray vinegar as needed during cleaning to dissolve stubborn spots.
| Step | Action | Tip |
|---|---|---|
| 1 | Spray vinegar | Apply evenly for full coverage |
| 2 | Wait 5-10 minutes | Let foaming reaction work |
| 3 | Reapply as needed | Target tough residue spots |
This technique guarantees grime loosens efficiently without harsh chemicals. Give it a try, and you’ll see how much easier cleaning your oven can be!
Residue Removal Tips
Although baked-on oven residue can be tough to remove, vinegar’s natural acidity breaks down grease and mineral deposits effectively. When you combine baking soda and vinegar, you get a powerful reaction that loosens stubborn grime, making residue removal easier.
To clean your oven efficiently, try these tips:
- Spray vinegar liberally over areas treated with baking soda to trigger foaming that lifts residue.
- Let the vinegar sit for several minutes to soften baked-on grease and mineral deposits.
- Repeat spraying on tough spots to dissolve grime without harsh scrubbing.
- Wipe or scrub gently after the vinegar has loosened the residue for a spotless finish.
Using vinegar this way helps you clean your oven naturally and effectively without commercial cleaners. It’s a simple, eco-friendly trick that really works!
Perform a Final Wipe Down
Once you’ve removed the cleaning paste and residue, grab a damp cloth and thoroughly wipe the oven interior to clear away any leftover baking soda and grime. Rinse the cloth frequently to avoid spreading dirt and keep your cleaning effective.
For stubborn spots or hard-to-reach areas, use a soft-bristled brush or an old toothbrush to dislodge any lingering debris. After this final wipe, take a clean, dry microfiber cloth and buff all oven surfaces to remove any remaining residue and give your oven a streak-free shine.
Don’t forget to wipe down the oven door and glass as well, ensuring every part looks spotless and fresh. This final wipe completes your oven cleaning, leaving it ready for use.
Replace Oven Racks and Enjoy Your Clean Oven
Once your oven racks are completely dry and free of residue, go ahead and reinstall them carefully to avoid scratches or damage.
Take a moment to check the entire oven for any leftover grime or spots you might have missed.
With everything in place, your oven is ready to use and shine like new.
Reinstall Oven Racks
Before you reinstall the oven racks, make sure the interior is completely clean and dry. This helps prevent rust or residue buildup.
Once the oven is ready, follow these steps to put your oven racks back properly:
- Inspect the oven racks to ensure they’re thoroughly cleaned. Remove any leftover grime with a damp cloth or scrub.
- Dry the oven racks with a clean cloth to avoid trapping moisture that could cause rust.
- Carefully slide the racks into their original positions. This helps prevent scratching or damaging the oven walls.
- Confirm the racks are stable and evenly placed for safe use.
Reinstalling your oven racks this way helps maintain your oven’s hygiene. Plus, it makes future cleaning easier.
Check for Residue
Although you’ve already cleaned the oven interior and racks, you should carefully check for any remaining residue before putting the racks back. Residue left behind can trap moisture and cause rust or unpleasant odors, so a thorough inspection is essential.
Use a damp cloth to wipe down all surfaces, ensuring no grime or cleaning solution remains. Only reinstall the racks once both the oven and racks are completely dry to maintain a spotless oven.
| Step | Tip |
|---|---|
| 1. Inspect Surface | Look for grease or cleaning residue |
| 2. Wipe Thoroughly | Use a damp cloth to remove stubborn spots |
| 3. Dry Completely | Prevent moisture trapping and rust |
| 4. Check Oven Racks | Ensure racks are clean and dry |
| 5. Reinstall Racks | Place racks back carefully to avoid damage |
Checking for residue keeps your oven fresh and ready for use. So, take a moment to make sure everything’s clean and dry before you finish up.
Final Oven Inspection
Start by carefully reinstalling your oven racks and any other items you removed earlier. This final oven inspection guarantees your oven is ready for use after you clean my oven thoroughly without harsh chemicals.
Follow these steps:
- Place the oven racks back securely in their original positions to guarantee even heat distribution.
- Inspect the oven interior for any leftover spots or cleaning residue.
- Wipe down any moisture or smudges to prevent smoke or odors during cooking.
- Double-check that all oven racks are stable and properly aligned.
With everything in place, you can now enjoy your clean oven, confident it’s safe and efficient. This simple final oven inspection wraps up your cleaning process perfectly.
Conclusion
Cleaning your oven without harsh chemicals is like tending a garden with gentle hands—patience and natural care bring the best results. By following these simple steps, you’ve nurtured your oven back to sparkling health, just as a gardener revives wilting blooms.
Remember, a little time and natural ingredients can transform even the toughest mess into a fresh start. Using natural methods to clean your oven not only saves you from harsh chemicals but also keeps your kitchen environment healthier.
Now, enjoy the warmth of your oven, ready for your next culinary adventure. With these easy steps, keeping your oven clean without oven cleaner has never been simpler or more satisfying.