How to Calibrate an Oven in 5 Easy Steps
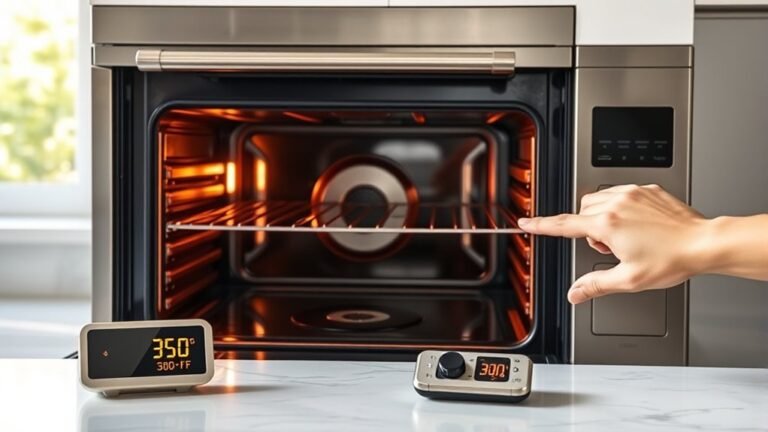
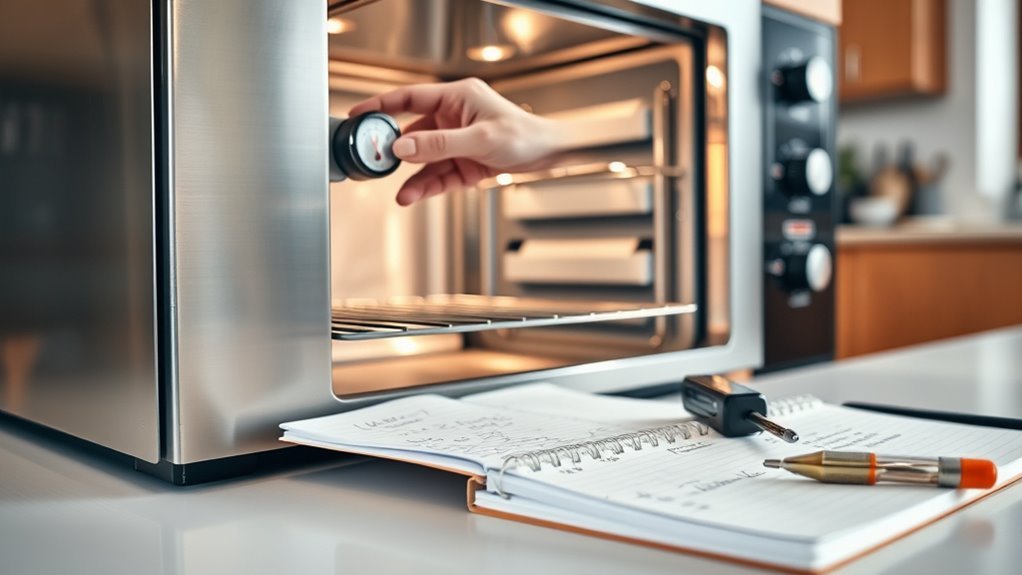
To calibrate your oven accurately, start by placing an oven-safe thermometer on the center rack. Then, preheat your oven to 350°F.
Once the oven temperature stabilizes, check the thermometer reading. If it’s off by more than 15°F, it’s time to make some adjustments.
For analog ovens, you can turn the screws behind the temperature knob to tweak the setting.
If you have a digital oven, access the calibration menu to correct the temperature.
After adjusting, reheat the oven and check the thermometer again to make sure the temperature is accurate.
Baking a test recipe afterward helps confirm your calibration is spot on.
Keep reading for detailed, step-by-step guidance on how to calibrate your oven perfectly every time!
Prepare Your Oven and Thermometer
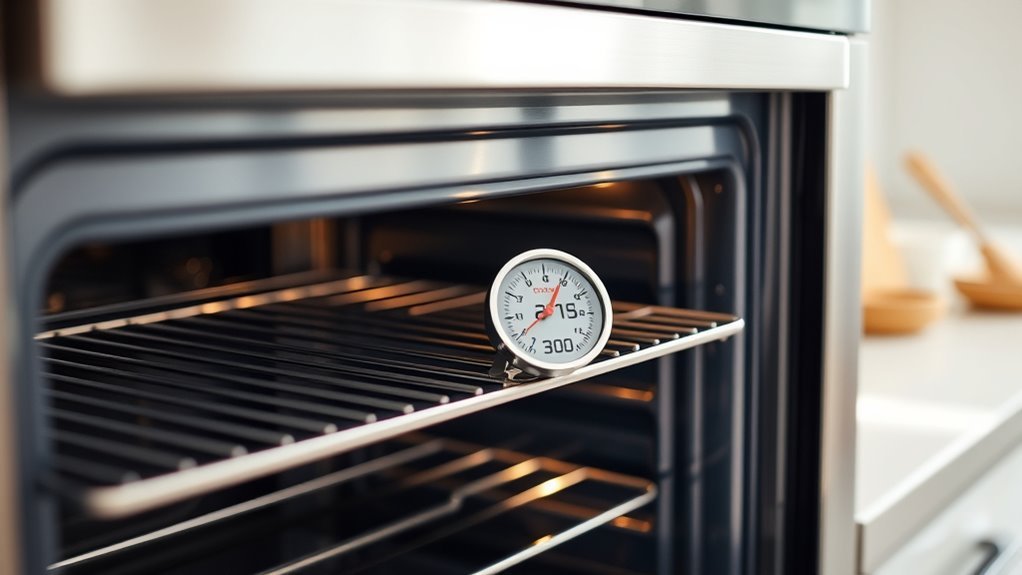
Before you begin calibrating your oven, place an oven-safe thermometer on the center rack to get an accurate temperature reading. The center rack ensures proper thermometer placement, giving you the most reliable data.
Next, preheat your oven to 350°F without opening the oven door. Keeping the oven door closed is essential for maintaining a consistent temperature inside.
Preheat your oven to 350°F and keep the door closed to maintain a steady temperature.
Wait patiently until the oven signals it has reached the set temperature before proceeding. This oven signal confirms the oven is ready and at the intended heat level.
Make sure the oven thermometer is securely positioned in the middle of the oven to avoid false readings. Following these steps guarantees your oven thermometer captures the real temperature, setting the stage for accurate calibration.
Check the Oven Temperature Accuracy
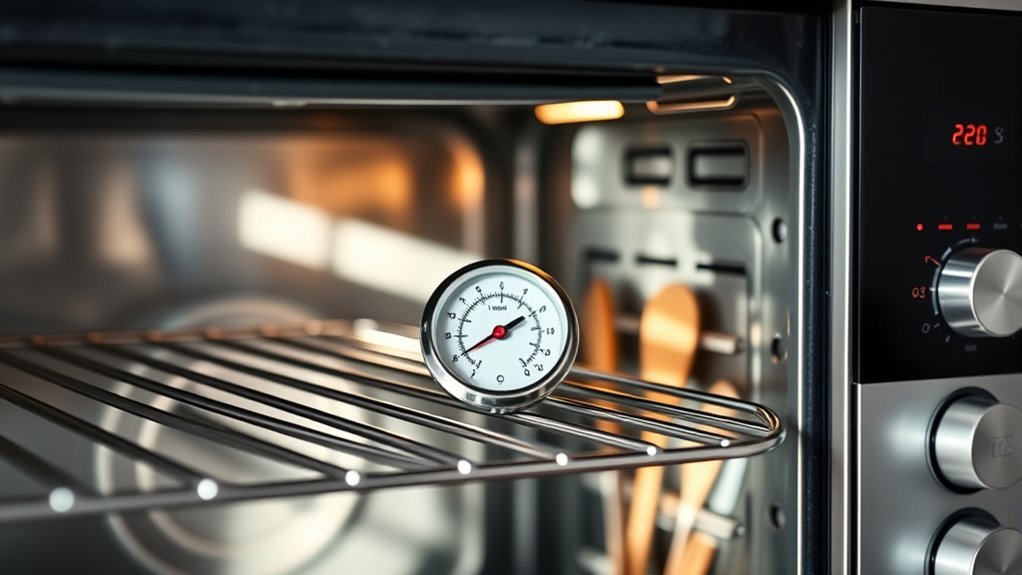
Once your oven reaches the set temperature, check the thermometer reading carefully through the door window or by opening the door briefly. To get the most accurate oven temperature, place an oven thermometer on the center rack, ideally in the middle of the oven.
Preheat your oven to a standard temperature, like 350°F, and wait until it signals full preheat. Then, check the temperature reading on the thermometer. If it’s more than 15°F above or below the set temperature, your oven may need to be calibrated.
For better accuracy, repeat this check a few times, allowing the oven to stabilize each time. This process guarantees you understand your oven’s temperature accuracy before making any adjustments.
Adjust Temperature on Analog Controls
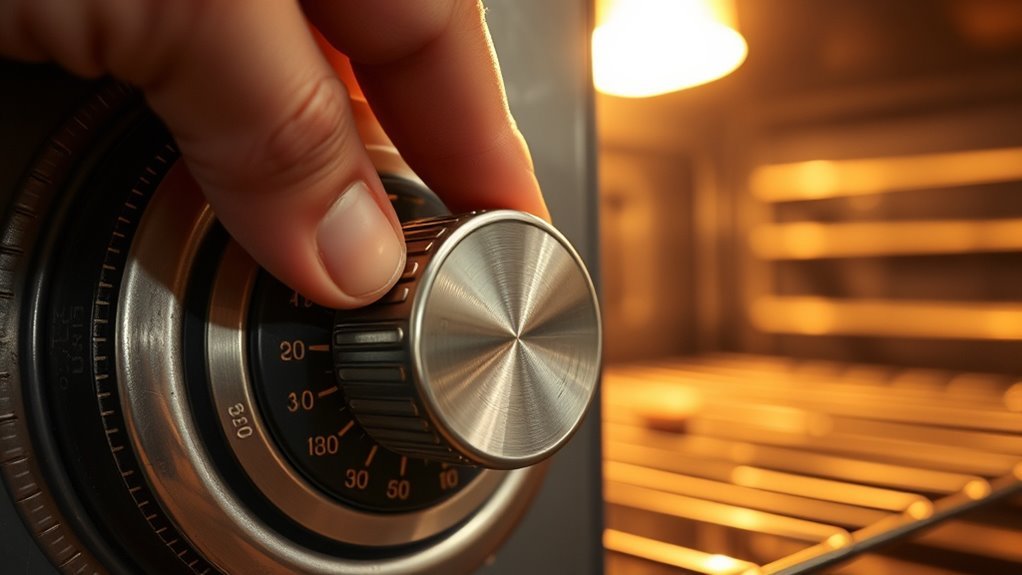
If your oven has analog controls, you can adjust its temperature by carefully removing the temperature knob from the control panel.
To calibrate an oven with analog controls, follow these steps:
- Turn the temperature knob over to locate the screws on the back.
- Adjust the screws in small increments—turn clockwise to increase the temperature or turn counterclockwise to decrease it.
- Reattach the knob securely and test the oven temperature using an oven thermometer.
Make adjustments gradually, about an eighth of a turn each time, and recheck after each change.
This method helps you accurately modify the temperature and ensures your oven heats as intended.
Using small adjustments prevents overshooting the desired calibration, so you keep precise control over your analog controls.
Adjust Temperature on Digital Controls
When you need to modify the temperature on digital controls, start by accessing your oven’s calibration menu through the control panel as outlined in the user manual. Use the arrow buttons or touchscreen prompts to make the temperature adjustment, increasing or decreasing by up to 35°F.
Once set, save settings by pressing “Start” or “Enter.” After adjusting, reheat the oven and verify temperature using an oven thermometer to ensure accuracy. If needed, repeat the calibration process.
| Step | Action | Tip |
|---|---|---|
| Access Calibration | Use control panel | Follow user manual guidance |
| Adjust Temperature | Use arrow buttons | Adjust within ±35°F |
| Save & Verify | Press save, use thermometer | Confirm accuracy |
Verify and Finalize Your Oven Calibration
Although you’ve adjusted your oven’s temperature settings, you’ll want to verify the calibration by baking a test recipe and checking if the results match the expected doneness.
To properly verify and finalize your oven calibration, follow these steps:
- Reheat your oven to the target temperature and use an oven thermometer to check the oven temperature after it stabilizes.
- Bake your test recipe and observe whether it’s undercooked or overcooked. If needed, adjust oven settings accordingly.
- Document the final adjustments and corresponding oven thermometer reading for consistent future use.
Remember to periodically recheck your oven temperature with the oven thermometer. This helps maintain accurate calibration over time and ensures your calibration process stays reliable.
Conclusion
So, you’ve just calibrated your oven—because apparently, baking by guesswork is too thrilling. Now that your oven actually heats to the temperature it says, you can kiss those mystery meals goodbye.
Who knew precision could save you from burnt cookies and undercooked dinners? With these simple steps, you’ve taken control, proving that sometimes, the oven isn’t the only thing that needs adjusting—you just might be too.
Calibrating your oven is a game changer for anyone who loves cooking or baking. It ensures your oven’s temperature is accurate, which means better results every time. No more guessing if your oven’s too hot or too cool. By following these easy steps to calibrate your oven, you’re making sure your dishes turn out perfectly cooked and delicious. So go ahead, enjoy the confidence that comes with a properly calibrated oven and say goodbye to those frustrating cooking mishaps!