10 Steps to Bake Sourdough Without a Dutch Oven
To bake sourdough without a Dutch oven, start by preparing your active starter and gathering all your ingredients.
Mixing your dough well is key to getting that perfect texture.
Let it rest, then do stretch and folds during bulk fermentation to develop strength and structure.
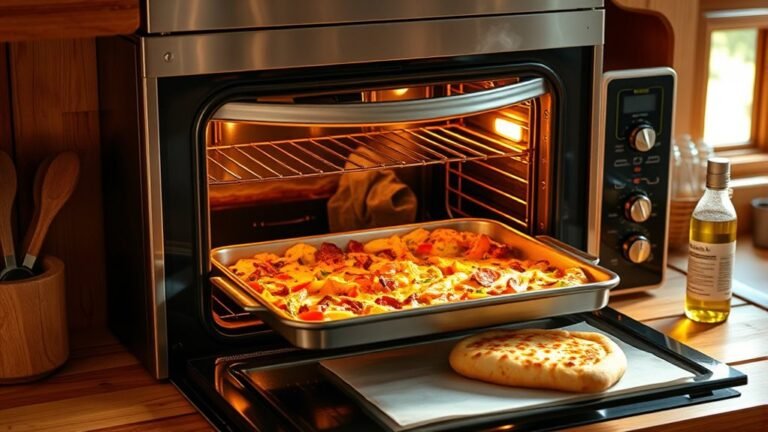
Next, shape the dough carefully. To create steam in your oven without a Dutch oven, use a covered pan or a water-filled dish—this helps achieve that crispy crust we all love.
Score the dough just before baking to encourage good oven spring and allow it to expand beautifully.
Bake the bread with steam at first, then finish without it to get a nice crust.
Once baked, cool completely before storing.
Ready to master this technique? There’s plenty more to explore to perfect your sourdough baking skills!
Gather Your Ingredients and Equipment
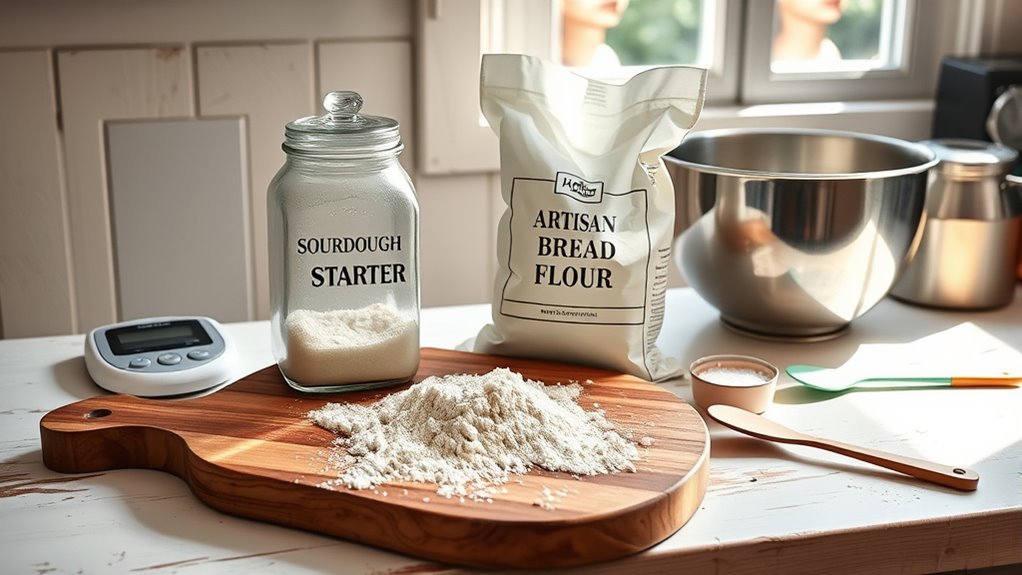
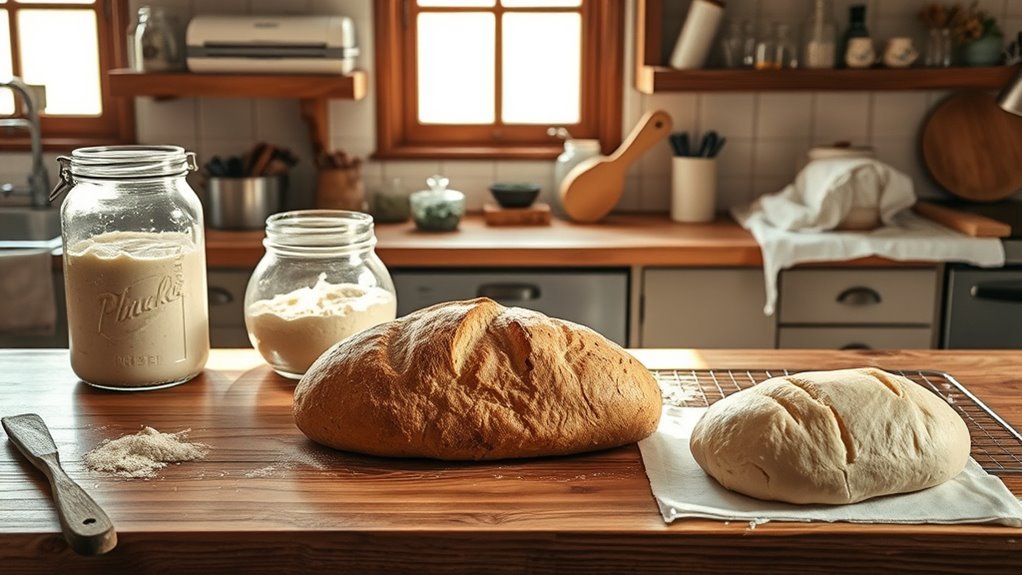
Before you begin baking your sourdough, gather all your ingredients and equipment carefully. Make certain you have an active sourdough starter that’s doubled in size with plenty of bubbles—this means it’s at peak activity.
Collect bread flour, chlorine-free water, salt, and optional sugar if your recipe calls for it. For baking without a Dutch oven, prepare alternatives like a heavy oven-safe dish, cast iron skillet, or baking stone to replicate the ideal heat environment.
Don’t forget a sharp blade or lame to score your dough before placing it in the oven. Finally, preheat your oven thoroughly for 30 to 60 minutes to ensure even heat distribution.
Having everything ready sets you up for a successful sourdough bake. It’s all about being prepared so you can focus on the fun part—baking!
Prepare Your Active Sourdough Starter
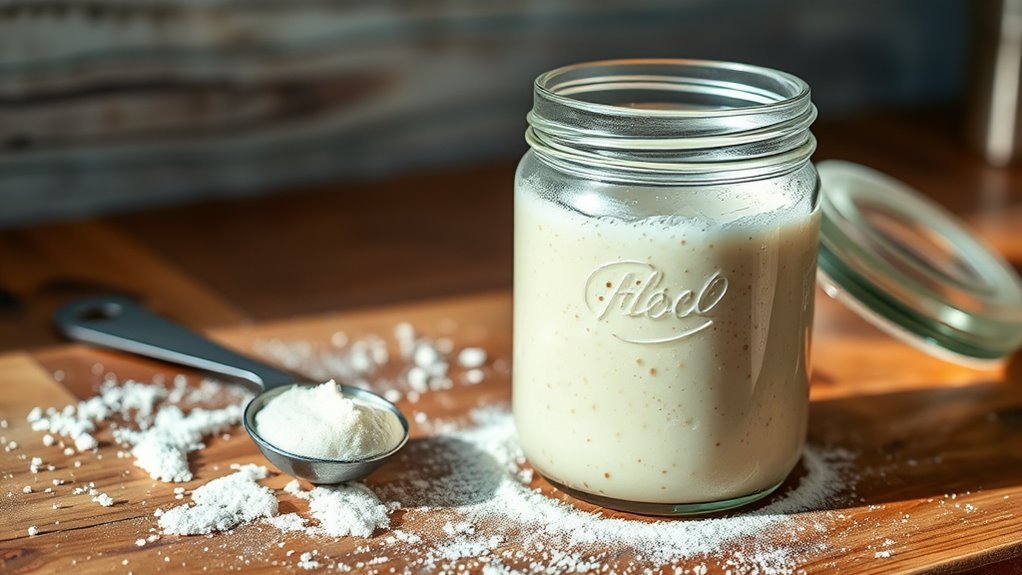
You’ll want to feed your sourdough starter with equal parts water and flour at least six hours before baking. This helps make sure it’s bubbly and doubled in size.
Check that it passes the float test by seeing if a spoonful floats in water—that means it’s ready to leaven your dough. Keep it at room temperature and watch for peak activity.
Usually, this peak happens between four to eight hours after feeding. That’s when you’ll get the best rise.
Starter Activity Indicators
A healthy sourdough starter shows clear signs of activity that tell you it’s ready to use. Look for starter activity like visible bubbles throughout and a rise that doubles its size within 6-8 hours.
This bubbly, airy texture signals good fermentation, meaning the natural yeast and bacteria are thriving. When your starter passes the float test—where a small spoonful floats in water—you know it has enough gas production to leaven your bread.
A mature starter, usually at least two weeks old, consistently shows this pattern of bubbles and rise. Before baking, guarantee your starter has a slightly tangy aroma and appears lively.
These indicators confirm your starter is at peak fermentation, giving your sourdough the best chance for a great rise and flavor.
Feeding and Timing
Once your starter shows those lively bubbles and passes the float test, it’s time to feed it properly to keep that activity going. Feed your sourdough starter with equal parts flour and water—usually 50g each—about 6 to 12 hours before you plan to bake.
This feeding kickstarts fermentation, ensuring the starter doubles in size and becomes bubbly and airy, perfect for proofing your dough. Keep your starter at room temperature during this fermentation phase and cover it to prevent drying out.
Avoid using a starter younger than two weeks or one that shows little activity, as it won’t provide the rise you need. By timing your feeding right, you’ll have a lively starter ready to give your sourdough a great rise without a Dutch oven.
Mix and Rest the Dough
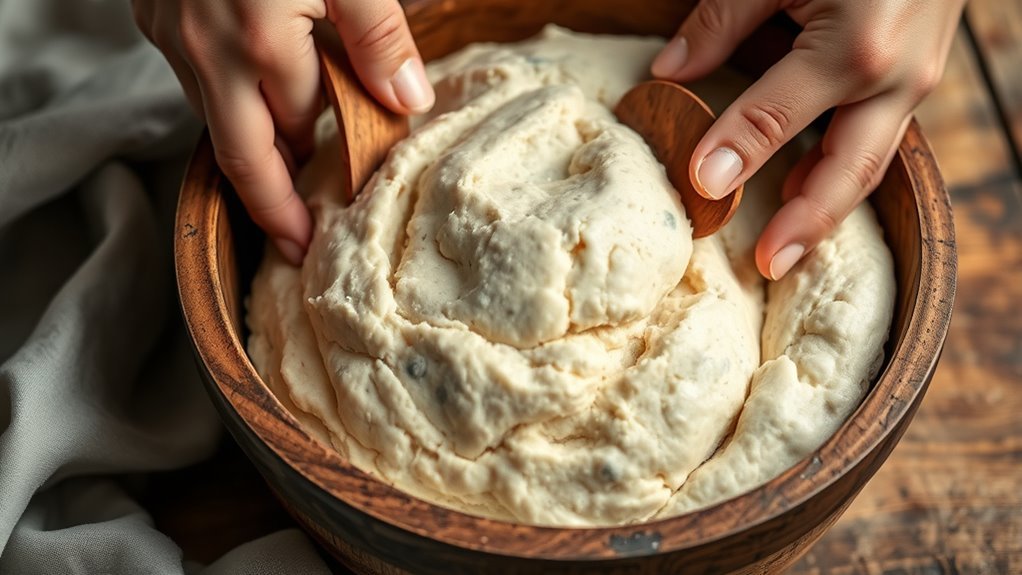
Although it may seem simple, mixing your active sourdough starter with water, flour, and salt until just combined is essential for forming the base dough. You want to mix until the ingredients form a shaggy dough, then cover and rest it for 30 minutes.
This rest hydrates the flour and helps the dough develop.
| Step | Action |
|---|---|
| 1 | Mix starter, water, flour, salt |
| 2 | Stir until dough forms |
| 3 | Cover bowl |
| 4 | Rest dough 30 minutes |
| 5 | Prepare for bulk fermentation |
This short rest makes the dough softer and less sticky, setting a solid foundation for fermentation and gluten development.
It’s a small step that really pays off later on!
Perform Stretch and Folds During Bulk Fermentation
Because gluten development is essential during bulk fermentation, you’ll perform stretch and folds every 30 minutes to strengthen the dough’s structure and improve elasticity.
To do this, gently lift and stretch the dough from the edges, then fold it over the center without deflating the gas bubbles. After each stretch and fold, rotate the bowl ¼ turn to ensure uniform gluten development.
Complete 4 to 6 sets over 2 to 3 hours, allowing the dough to rest for 30 minutes between each session. This resting period helps the gluten relax and encourages proper fermentation.
Shape the Dough for Baking
Now it’s time to shape your dough by gently folding the edges toward the center to create tension. Use your hands or a bench scraper to tighten it into a smooth, taut round or oval.
Then, place the shaped dough seam-side down on parchment or a floured surface. This helps it proof properly before baking.
Folding Techniques
When you gently stretch and fold the edges of your dough toward the center, you create surface tension that shapes it into a tight round or oval form.
Folding develops gluten structure, improving dough strength and elasticity. Use a bench scraper or your hands to lift and fold the dough, rotating it 90 degrees between folds.
Perform about four to six folds spaced 30 minutes apart during bulk fermentation. To shape the dough, tighten its surface against a floured surface, creating a smooth, taut skin that promotes good oven spring.
Handle the dough gently to preserve gas bubbles and maintain the rise achieved during fermentation. It’s all about being gentle so your bread turns out light and airy.
| Step | Purpose |
|---|---|
| Fold & Rotate | Develop gluten structure |
| Repeat 4-6 times | Strengthen dough elasticity |
| Shape on floured surface | Create taut skin for baking |
Creating Dough Tension
Although shaping dough may seem simple, creating proper tension is key to a successful bake. To build dough tension, gently fold the edges toward the center, pinching to seal and tighten the surface.
Use your hands or a bench scraper to pull the dough taut. This develops surface tension that helps maintain its shape during proofing and baking.
When shaping, stretch the dough gently but firmly to form a tight skin. This encourages good oven spring and a smooth crust.
For the final shape, cup-hold the dough and pull it taut over the surface, forming a tight boule or loaf. Then, rest the shaped dough seam-side down on a floured surface or banneton.
This preserves surface tension for a better rise without collapsing. It might take a bit of practice, but you’ll get the hang of it!
Final Proof Placement
Once you’ve shaped your dough into a tight boule or batard, place it seam side down on a lightly floured or parchment-lined baking sheet or peel to prepare for baking. Be gentle when moving the dough—use a bench scraper or your hands carefully to avoid deflating its structure.
This step is essential for the final proof, where the dough rests and rises to its full potential. Cover the dough with a towel or plastic wrap and let it proof at room temperature for about 1.5 to 2 hours.
You’ll know it’s ready when it springs back slowly or leaves a slight indentation when poked gently. Properly placing the dough during this final proof ensures it holds shape and bakes evenly without a Dutch oven.
Preheat Your Oven With Baking Stones
To achieve a perfect crust without a Dutch oven, you’ll need to preheat your oven to 450°F (230°C) with baking stones placed strategically inside. This guarantees even heat distribution and a crispier crust.
Follow these steps to preheat properly:
- Place one baking stone on the middle or lower rack and another on the top rack to maximize heat retention.
- Preheat the oven and stones for at least 60 minutes to allow thorough heating.
- Use an oven thermometer to confirm both the oven and stones reach and maintain 450°F (230°C).
- Avoid opening the oven door during preheating to keep consistent high temperatures and support good oven spring.
Create a Steamy Environment Without a Dutch Oven
To get that perfect crust without a Dutch oven, you’ll need to create steam in other ways. Try using oven-safe dishes with boiling water or covering your dough with an inverted bowl to trap moisture.
Just be careful when handling hot equipment to keep yourself safe throughout the process. It might feel a bit tricky at first, but with practice, you’ll get the hang of it.
Steam Generation Techniques
Although you don’t have a Dutch oven, you can still create a steamy environment essential for sourdough’s crust by using simple kitchen tools and techniques. Generating steam helps form that perfect, crispy crust.
Try these effective steam generation techniques:
- Place a preheated oven-safe skillet or deep baking dish on the lowest rack, then add boiling water or ice cubes just before baking to produce steam.
- Mist your dough generously with water from a spray bottle immediately before and during the first 10 minutes of baking.
- Use lava rocks or ceramic tiles in a hot pan; pour water over them at the start to release moisture gradually.
- Cover your dough with an inverted heatproof bowl or casserole dish to trap steam as the bread bakes.
These methods guarantee your sourdough gets the steam it needs even without a Dutch oven. Easy, right? Give them a shot and watch your crust come to life!
Alternative Covered Vessels
Wondering how to trap steam without a Dutch oven? Try using alternative covered vessels like a heatproof casserole dish, deep baking pan, or a large cake tin with a lid. Make sure to preheat your chosen vessel inside the oven for at least 30 minutes to reach a high temperature.
Once preheated, place your dough inside and cover it to lock in steam during the first 20-30 minutes of baking. This steamy environment helps develop a great crust. Halfway through, remove the lid to let the crust brown and crisp up.
Another option is to invert a large, oven-safe bowl or pot over the dough, ensuring it’s preheated to maximize steam retention. These methods let you bake sourdough with a perfect crust, even without a Dutch oven.
Safely Handling Hot Equipment
When handling hot equipment like cast iron skillets or enameled casserole dishes, you’ll want to use heavy-duty oven mitts to protect your hands from burns. Handling high heat demands caution to maintain oven safety and prevent accidents.
Follow these tips to safely manage hot equipment when creating a steamy environment without a Dutch oven:
- Preheat your thick oven-safe vessel before placing dough to ensure even heat distribution.
- Use sturdy mitts or heatproof gloves whenever transferring hot pans or adding boiling water.
- Securely position hot dishes in the oven to avoid spills or tipping.
- Avoid sudden temperature changes that might crack your equipment or cause steam burns.
Score Your Dough Before Baking
Before baking your sourdough, you’ll want to score the dough using a sharp, serrated blade or lame to make clean, deep cuts about half to one inch deep. Use a sharp blade that’s dry to guarantee smooth, precise incisions without tearing the dough.
Score at a slight angle to control expansion and create an attractive crust. Make deliberate, swift cuts to avoid dragging or deflating your loaf.
Proper scoring is essential because it guides the dough’s expansion, allowing gases to escape and promoting a strong oven spring. Without scoring, your bread might burst unpredictably or have a dense texture.
Taking the time to score correctly sets the stage for a beautifully risen, well-structured sourdough loaf even when you’re baking without a Dutch oven. It really makes a difference!
Bake Your Sourdough With Steam and Then Without
Although you can bake sourdough without steam, adding steam during the initial phase really boosts oven spring and crust texture.
To do this without a Dutch oven, just follow these steps:
First, preheat your oven to 450°F with a baking stone or something similar inside for at least an hour.
Then, place your proofed dough on the hot surface and cover it with a large ovenproof dish to trap the steam.
You can create extra steam by pouring hot water or adding ice to a preheated pan in the oven.
After about 20–30 minutes, remove both the cover and the steam source so the crust can develop a deep, crisp color.
This method ensures your sourdough comes out with a beautiful, crisp crust and great oven spring, just like baking in a Dutch oven.
Cool and Store Your Baked Bread Properly
To preserve your sourdough’s perfect texture, let it cool completely on a wire rack for at least an hour before slicing. This cooling step prevents a gummy crumb by allowing moisture to escape evenly.
Avoid wrapping your bread while it’s still warm, as trapped moisture can spoil the crust and encourage mold. For storage, keep your loaf in an airtight container or a bread box at room temperature to maintain freshness for up to five days.
If you want to store it longer, freeze individual slices and toast them straight from the freezer to preserve flavor and texture. When ready to serve, just warm the bread briefly in a hot oven or toaster to re-crisp the crust, making sure every bite stays delightfully crunchy.
Conclusion
Baking sourdough without a Dutch oven might seem tricky, but it’s like learning to ride a bike without training wheels—you just need balance and practice.
Remember when you first pedaled free? That same sense of accomplishment comes with mastering steam tricks and shaping dough.
Each loaf you bake strengthens your skills, proving that with patience and creativity, you can turn simple ingredients into a beautiful, crusty masterpiece right in your own kitchen.
Keep baking! With these 10 steps to bake sourdough without a Dutch oven, you’ll discover how to create that perfect crust and texture using everyday kitchen tools.
So, don’t be discouraged if you don’t have a Dutch oven. Embrace the process, experiment with steam methods, and enjoy the rewarding journey of making delicious sourdough bread at home.