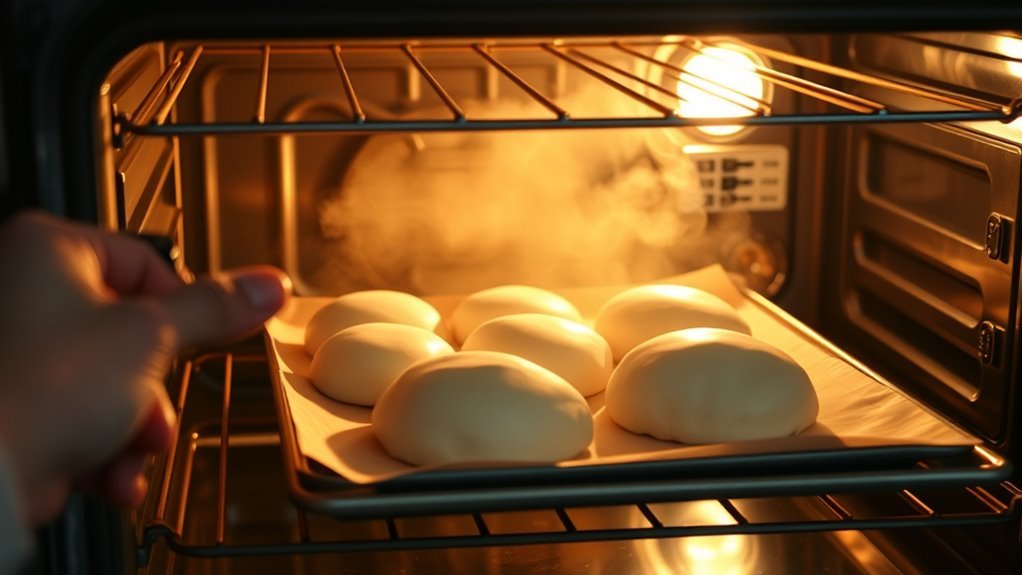
How to Proof Dough in Oven in 10 Easy Steps
To proof dough in your oven, start by activating yeast in warm water with sugar until bubbly. This step is crucial for getting your dough to rise perfectly.
Next, lightly oil a large heatproof bowl, shape the dough, place it inside, and cover it with plastic wrap.
Now, preheat your oven to 400°F, then turn it off. This creates a warm, cozy environment for your dough to rise.
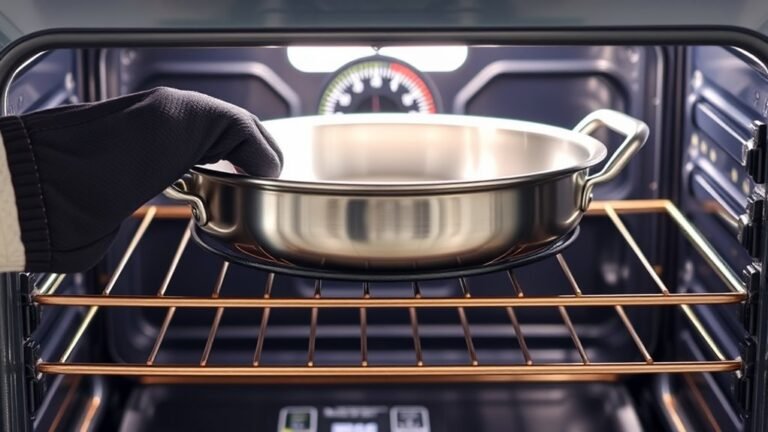
Place a shallow dish of boiling water on the bottom rack to add humidity, which helps keep the dough moist.
Set your dough bowl on the middle rack and close the oven door.
Check the dough occasionally, and when it has doubled in size, it’s ready for the next step.
For a full guide on perfect proofing, keep exploring these tips!
Gather Your Proofing Materials
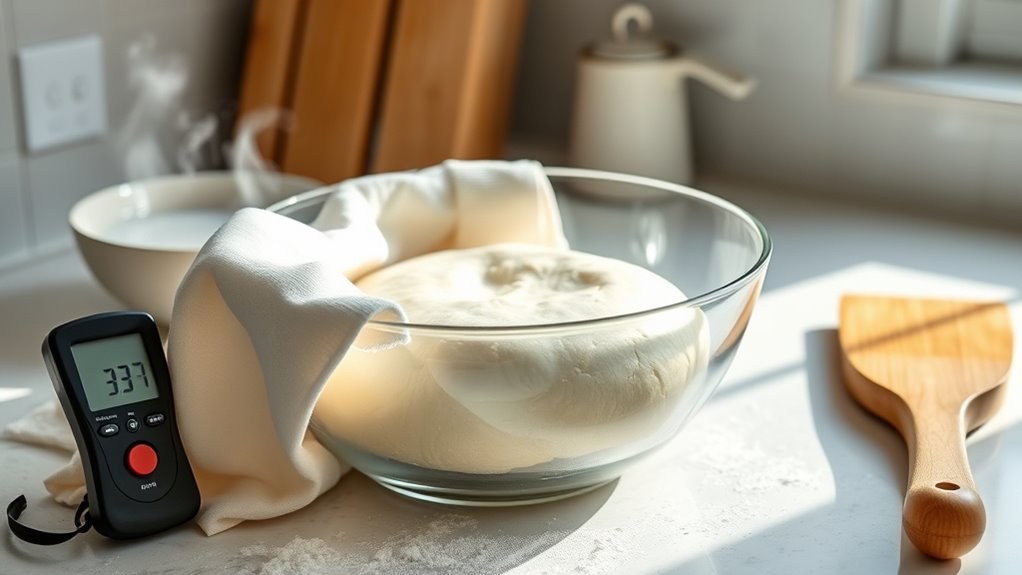
Before you begin proofing your dough in the oven, gather all the necessary materials to guarantee a smooth process. Start with a large, heatproof clear bowl so you can easily watch your dough rise. Lightly spray the bowl with oil to prevent sticking and make handling easier after proofing.
Prepare a baking dish filled halfway with boiling water to create humidity inside the oven, which helps your dough proof better. Have plastic wrap or a damp towel ready to cover the dough, maintaining moisture during the proofing stage.
Make sure all materials are clean and dry before you start to avoid contamination or unwanted moisture that could affect your dough’s rise. With these items ready, your oven proofing will go smoothly.
Activate Your Yeast Properly
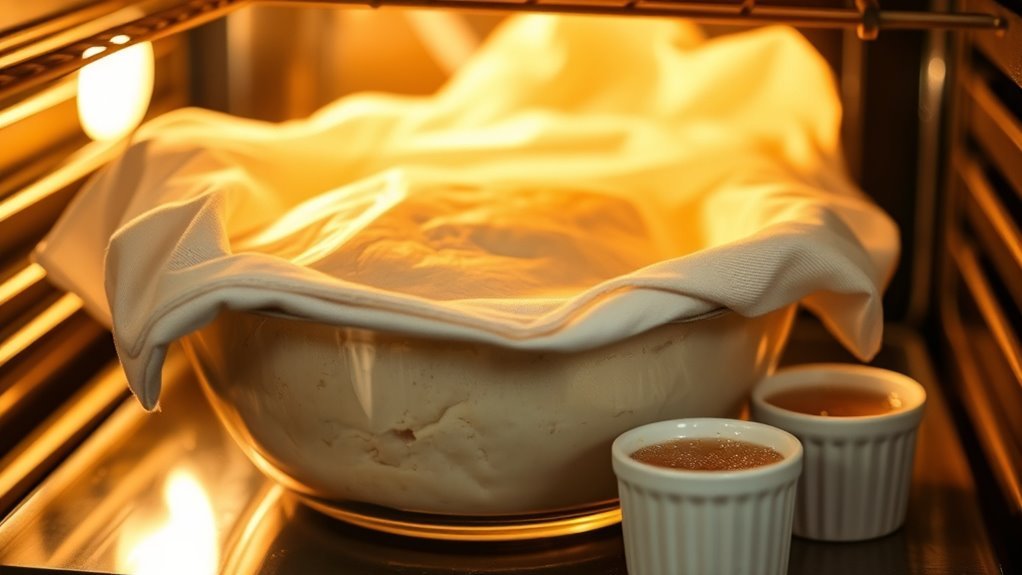
You’ll want to bloom your yeast by dissolving it in warm liquid with a pinch of sugar. Watch closely for foam and a yeasty smell, which means your yeast is active and ready.
If you don’t see any activity, it’s best to start over with fresh yeast to guarantee your dough rises properly. Don’t worry, it’s a simple step that really makes a difference!
Bloom Yeast Correctly
How do you know if your yeast is ready to work its magic? Blooming yeast correctly is key.
Dissolve active dry yeast in warm water (110-115°F) with a teaspoon of sugar. Let it sit for 10-15 minutes in a clear bowl to see if it foams and bubbles.
This shows the yeast is alive and ready for proofing. If it doesn’t foam or smell yeasty, discard it—you’ll need fresh yeast for proper dough rise.
| Step | Details |
|---|---|
| Water Temperature | 110-115°F (warm, not hot) |
| Sugar | 1 teaspoon (feeds yeast) |
| Blooming Time | 10-15 minutes (until foamy) |
| Observation | Use clear bowl to watch foam easily |
Proper blooming ensures your dough proofing succeeds.
Check Yeast Activity
Wondering how to tell if your yeast is truly active? Start by dissolving active dry yeast in warm water (100-110°F) with a pinch of sugar. Wait 10-15 minutes for proofing and activation.
Proper yeast activity shows as a bubbly foam on the surface with a yeasty smell. If you don’t see foam or bubbles, your yeast is dead and you should replace it.
Avoid using water hotter than 120°F since it can kill the yeast, causing proofing to fail. When the mixture doubles in volume, that confirms the yeast’s activation and readiness for baking.
Always discard any yeast that doesn’t foam or rise during blooming to ensure your dough proofs perfectly every time.
Prepare the Dough for Proofing
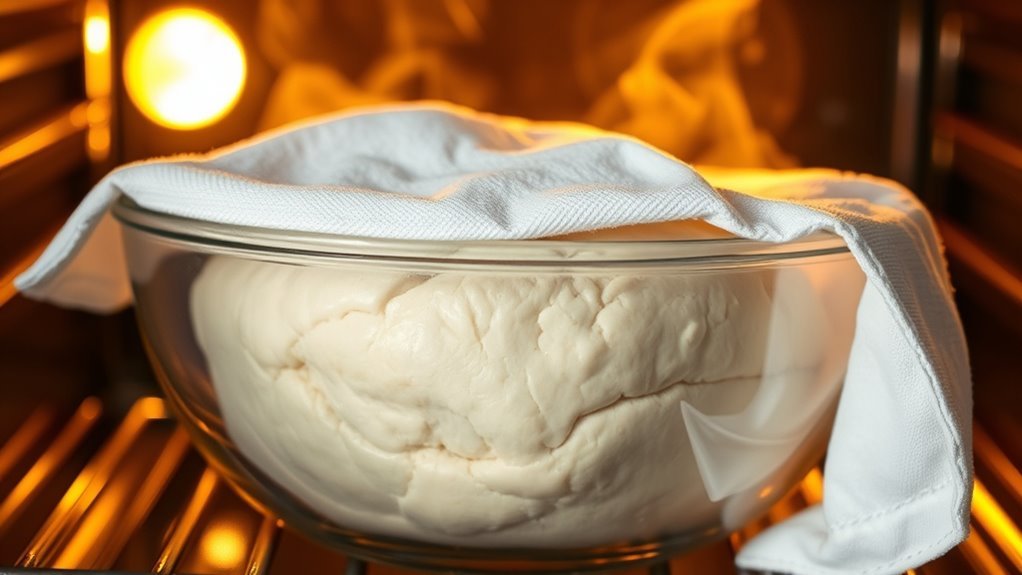
Before placing your dough in the oven to proof, make sure to shape it into a smooth ball. Then, place it in a lightly oiled, large glass or plastic bowl that gives it plenty of room to expand.
Proper preparation guarantees even rising and prevents sticking. So, follow these key steps:
- Lightly oil the bowl with canola or olive oil spray. This helps keep the dough from sticking and makes handling easier after proofing.
- Shape the dough into a smooth ball for uniform proofing.
- Cover the bowl with plastic wrap or a damp towel. This keeps the moisture in and maintains a warm environment that’s perfect for proofing.
Select the Right Oven Rack Placement
You’ll want to place your dough on the upper third rack to give it plenty of room to rise. Make sure there’s enough clearance above so it can double in size without hitting anything.
Also, avoid the bottom racks to keep the dough away from direct heat and guarantee even proofing. This way, your dough gets the best environment to puff up perfectly.
Ideal Rack Position
When proofing dough in your oven, choosing the right rack position plays a crucial role in achieving consistent rising. The oven rack you select affects the proofing environment and how evenly the dough rises at your chosen oven temperature.
To find the ideal spot, keep these tips in mind:
- Position the dough on the upper third or middle oven rack to give it enough space to expand without hitting the ceiling.
- Use the middle rack for a balanced heat and humidity level, especially if you place a water pan below to create moisture.
- Avoid the bottom rack since it’s too close to the heat source, which can cause uneven proofing and affect your dough’s rise.
Following these steps helps ensure your dough proofs evenly and rises beautifully. Easy, right? Just a little rack adjustment can make a big difference!
Space for Rising
Choosing the right oven rack doesn’t just affect heat distribution—it also determines how much room your dough has to rise. For proper proofing, place your dough on an oven rack positioned in the upper third of the oven. This placement provides enough rise space, preventing the dough from touching the oven ceiling as it expands.
Avoid the lowest rack since it’s too close to the warm oven floor, which can cause uneven rising. Using a middle or top rack keeps the dough away from direct heat sources, ensuring gentle, even proofing.
Also, make sure the oven rack is stable and level to avoid tipping or spilling. Selecting the correct rack and ensuring adequate rise space helps your dough proof perfectly every time.
Avoid Heating Elements
Although placing your dough inside the oven might seem straightforward, you need to avoid areas near heating elements to guarantee even proofing. Direct heat can kill yeast or dry out the dough, ruining your rise.
To select the right oven rack placement, follow these steps:
- Position the rack in the upper third or middle of the oven to keep the dough away from heating elements.
- Avoid placing dough directly on the oven floor or near the bottom heating element, which causes uneven proofing or overheating.
- Ensure the rack is stable and level, giving the dough container secure support and enough space to expand without touching the oven ceiling.
Boil Water to Create Steam
Since steam creates the perfect humidity for dough to rise, you can boil water to generate this environment inside your oven. Start by filling a flat baking dish halfway with water and bring it to a rolling boil on your stovetop.
The boiling water produces steam that increases humidity inside the oven, which prevents the dough’s surface from drying out and forming a crust. This steam encourages a soft, airy rise, essential for proofing.
To keep the humidity consistent, you can refresh the boiling water as needed during the proofing period. Using steam from boiling water is a simple yet effective way to create the ideal oven atmosphere, helping your dough achieve the perfect texture and rise every time.
Position the Water Pan in the Oven
When you place the water pan in the oven, position it on the bottom rack to guarantee steady steam circulation without touching the dough. This setup ensures ideal oven humidity, essential for effective proofing.
Follow these steps for best results:
- Fill a shallow water pan halfway with boiling water to create consistent moisture.
- Place the water pan on the lowest rack, keeping it below the dough to prevent direct contact.
- Use a pan with a wide surface area to maximize steam production.
Maintaining oven humidity with your water pan helps the dough rise evenly and prevents a dry crust. For longer proofing times, remember to refill the pan as needed to sustain proper moisture levels throughout the process.
Preheat and Turn Off the Oven
To create the perfect proofing environment, you should preheat your oven to 400°F (200°C) and then turn it off immediately. This step warms the oven just enough to create ideal conditions without overheating.
After turning it off, keep the oven door closed to trap residual heat and humidity. This helps your dough rise perfectly. Avoid opening the door during proofing to maintain consistent temperature and moisture levels.
| Step | Purpose |
|---|---|
| Preheat to 400°F | Warm oven for proofing |
| Turn off oven | Prevent overheating |
| Keep door closed | Retain heat and humidity |
| Avoid door opening | Maintain stable proofing environment |
Place the Dough Inside the Oven
You’ll want to place your dough in a clean, roomy bowl that allows it to expand freely. Position the bowl on the middle or upper oven rack, making sure there’s enough space above for the dough to rise.
This setup helps create the perfect environment for your dough to proof properly. It’s all about giving it the right space and warmth so it can do its thing!
Positioning Dough Correctly
Although the oven remains off, placing your dough in a clean, large, heatproof bowl on the middle or upper rack gives it the space it needs to rise evenly. Proper positioning is vital for proofing your dough and ensuring a consistent dough rise.
Follow these steps for effective oven proofing:
- Use a large bowl that allows enough room for expansion without crowding the dough.
- Center and stabilize the bowl on the rack to prevent tipping or uneven rising.
- If needed, cover the dough loosely with plastic wrap or a damp cloth to retain moisture, unless your oven proofing method uses steam.
Oven Rack Placement
After positioning your dough securely in the oven, focus on placing the rack correctly to support even rising. Place the dough on an oven rack set in the upper third of the oven. This gives it enough space to expand without touching the ceiling.
Make sure the oven rack is stable and level to prevent any shifting during proofing. Use a clean, dry rack sturdy enough to support the dough’s weight while allowing air circulation underneath.
Positioning the rack this way helps maintain consistent proofing conditions by promoting even heat distribution. Avoid overcrowding; keep the rack with the dough clear of other items. This ensures proper airflow and proofing space around the dough, which directly affects the quality of your rise.
Ensuring Enough Space
When placing your dough inside the oven, make sure to leave enough space around it to allow for proper expansion and even proofing. This space is vital for the dough’s rise and fermentation process.
Here’s how to ensure your dough has enough room:
- Position the dough on an oven rack in the upper third of a cold oven to give ample vertical space.
- Leave at least 2-3 inches of clearance around the dough to prevent it from touching oven walls or heating elements.
- Ensure there’s enough space above the dough so it doesn’t touch the ceiling or oven light as it rises.
Following these steps helps your dough proof evenly, allowing gas bubbles to form and creating a perfect rise inside the oven. So, give your dough some breathing room—it really makes a difference!
Monitor the Dough as It Proofs
While the dough proofs, you should monitor it closely to make certain it rises properly. Check periodically to see if it has doubled in size, which means the proofing is on track.
Look for gas bubbles on the surface or edges, signs of active fermentation. Gently press the dough; if it springs back slowly and leaves a slight indentation, it’s ready.
Using a clear bowl helps you watch the dough’s volume increase without disturbing it. Avoid opening the oven door often, as this drops the temperature and can slow proofing.
| What to Check | How to Check | What It Means |
|---|---|---|
| Size | Visual inspection | Doubled size = good proofing |
| Surface bubbles | Look closely | Active fermentation ongoing |
| Dough elasticity | Gentle finger press | Slow spring back = ready |
| Bowl visibility | Use a clear bowl | Easy monitoring without loss |
Remove and Use the Proofed Dough
Once your dough has doubled in size and shows that perfect puffiness, it’s time to move it out of the proofing stage. To proof my dough correctly, I rely on an oven thermometer to guarantee the ideal environment during the second rise.
Here’s what you should do next:
- Gently punch down the dough to release excess gas, helping redistribute yeast activity evenly.
- Lightly flour your work surface and shape the dough according to your recipe’s needs.
- Place the shaped dough onto a baking sheet or pan, leaving room for expansion. Then cover it with a clean towel or plastic wrap to keep it from drying out before baking.
After these steps, you’re ready to bake your proofed dough following your recipe’s instructions. Easy, right? Just follow these simple moves, and you’ll be all set!
Conclusion
Now that you’ve mastered proofing dough in your oven, you’re practically a kitchen wizard—no need for a time machine to perfect that rise!
With just a few simple steps, you can turn humble ingredients into fluffy, delicious bread. Remember, patience and a cozy, warm environment are your best friends.
So, get ready to bake like it’s the Renaissance era, impressing everyone with your freshly proofed dough and timeless baking skills! Proofing dough in the oven is easier than you think, and once you get the hang of it, your bread will come out beautifully every time.
Keep these tips handy, and enjoy the process of turning basic dough into a masterpiece of flavor and texture. Happy baking!