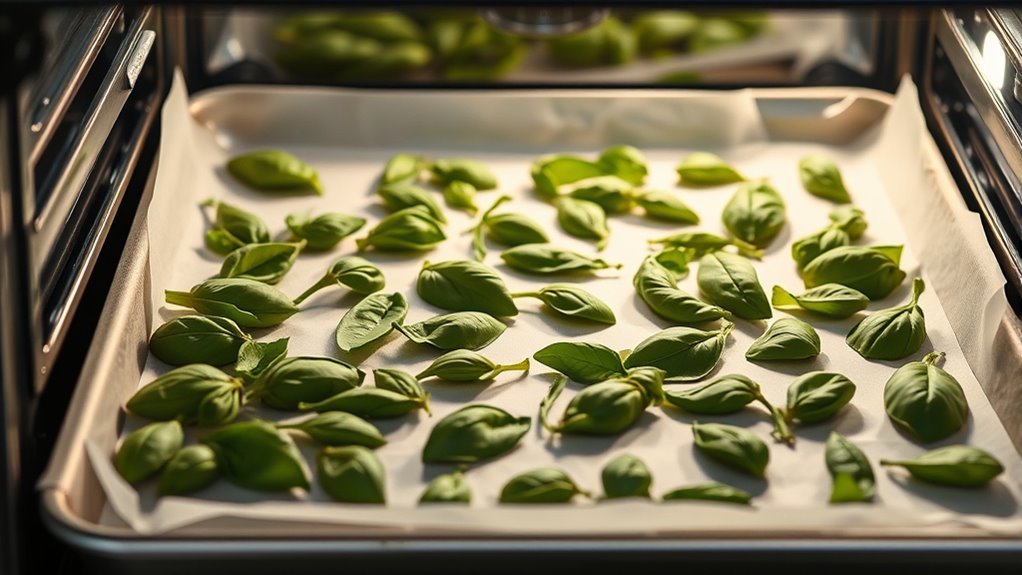
How to Dry Basil in the Oven in 5 Easy Steps
To dry basil in the oven, start by picking fresh, clean leaves and giving them a gentle pat dry. This helps remove any moisture that could slow down the drying process.
Next, preheat your oven to its lowest setting, which is usually around 170°F (77°C). This low temperature ensures the basil dries slowly without burning.
Now, arrange the basil leaves in a single layer on a baking sheet lined with parchment paper. Make sure the leaves don’t overlap so they dry evenly.
Pop the tray into the oven and bake for 45-60 minutes. Keep an eye on them and check regularly until the leaves become crisp and brittle.
Once the basil is cool, crumble the dried leaves and store them in an airtight container. Keep it in a cool, dark spot to maintain the flavor and freshness.
Keep reading for more tips on perfect drying and storage methods!
Selecting and Preparing Fresh Basil Leaves
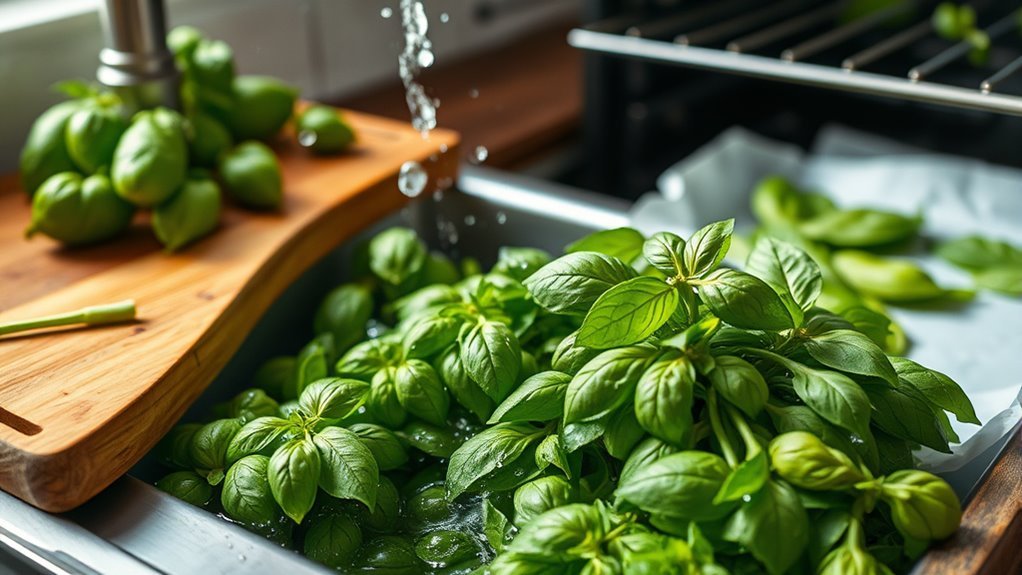
Before drying basil in the oven, you’ll want to select vibrant, healthy leaves free from spots or damage to guarantee the best flavor. When you harvest basil, aim to pick it in the morning after the dew has dried but before the day heats up.
Choose bright, healthy basil leaves in the morning for the best flavor before oven drying.
This timing helps preserve aroma and taste. Use clean, sharp scissors to cut stems just above leaf nodes, then carefully remove basil stems to separate fresh basil leaves.
Next, place the leaves in cool water to rinse basil leaves thoroughly, washing away dirt and any critters. After rinsing, pat dry basil leaves gently with a clean towel or paper towels to remove moisture.
This careful basil leaves selection and preparation assure your basil is perfectly ready for drying and maintains its full flavor.
Preheating the Oven and Preparing the Baking Sheet
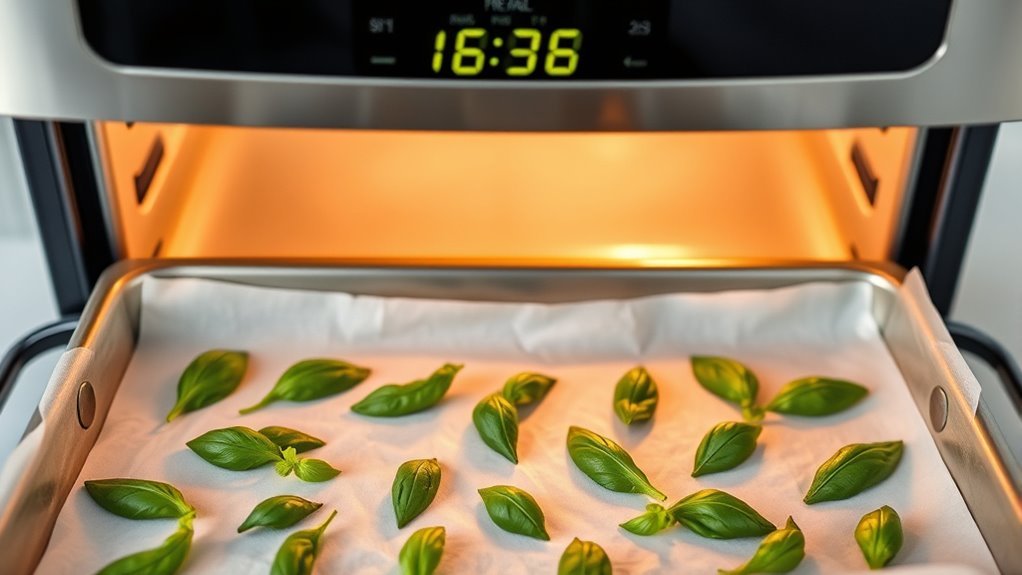
Once your basil leaves are clean and dry, you can prepare your oven and baking sheet for drying. First, preheat the oven to 170°F (77°C) or the lowest temperature it allows, usually around 175-180°F (80°C). This low oven temperature helps preserve basil’s flavor while drying it gently.
Next, line your baking sheet with parchment paper or use a clean, dry tray if you prefer. When you prepare the baking sheet, arrange the basil leaves in a single layer without overlap. Avoid stacking or crowding leaves, as this prevents even drying and can cause some to remain moist.
If you have a large amount, use multiple baking sheets or dry in batches. Also, keeping your oven door slightly cracked will help moisture escape during the drying basil process.
Arranging Basil Leaves for Even Drying
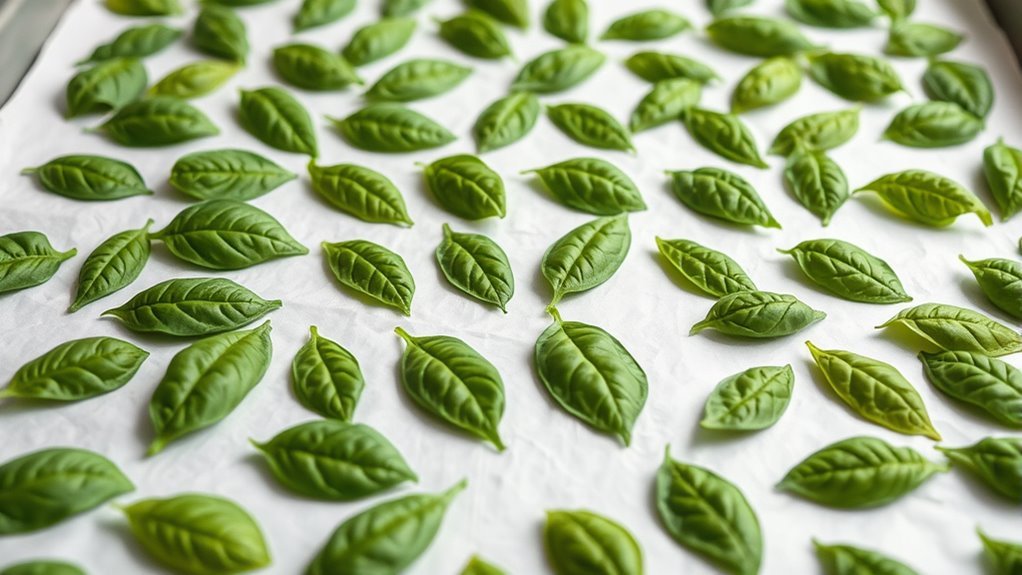
Although it might seem simple, arranging your basil leaves correctly on the baking sheet is essential for even drying. To get the best results, follow these steps:
- Layer and Space Apart: Arrange basil leaves in a single flat layer on the baking sheet. Make sure they don’t overlap. Space them apart to allow air to circulate and promote even drying.
- Use Parchment Paper: Line the baking sheet with parchment paper. This prevents sticking and makes it easier to remove the dried leaves without damage.
- Distribute Evenly: If you’re drying a large batch, use multiple baking sheets. Space them apart in the oven to avoid overcrowding.
Monitoring and Determining When Basil Is Fully Dry
Since drying times can vary, you’ll need to check your basil regularly to guarantee it doesn’t burn or dry unevenly. After the first 45 minutes of baking at 170°F, check the leaves every 10-15 minutes.
To test if basil is dry completely, remove a few leaves and try to crumble them between your fingers. Fully dried basil will be crisp, brittle, and crumble easily, producing a crunchy sound.
If the leaves still feel moist or flexible, continue oven drying, but watch carefully to avoid over-drying, which can cause burning or loss of flavor. Proper monitoring ensures your basil loses all moisture and reaches the perfect texture for storage without compromising its quality.
Cooling, Crumbling, and Storing Dried Basil
After you remove the basil from the oven, let it cool on a baking sheet or rack for about 10 minutes to prevent moisture buildup. This step is important because any leftover moisture can spoil your dried basil.
Once cooled, start crumbling the basil leaves by rubbing them between your fingers or using a mortar and pestle until you get the desired texture. It’s kind of satisfying to do and lets you control how fine or coarse you want your basil.
Crumble cooled basil by hand or mortar and pestle for your perfect texture—fine or coarse, your choice!
For proper storing and preservation, follow these steps:
- Place the crumbled basil into airtight containers or glass jars.
- Seal the containers tightly to maintain flavor and aroma.
- Store the jars in a cool and dark spot, like a pantry or cupboard, away from heat or sunlight.
Don’t forget to label your containers with the drying date so you can keep track of freshness. Properly dried and stored basil can stay flavorful for 1-2 years, making all your effort totally worth it!
Conclusion
Drying basil in your oven is like capturing summer’s vibrant spirit in a jar, preserving its fragrant essence for colder days. By carefully selecting, arranging, and patiently watching your leaves transform, you’re not just drying herbs—you’re bottling sunshine and memories.
Let the cooled, crumbled basil remind you that with a little care, even the simplest moments can be treasured and savored long after they’ve passed. Your kitchen is now a garden that lasts.
Using your oven to dry basil is a quick and effective way to enjoy fresh herb flavor all year round. Just follow the steps carefully, and you’ll have perfectly dried basil that enhances your cooking and keeps its aroma. Whether you sprinkle it on pasta, mix it into sauces, or store it for future use, oven-dried basil is a kitchen essential that brings a touch of summer to any dish.