How Long to Pre Cook Ribs in Oven Before Grilling in 5 Easy Steps
Start by choosing fresh, meaty ribs—this is key to getting that perfect bite. Trim them into smaller sections and make sure to remove the silver skin; it helps make the ribs more tender.
Next, apply your favorite dry rub evenly over the ribs. Then wrap them tightly in foil to keep all those flavors locked in during cooking.
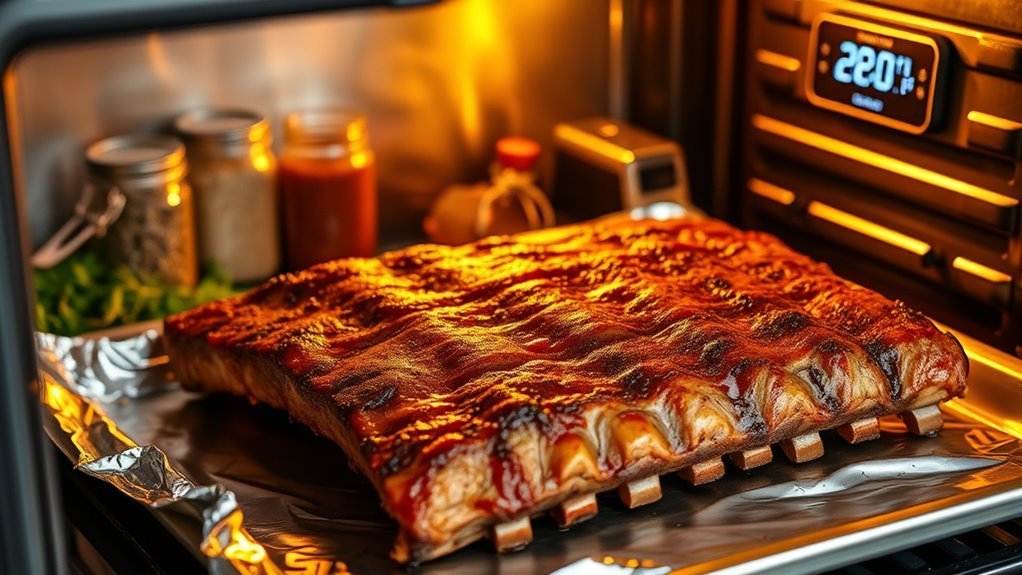
Preheat your oven to 325°F. Cook baby back ribs for about 1.5 hours and spare ribs up to 2 hours. This pre-cooking step locks in moisture and makes the meat tender before it hits the grill.
After they’re done, let the ribs rest for a bit. Then, reheat them briefly and finish on the grill. This final step adds a smoky flavor and creates that delicious caramelized crust we all love.
Keep reading to discover tips for perfect seasoning and serving that will make your ribs a crowd favorite!
Selecting the Right Ribs for Oven Pre-Cooking
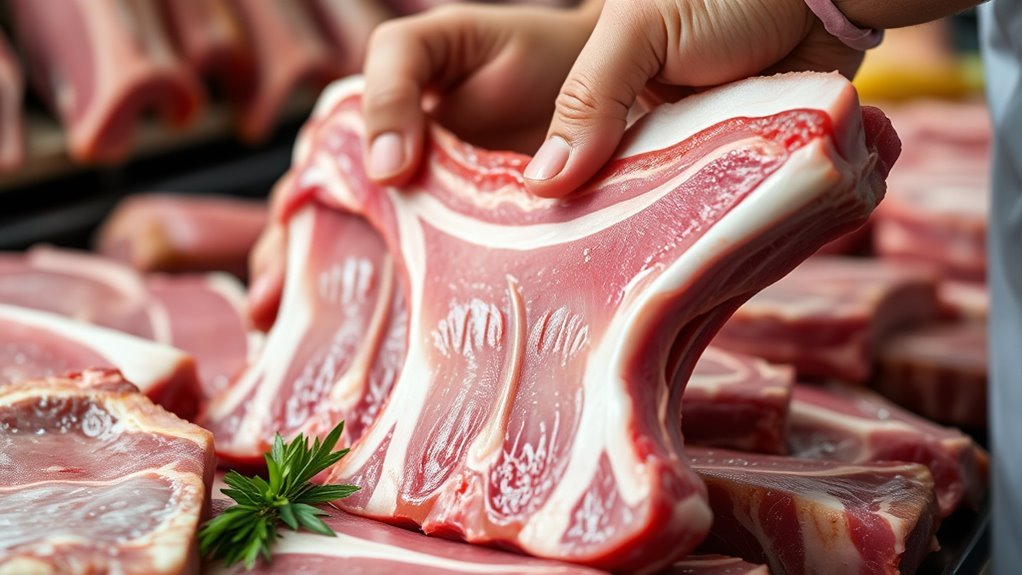
When selecting ribs for oven pre-cooking, you’ll want to choose between pork spare ribs and baby back ribs. Keep in mind that spare ribs are larger and take longer to cook.
Look for fresh, meaty ribs with good marbling to guarantee juicy results without excessive fat or dried edges. If you buy pre-cut racks, pick ones with uniform size so they cook evenly.
Before cooking, remove the silver skin from the bone side. This step helps the ribs become more tender and allows seasoning to penetrate better.
Also, opt for ribs that show a clear bone structure with minimal excess cartilage. Choosing the right ribs this way sets you up for a successful oven pre-cooking process and delicious grilled results.
Preparing and Seasoning Your Ribs
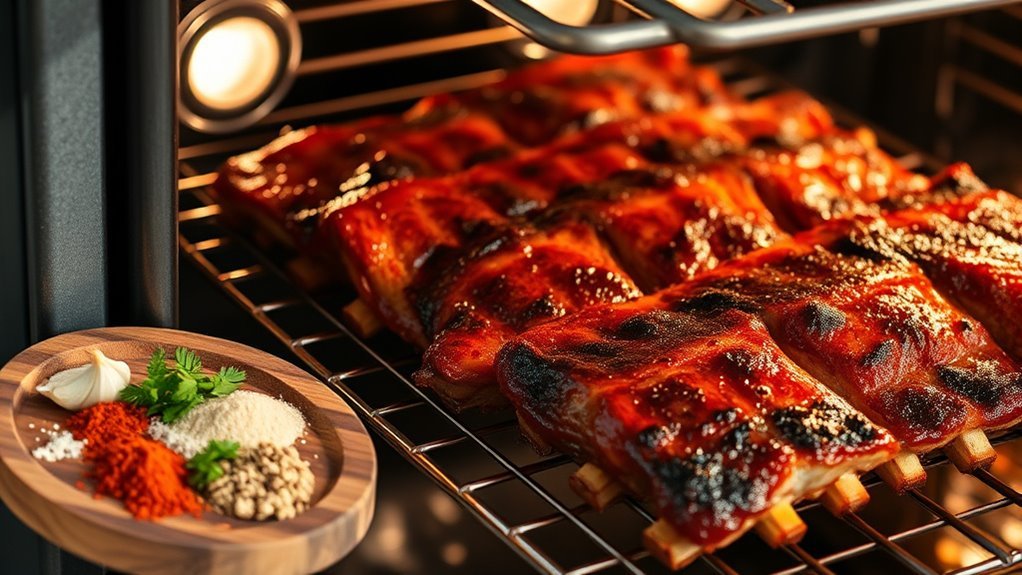
After selecting your ribs and removing the silver skin, the next step is to prepare and season them properly. Start by trimming large racks into smaller sections for easier handling and even seasoning.
Optionally, spread a thin layer of yellow mustard as a marinade to help the dry rub stick better and boost flavor infusion. Generously apply your spice rub—a blend of cumin, smoked paprika, ground coriander, and brown sugar—on all sides, making sure every part is thoroughly seasoned.
Once seasoned, wrap the ribs tightly in foil to lock in moisture during oven pre-cooking. These preparation steps—including silver skin removal, applying the spice rub, and foil wrapping—are essential for tender, flavorful ribs ready for grilling after the oven pre-cook.
Optimal Oven Temperature and Cooking Time
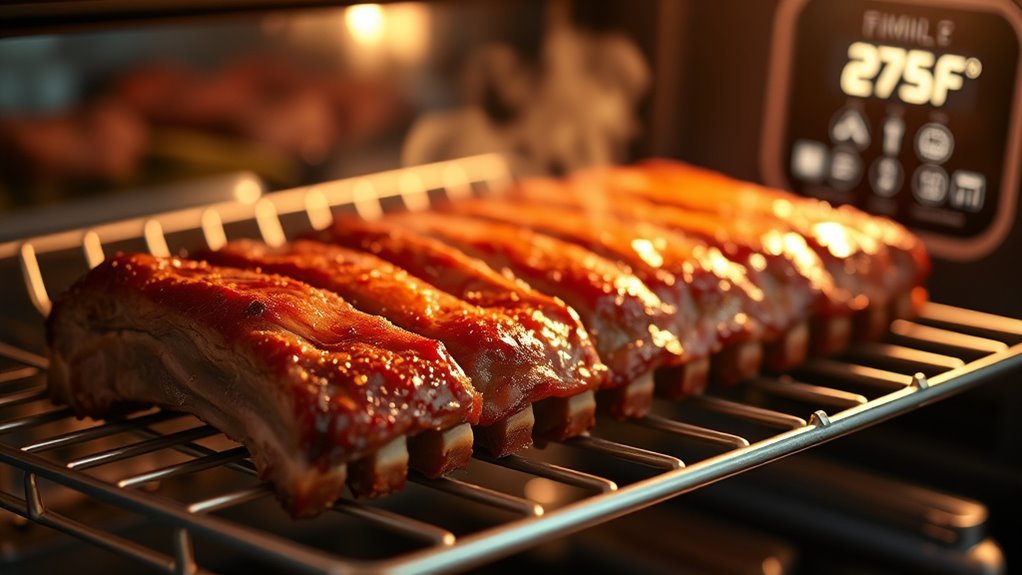
Because achieving tender, flavorful ribs depends heavily on proper cooking, you’ll want to preheat your oven to 325°F (163°C) for the ideal balance of heat and even cooking. This heat setting allows you to pre-cook ribs slowly, preserving moisture and enhancing rib texture.
Preheat your oven to 325°F for tender, flavorful ribs cooked evenly with perfect moisture retention.
The cooking duration typically ranges from 1.5 to 2 hours, depending on rib type and size. Wrapping ribs in foil during oven baking locks in juices, ensuring tender ribs without drying out.
- Preheat oven to 325°F (163°C) for best oven temperature
- Cook baby back ribs about 1.5 hours, spare ribs closer to 2 hours
- Use foil wrapping to retain moisture and improve rib tenderness
- Check rib tenderness with a fork; they should be tender but not falling apart
- Adjust cooking time based on rib size for perfect rib texture
Transitioning From Oven to Grill
Although pre-cooking ribs in the oven ensures tenderness, shifting them to the grill adds the smoky flavor and caramelized crust that make ribs irresistible. After baking ribs at 325°F wrapped in foil to retain moisture, let them rest and cool slightly to prevent overcooking.
For easier handling, cut racks into smaller sections before transferring. When you’re ready to finish, reheat ribs in the oven at 300°F, still wrapped in foil, for about 20 minutes. This step brings them back to the ideal temperature without drying them out.
Then, move ribs to the grill for finishing, allowing the heat to caramelize the surface and infuse smoky notes. This progression from oven to grill perfectly balances tenderness with bold flavor, making your ribs a true crowd-pleaser.
Tips for Serving and Enhancing Flavor
When you brush ribs with barbecue sauce during the last few minutes on the grill, you create a sticky, flavorful crust that elevates every bite.
To maximize flavor enhancement and presentation, consider these serving tips:
- Reheat ribs in foil at 300°F to preserve moisture before the final grill for added char.
- Slice ribs into individual portions for easier serving and a polished look.
- Garnish with sliced green onions and sesame seeds to add color and a fresh contrast.
- Pair ribs with classic side dishes like coleslaw or potato salad to balance smoky flavors.
- Serve ribs immediately after the final grill to enjoy the perfect crust and juicy texture.
Following these tips guarantees your ribs stay moist, flavorful, and visually appealing every time.
Give these a try, and your guests will be coming back for seconds!
Conclusion
Now that you know how to pre-cook ribs in the oven before grilling, you’re ready to bring your BBQ game to the next level.
Remember, getting that perfect tender bite is just the tip of the iceberg—season well, keep an eye on the temperature, and finish on the grill for that smoky char.
With these steps, you’ll have everyone asking for your secret recipe at the next cookout. Mastering how long to pre-cook ribs in the oven before grilling ensures juicy, flavorful results every time.
So go ahead, impress your friends and family with ribs that are fall-off-the-bone tender and packed with delicious smoky goodness!