How Long to Pre Cook Ribs in Oven Before Grilling in 5 Easy Steps
You’ll want to pre-cook your ribs in the oven at around 275°F to 325°F. This temperature range helps ensure the ribs become tender without drying out.
Baby back ribs usually take 1.5 to 2 hours, while spare ribs need about 2.5 to 3 hours for that perfect tenderness.
Before baking, make sure to remove the membrane from the ribs. Then, coat them with a dry rub so the flavors soak in deeply.
This step is key to infusing your ribs with delicious seasoning.
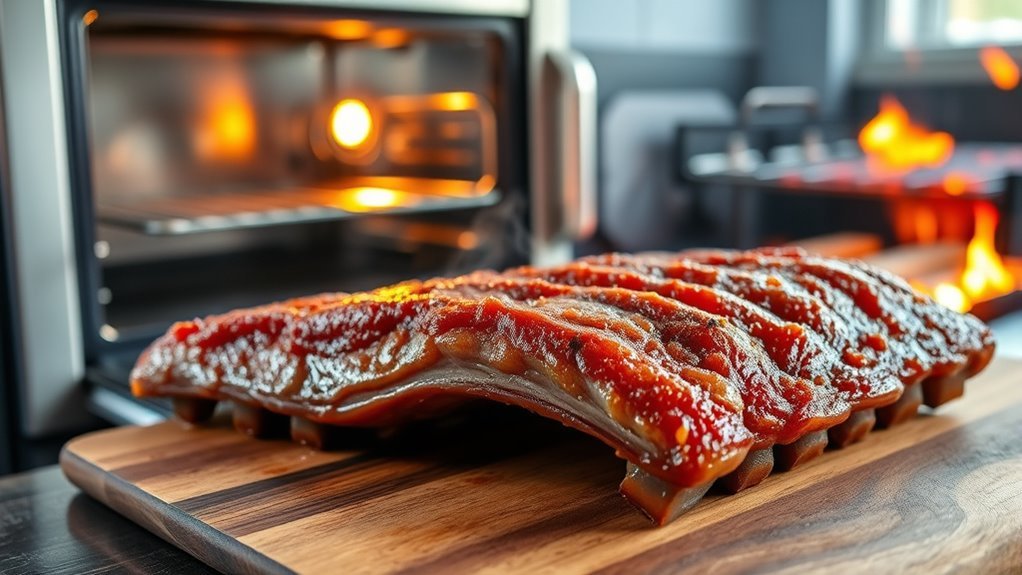
After pre-cooking, finish them on a hot grill. This final grilling step gives you that smoky, caramelized crust everyone loves.
Keep going to discover how to perfect every step for mouthwatering ribs every time.
Selecting the Right Type of Ribs for Pre-Cooking
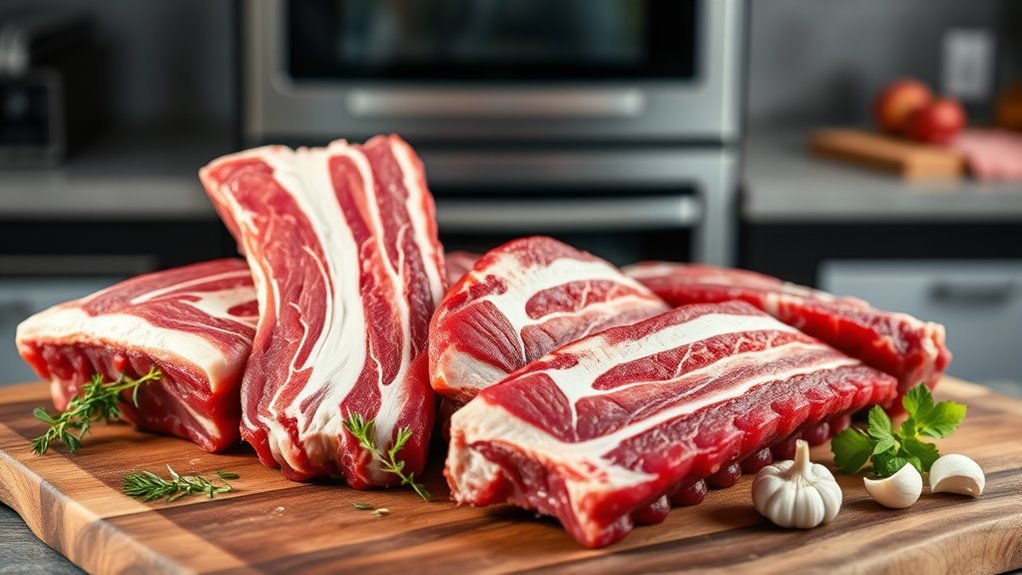
When selecting the right type of ribs for pre-cooking, you should consider the cut’s size and connective tissue content, as these factors directly affect cooking time and tenderness.
Baby back ribs, being smaller and leaner, usually need about 1.5 to 2 hours of oven baking at 325°F. Spare ribs, thicker and with more connective tissue, require 2.5 to 3 hours at the same cooking temperature to become tender.
The rib type influences how long you’ll pre-cook; larger size and higher connective tissue content generally mean longer oven baking time. Pay close attention to thickness as well—thicker ribs take more time to reach ideal tenderness.
Preparing the Ribs: Removing Membrane and Applying Rub
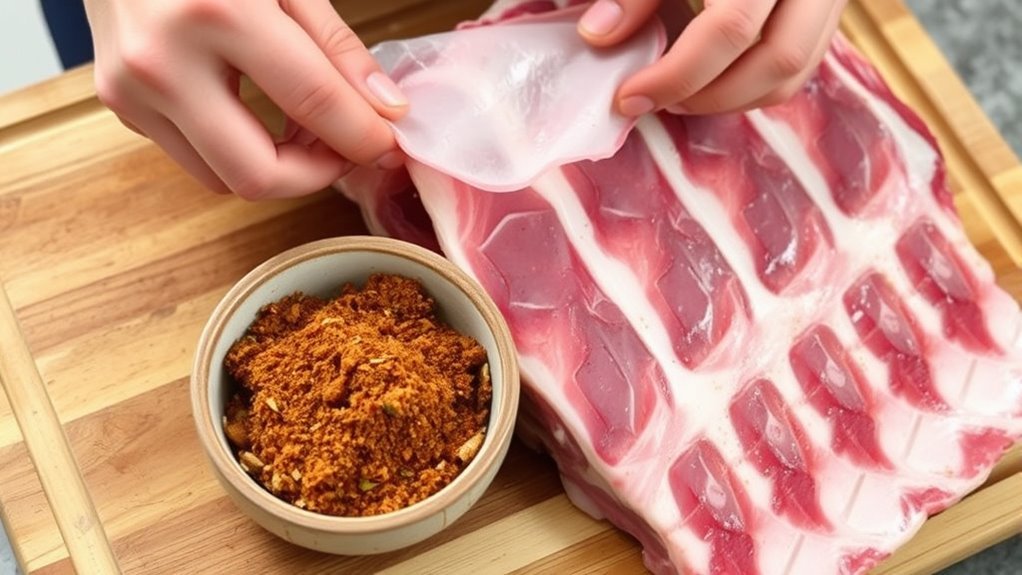
Before applying your spice rub, remove the silver skin or membrane from the back of the ribs. This step boosts tenderness and helps the seasonings soak in better.
To remove the membrane effectively, use a sharp knife to score the silver skin. Then, grip it with a paper towel and peel it off carefully. This is a vital part of ribs preparation because it lets the flavors penetrate more deeply during seasoning.
Once the membrane is off, apply a thin layer of mustard to help the dry rub stick to the pork ribs. Then, generously coat all sides with your spice rub. Make sure to season evenly before oven pre-cooking.
Coat ribs with mustard, then evenly apply your spice rub for maximum flavor before oven cooking.
Proper membrane removal combined with thorough spice rub application guarantees your ribs will be flavorful and tender after cooking. Trust me, taking these steps really makes a difference!
Optimal Oven Temperature and Cooking Duration
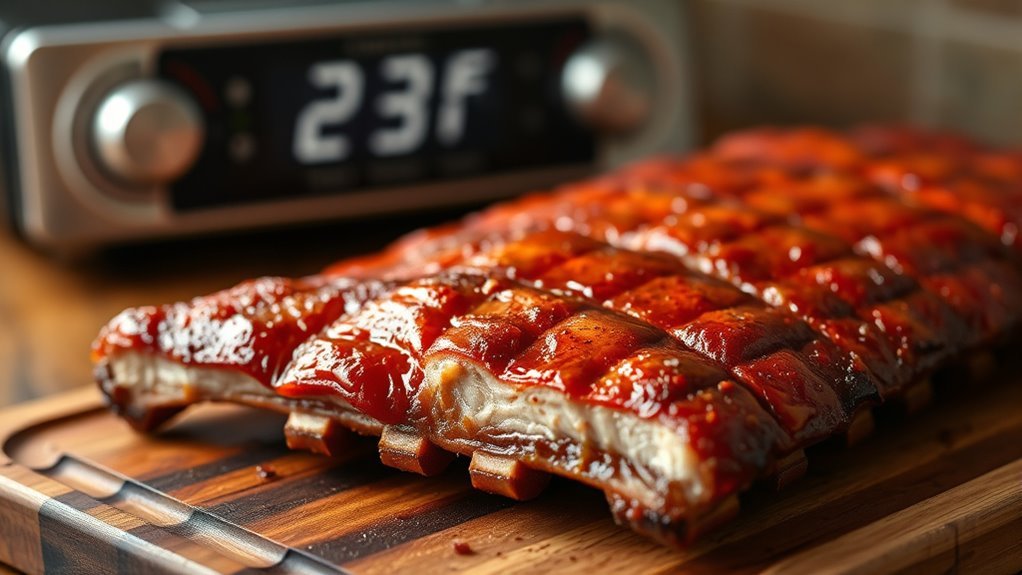
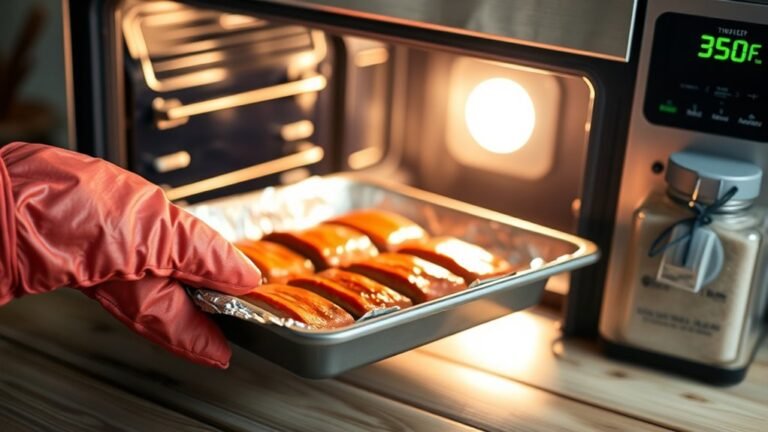
After seasoning your ribs thoroughly, the next step is to set the oven at the right temperature and time to guarantee they become tender without drying out. For pre-cooked ribs, an oven temperature between 275°F and 350°F works best.
Oven baking at 325°F for about 1.5 to 2 hours usually yields tender ribs with that coveted fall-off-the-bone texture. If you prefer lower heat, 250°F requires a longer cooking duration—around 2.5 to 3 hours—to break down collagen fully.
Baby back ribs cook faster, needing about 1.5 hours at 350°F. Use a meat thermometer to check the internal temperature; aim for 190°F to 203°F to ensure rib tenderness.
This careful balance of oven temperature and cooking time sets the stage for perfect barbecue ribs on the grill.
Making and Applying Homemade BBQ Sauce
Though seasoning and cooking your ribs perfectly is essential, the homemade BBQ sauce you apply can truly elevate their flavor. Start by combining classic ingredients like ketchup, molasses, garlic, brown sugar, hot sauce, Dijon mustard, and Worcestershire sauce.
Simmer this mixture for about 5 minutes to meld the flavors, then let it cool. If you want a thicker sauce, whisk in a cornstarch slurry and simmer until it reaches the desired consistency.
Preparing your BBQ sauce in advance and refrigerating it for a day or two enhances its depth of flavor. When it’s time to glaze the ribs, gently reheat your homemade sauce before you apply it, ensuring a fresh, rich coating that perfectly complements your pre-cooked ribs.
Finishing Touch: Grilling for Flavor and Presentation
Once you’ve slathered your ribs with that rich homemade BBQ sauce, grilling them briefly brings out their best flavor and appearance. Set your grill to high heat, around 425-450°F, and place the ribs on for 3-5 minutes per side.
Grill ribs briefly at high heat (425-450°F) for 3-5 minutes per side to enhance flavor and appearance.
This grill timing is perfect for developing a smoky flavor and creating distinct grill marks. As you brush more barbecue sauce during grilling, it sets into a caramelized crust, adding depth to the flavor development.
The high heat also forms a glossy glaze that enhances visual appeal. After grilling, don’t skip resting the ribs for a few minutes; this step lets the juices redistribute, improving both taste and presentation.
This finishing touch ensures your ribs boast a crispy exterior and mouthwatering look. Trust me, it’s totally worth the wait!
Conclusion
Now that you know how to pre-cook ribs perfectly, remember this: about 70% of backyard cooks say pre-cooking makes their ribs juicier and more tender before grilling.
By removing the membrane, applying a flavorful rub, and slow-cooking in the oven, you’re setting yourself up for mouthwatering results. Finish with a quick grill to get that smoky char, and you’ll impress everyone at your next BBQ.
Give it a try—you’ll taste the difference! Pre-cooking ribs in the oven before grilling not only locks in flavor but also ensures your ribs stay moist and tender. So next time you wonder how long to pre-cook ribs in the oven before grilling, remember these simple steps for delicious, fall-off-the-bone ribs that everyone will love.