10 Easy Steps to Make BBQ Ribs in the Oven
Start by choosing tender baby back ribs and removing the membrane for better flavor. Mixing a dry rub with salt, pepper, and your favorite spices really brings out the taste. Then, spread mustard over the ribs—it helps the seasoning stick better.
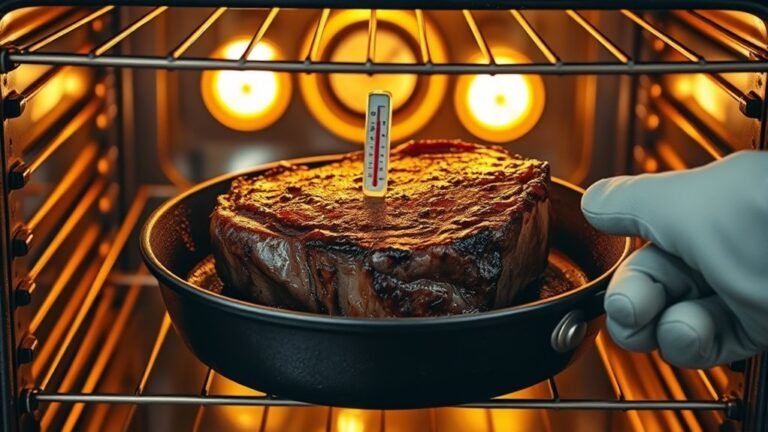
Preheat your oven to 275°F and wrap the ribs tightly in foil with a splash of apple juice. This slow cooking method makes the ribs incredibly tender. Bake them for about 2.5 to 3.5 hours.
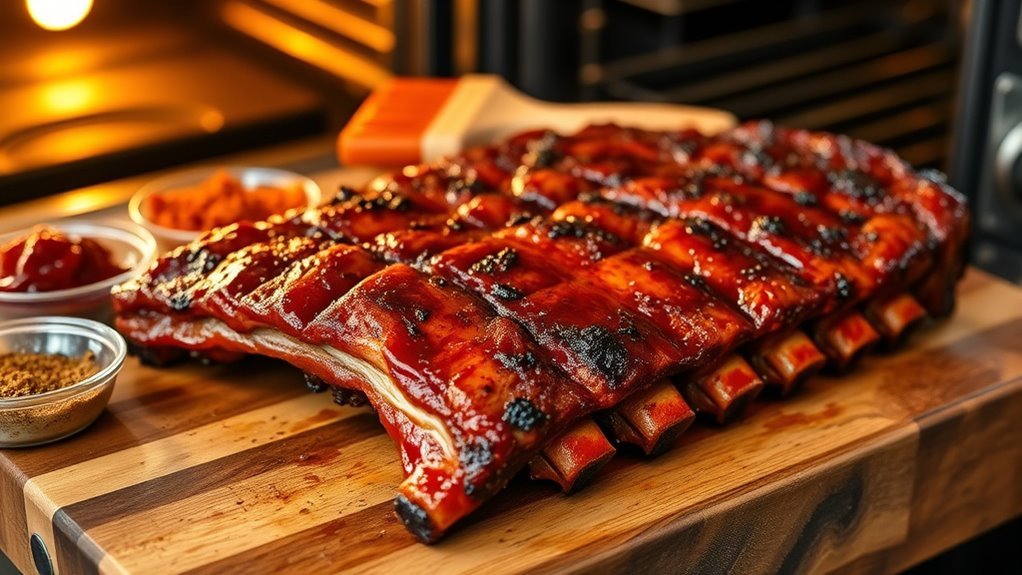
Once they’re done, unwrap the ribs and slather them with BBQ sauce. Pop them under the broiler to caramelize the sauce, adding that perfect finishing touch.
Let the ribs rest before slicing so all those juices stay locked in. There’s plenty more to perfect your technique, but these easy steps will get you great oven-baked BBQ ribs every time!
Choose the Right Ribs
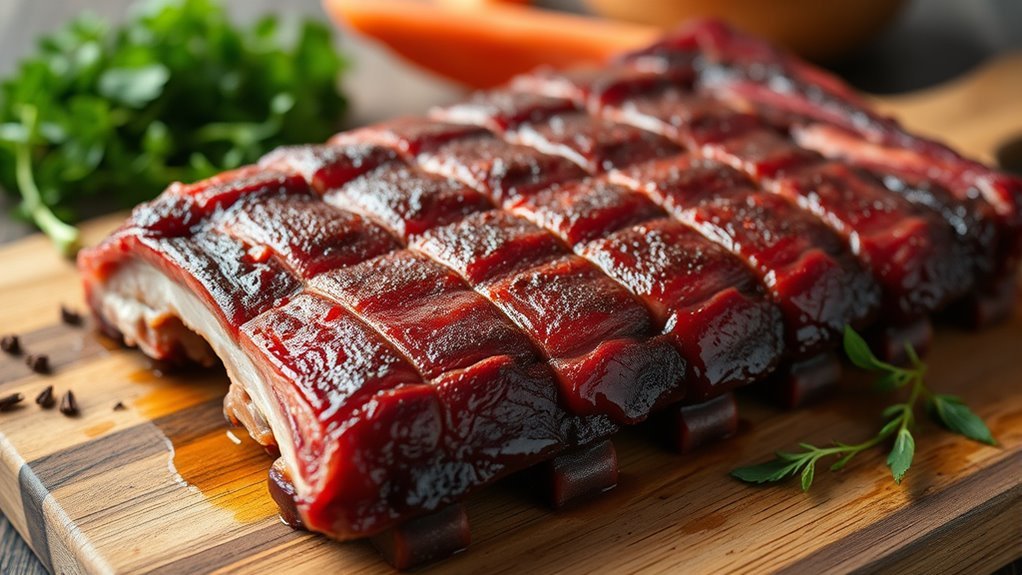
Choosing the right ribs sets the foundation for delicious oven-baked BBQ. Start by selecting baby back ribs—they’re tender and popular, making them perfect for your rack of ribs.
Look for fresh ribs that have a bright color and firm texture. Avoid any with discoloration or strong odors. Quality ribs should be meaty with good marbling to assure flavor and juiciness.
Pay attention to rib thickness, aiming for about 1.5 to 2 inches, and a weight between 1.5 to 3 pounds per rack. While some ribs come with the membrane removed, if yours don’t, you’ll want to handle membrane removal yourself later. This helps the seasonings penetrate better.
Choosing the right ribs guarantees a flavorful, tender BBQ experience every time.
Remove the Membrane From the Ribs
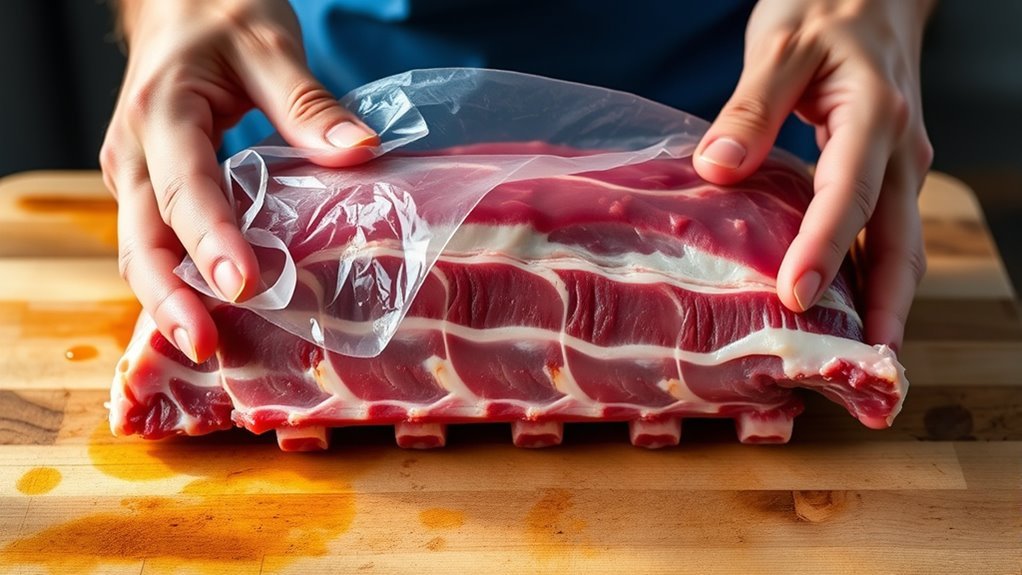
Although the membrane on the back of the ribs is edible, you’ll want to remove it to make your ribs more tender and flavorful. This thin, tough layer can prevent seasonings from fully penetrating, affecting both taste and tenderness.
To remove the membrane, start by slipping a knife gently under it at one small corner of the rack. Grab the membrane firmly with a paper towel or cloth to get a better grip, then peel away slowly and steadily.
Removing this tough layer is an essential part of your ribs’ preparation, ensuring they cook evenly and become easier to eat. Taking the time to peel off the membrane will dramatically improve the final texture, making your oven-baked ribs a true delight.
Prepare the Dry Rub Seasoning
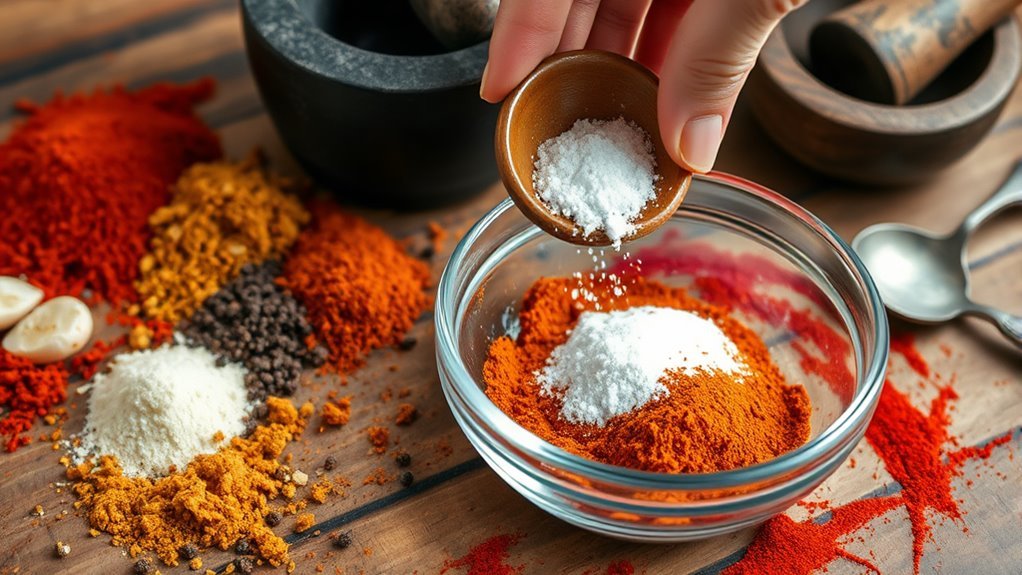
With the membrane removed, your ribs are ready to soak up the flavors of a well-crafted dry rub. Start by mixing salt, pepper, paprika, garlic powder, and onion powder to create a balanced seasoning.
Remove the membrane, then season ribs with a balanced blend of salt, pepper, paprika, garlic, and onion powder.
For a bolder taste, add cayenne pepper, cumin, or a pre-made BBQ spice rub. This dry rub will infuse your ribs with rich flavor.
To improve adhesion, you can optionally spread a thin layer of yellow mustard on the ribs before applying the spice rub. Rub the seasoning generously onto all sides, pressing it into the meat.
Once seasoned, let the ribs rest in the refrigerator for at least one hour. This resting time allows the dry rub’s flavors to deeply penetrate the meat, ensuring a delicious BBQ experience.
Apply Mustard and Seasoning to the Ribs
Start by spreading a thin layer of yellow mustard over both sides of the ribs to help the seasoning stick and add a subtle tang. Use about 1-2 tablespoons per rack for an even coating.
Then, generously press your dry rub into the meat. Let the ribs rest for at least 15 minutes so the flavors can set before baking.
Mustard’s Role Explained
Before seasoning your ribs, spread a thin layer of mustard over the meat to help the spices stick better. Mustard acts as a flavorful binder, allowing your seasoning to adhere firmly to the ribs. This helps create a well-seasoned crust as the rub stays in place during cooking.
The acetic acid in mustard also tenderizes the surface slightly, improving the texture of your ribs. Beyond function, mustard adds a subtle tangy kick that enhances the overall flavor profile without overpowering the rub.
While using mustard is optional, it’s highly recommended if you want your seasoning to bind effectively and deliver a more balanced, flavorful bite. This simple step ensures your seasoning rub clings perfectly, resulting in delicious, tender, and tasty oven-cooked ribs.
Seasoning Application Tips
Once you’ve spread a thin layer of mustard on your ribs, it’s time to apply the seasoning. Grab a generous amount of your dry rub and spread it evenly over all sides of the ribs.
To guarantee better penetration and prevent the seasoning from falling off during cooking, pat it firmly into the meat using your hands or a spoon. For an extra boost of flavor, drizzle a little more mustard on the meaty side before rubbing in the seasoning.
After applying, it’s important to let the ribs rest in the refrigerator for at least one hour. This rest period allows the flavors to meld and helps tenderize the meat, so don’t skip this step if you want perfectly seasoned, flavorful ribs.
Preheat the Oven to the Correct Temperature
Although it might be tempting to put the ribs in immediately, you should preheat your oven to 275°F (135°C) or 300°F (149°C) first to guarantee slow, even cooking. Properly preheating ensures the oven reaches a steady low temperature, vital for tender, fall-off-the-bone ribs.
Use an oven thermometer to check the actual oven temperature since dials can be off due to poor oven calibration. Allow about 10-15 minutes for the oven temperature to stabilize before placing your ribs inside.
This consistent heat throughout the cooking time prevents temperature fluctuations that could dry out your ribs. Taking these steps will help you maintain the correct oven temperature, guaranteeing your ribs cook evenly and come out perfectly every time.
Wrap the Ribs in Foil for Baking
Wrap your ribs tightly in heavy-duty foil to lock in moisture and cook them evenly. Adding a splash of water or apple juice inside the foil can help create steam for extra tenderness.
Just make sure the foil is sealed completely. Then, place the ribs meaty-side down to get the best results. Easy and effective!
Foil Wrapping Techniques
Because sealing the ribs tightly in aluminum foil traps moisture, you’ll create a steaming effect that keeps the meat tender and juicy during baking. When foil wrapping, use double-layered foil for added durability, especially if you’re cooking larger or multiple racks.
Place the ribs on the foil and, if you want extra tenderness, add a small amount of water inside before sealing. Make sure to seal securely around the ribs to prevent steam from escaping, which helps with moisture retention and ensures even cooking throughout oven baking.
This careful foil wrapping technique guarantees your ribs stay flavorful and moist until the final stage, where you can unwrap them for caramelizing. Following these steps will help you master foil wrapping for perfect oven-baked BBQ ribs every time.
Benefits of Foil Wrapping
Three key benefits make foil wrapping your ribs an essential step in oven baking. First, foil wrapping creates a sealed environment that traps steam, enabling steam cooking which yields tender ribs and juicy meat.
Second, it enhances moisture retention by locking in the ribs’ natural juices and any added liquids, preventing dryness during long baking.
Finally, baking foil ensures even heat distribution around the ribs, so they cook uniformly without hot spots. This even heat circulation is especially helpful when cooking multiple racks at once.
Wrapping Tips for Tenderness
When you tightly seal your ribs in foil, you lock in steam and moisture that make the meat tender and fall-off-the-bone delicious. Wrapping your ribs securely in foil traps the steam and juices inside, ensuring even heat distribution and preserving moisture throughout baking.
Before sealing, add a splash of water or apple juice to boost tenderness. Always remove the membrane first to let seasoning and steam work their magic.
Keep these tips in mind when you wrap your ribs: seal the foil tightly to prevent juice leakage and maintain moisture. Also, wrap each rack individually for consistent tenderness, especially if you’re cooking multiple racks.
And don’t forget to add a bit of liquid inside the foil pouch to create steam and keep ribs juicy.
This technique guarantees tender, flavorful ribs every time.
Bake the Ribs Slowly for Tenderness
To get tender, fall-off-the-bone ribs, you’ll want to bake them slowly at 275°F for 2.5 to 3.5 hours. This slow cook in the oven breaks down connective tissues, delivering incredible tenderness.
Be sure to wrap the ribs tightly in foil before baking; this traps moisture and steam, which keeps the ribs juicy and enhances that fall-off-the-bone texture. Around the 2-hour mark, check the ribs to ensure they’re not undercooked—the meat should easily pull away from the bones.
Baking at a low temperature prevents drying out or toughness, locking in maximum moisture and flavor. After baking, let the ribs rest for 10-15 minutes so the juices redistribute, giving you perfectly tender ribs every time.
Unwrap and Apply BBQ Sauce
Once your ribs have baked to tender perfection and rested, it’s time to unwrap them carefully and remove the top foil layer. This reveals the juicy meat ready for its flavorful finish.
Next, you’ll want to apply a generous coat of BBQ sauce. Use a brush to spread the sauce evenly over both sides, making sure to cover every nook and cranny for maximum taste.
After saucing, let the ribs rest briefly to allow the flavors to meld.
Keep these tips in mind:
- Unwrap the foil gently to preserve the ribs’ tenderness.
- Brush BBQ sauce thoroughly to enhance flavor.
- Rest the sauced ribs before the next step to lock in moisture and taste.
This prepares your ribs perfectly for that caramelized finish under the broiler.
Broil or Grill to Caramelize the Sauce
Although your ribs are already flavorful, broiling or grilling them briefly after saucing will create a caramelized, sticky glaze that takes their taste to the next level. To broil, set your oven to the broiler setting on high and position the rack about 6 inches from the heat source.
Brush a thin, even layer of BBQ sauce onto your oven ribs just before broiling. Keep a close eye on the ribs as the sugars in the sauce can burn quickly, typically within 3-4 minutes.
For an even richer flavor and a smoky crust, finish the ribs on a medium-high grill for 5-10 minutes. Keep brushing with sauce and turning them occasionally.
This final caramelization step enhances the texture and flavor beautifully. It’s a simple trick that really makes a difference!
Rest and Serve Your Perfect Ribs
After caramelizing the sauce for that perfect sticky glaze, let your ribs rest for 5-10 minutes to allow the juices to redistribute. Resting keeps the meat tender and prevents it from falling apart when you cut and slice.
Cover the ribs loosely with foil during this time to keep them warm without sogginess. When you’re ready to serve, cut between the bones for clean, neat edges that enhance presentation. This careful rest and precise slicing ensure each bite is juicy and flavorful.
Remember these key points:
- Resting retains juices for maximum tenderness.
- Loosely cover ribs to maintain heat without moisture buildup.
- Cut between bones after resting for a perfect serve and presentation.
Conclusion
Now that you’ve mastered these 10 easy steps, you’re ready to impress with tender, flavorful ribs right from your oven.
Did you know Americans consume over 500 million pounds of ribs each year? That’s a lot of BBQ love!
By following this simple guide, you’re joining a long tradition of rib lovers who enjoy mouthwatering, fall-off-the-bone goodness without needing a grill.
So go ahead, enjoy your perfectly cooked ribs and savor every bite of this delicious oven-baked BBQ ribs recipe!