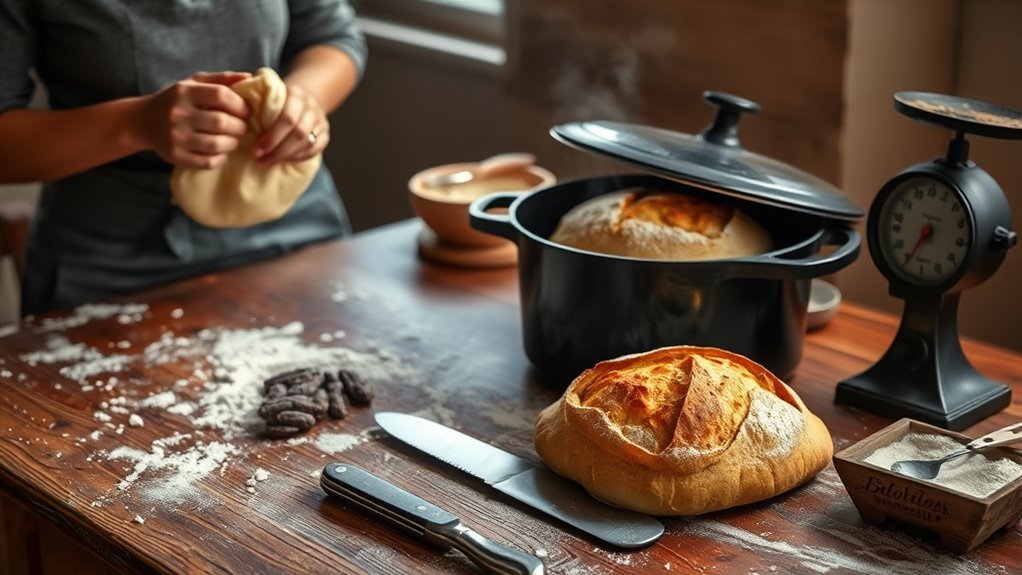
10 Easy Steps to Bake Bread Using a Dutch Oven
To bake bread using a Dutch oven, start by gathering your ingredients and tools. Mix flour, yeast, salt, and warm water into a sticky dough. This simple no-knead method is perfect for beginners who want to enjoy homemade bread without extra fuss.
Let the dough rise for 12–24 hours. This long rise helps develop flavor and gluten, making your bread taste amazing and have a great texture.
Next, preheat your Dutch oven to 450°F. Carefully transfer the shaped dough on parchment paper inside the hot pot and cover it with the lid. Bake covered for 30–35 minutes to trap steam and create a soft crumb.
Then, remove the lid to let the crust crisp up beautifully. After baking, cool the bread before slicing to keep it from getting gummy.
Keep following these easy steps, and you’ll be a pro at making perfect no-knead bread every time!
What Is No Knead Bread?
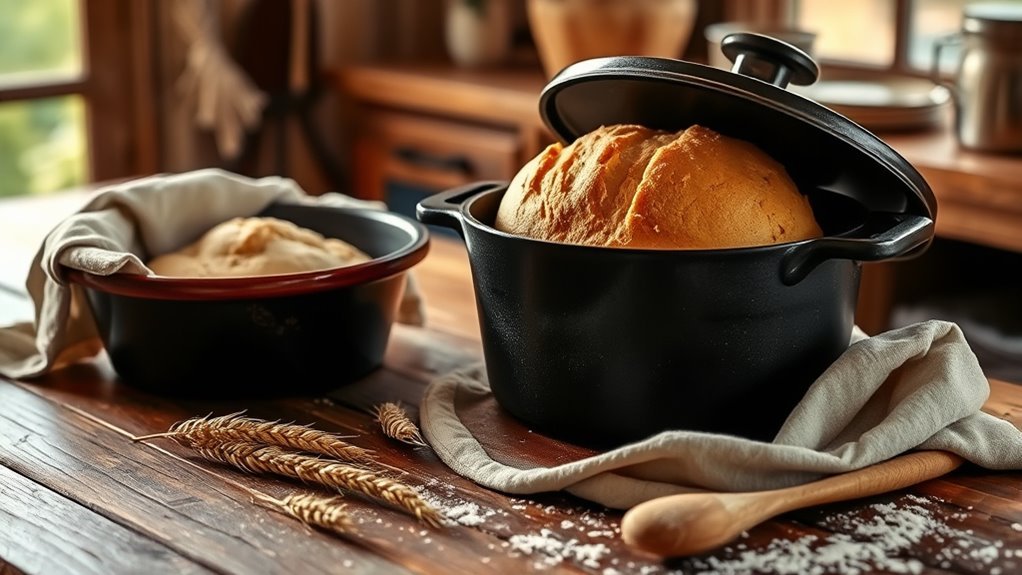
Although it skips traditional kneading, no knead bread relies on a long fermentation to develop gluten and flavor. You’ll work with a loose, sticky dough that requires minimal handling—often just stirring together the basic ingredients.
No knead bread develops gluten and flavor through long fermentation with minimal handling of a loose, sticky dough.
The long rise, usually 12 to 24 hours, allows fermentation to strengthen gluten development naturally, eliminating the need for kneading. During this proofing stage, the dough transforms, gaining structure and taste.
When baked, typically in a Dutch oven, the loaf develops a thick, crusty exterior while staying airy and tender inside. This method simplifies bread-making without sacrificing quality, letting you enjoy a beautifully textured loaf with minimal effort.
The minimal handling and extended fermentation make no knead bread a perfect choice for easy, flavorful baking.
Gathering Ingredients and Tools
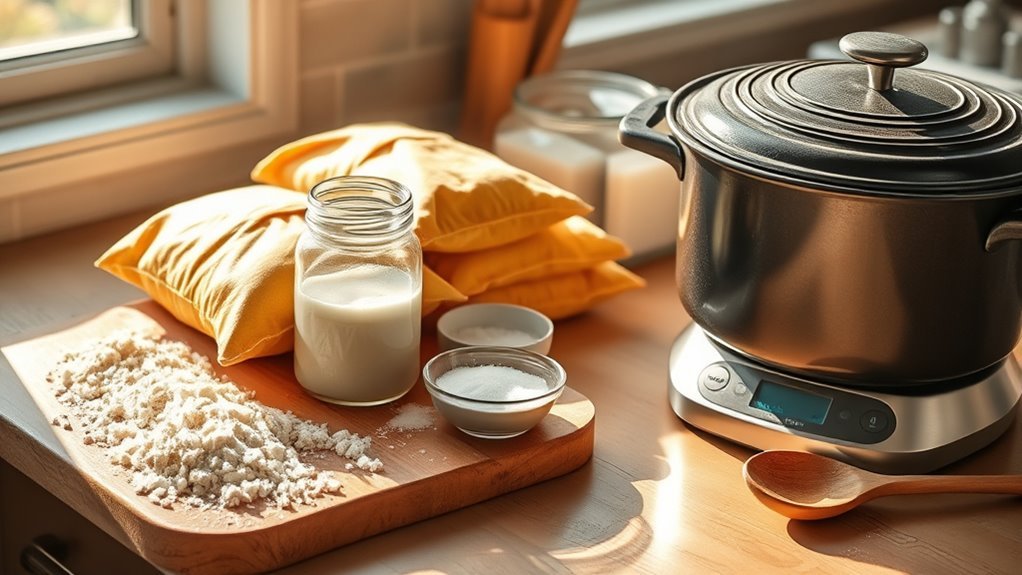
Before you start mixing your dough, make sure you have all the necessary ingredients and tools at hand. You’ll need 3.25 cups of all-purpose flour, 2.25 teaspoons of active dry yeast, 1/2 tablespoon of salt, and 1.5 cups of warm water around 105°F.
Use precise measuring tools like a kitchen scale and measuring cups to guarantee accuracy, especially for the flour and yeast. Gather a large mixing bowl for combining the ingredients, a silicone spatula, and a dough scraper to handle the dough easily.
Have parchment paper ready to transfer the dough into your Dutch oven. For baking, use a high-quality cast iron or enameled Dutch oven that withstands 450°F.
Optional add-ins like herbs or cheese can be prepared now to mix in later. It’s easier to add them in at the start than to try folding them in later on.
Mixing the Dough
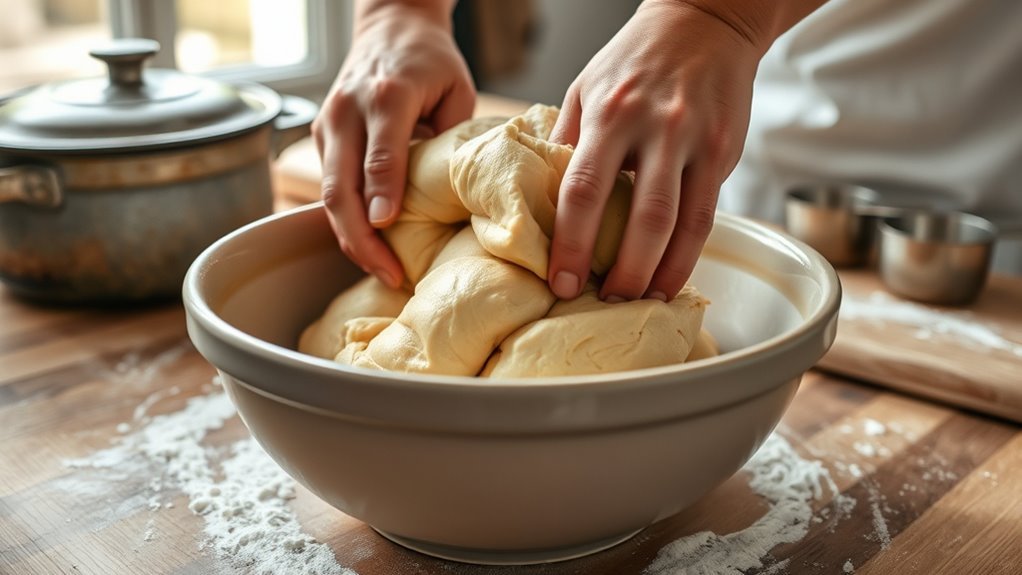
Start by measuring 3.25 cups of flour, 2.25 teaspoons of yeast, and half a tablespoon of salt into a large bowl.
Add 1.5 cups of warm water and stir until you get a loose, sticky dough with a shaggy texture.
Make sure everything is well mixed before covering the bowl to let the dough rise and double in size.
It’s a pretty simple step, but getting that texture right is key. Just be patient and let it do its thing!
Ingredients and Measurements
To mix the dough, you’ll need 3.25 cups (about 455 grams) of all-purpose or bread flour and 2.25 teaspoons (7 grams) of active dry yeast dissolved in 1.5 cups (360 ml) of warm water at 105°F (40°C).
Next, follow these steps to prepare your ingredients for the recipe:
- Measure the flour precisely and place it in a large bowl.
- Add 1/2 tablespoon (about 9 grams) of fine sea salt directly to the flour.
- Dissolve the yeast completely in the warm water to activate it.
- Combine the wet and dry ingredients gently until a sticky dough forms, then cover and let it proof at room temperature for 2 to 3 hours until doubled and bubbly.
Accurate measuring and combining these ingredients sets the foundation for perfect dough.
Pretty straightforward, right? Just take your time with each step and you’ll get great results!
Mixing Techniques
Once you’ve combined your ingredients, it’s time to mix the dough properly. Use a silicone spatula or wooden spoon to stir the flour, yeast, salt, and warm water until a loose, shaggy dough forms.
Make sure to blend thoroughly so all ingredients are fully incorporated, leaving no dry flour behind. The dough should feel sticky with a slightly rough texture.
Avoid kneading at this stage; instead, stir vigorously for about 1-2 minutes. This action helps develop gluten without overworking the dough, which is key to achieving the right structure.
Mixing uniformly ensures the dough is ready to rise, setting you up for a successful bake inside your Dutch oven. Remember, proper mixing lays the foundation for excellent bread texture and flavor.
Dough Consistency Check
Although mixing might seem straightforward, checking your dough’s consistency is essential for a successful bake. You want a sticky dough with the right hydration level, usually around 65-70%. That means about 1.5 cups of water per 3.25 cups of flour.
Here’s how to make sure your dough is just right:
- Mix the flour, yeast, salt, and warm water until you form a shaggy, moist mass—don’t overwork it.
- Use a silicone spatula or dough scraper to eliminate any dry flour pockets.
- Look for a smooth dough with bubbles or small holes; these indicate good gluten development.
- Remember, the dough should be loose and sticky, resembling thick pancake batter, not firm or dry.
This perfect dough consistency ensures your bread will rise beautifully in the Dutch oven.
Letting the Dough Rise
While your dough rests, make sure it’s kept in a warm, draft-free spot. Cover it with a clean towel or plastic wrap to prevent drying out.
Keep dough warm and covered with a towel or plastic wrap to avoid drying during resting.
Place your dough in a suitable proofing container to maintain a consistent warm environment. This is vital for the fermentation process.
This proofing time typically lasts 2 to 3 hours, allowing the dough to rise and double in size. Proper proofing is essential—it develops the bread’s airy crumb and ensures a good oven spring during baking.
You can also slow the proofing process by refrigerating the dough overnight. This enhances flavor and makes handling easier.
Look for a visibly expanded, puffy dough with a slightly domed surface. That’s how you know the proofing process is complete and your bread is ready to bake.
Preparing the Dutch Oven
Before you start baking, preheat your Dutch oven inside the oven at 450°F for 30 to 60 minutes. This guarantees even heating, which is super important.
Always use oven mitts to handle the hot pot safely when placing or removing it. You don’t want to risk burning yourself!
This preparation helps create the perfect environment for your bread to bake evenly. Plus, it helps develop that crispy crust we all love.
Preheat Dutch Oven
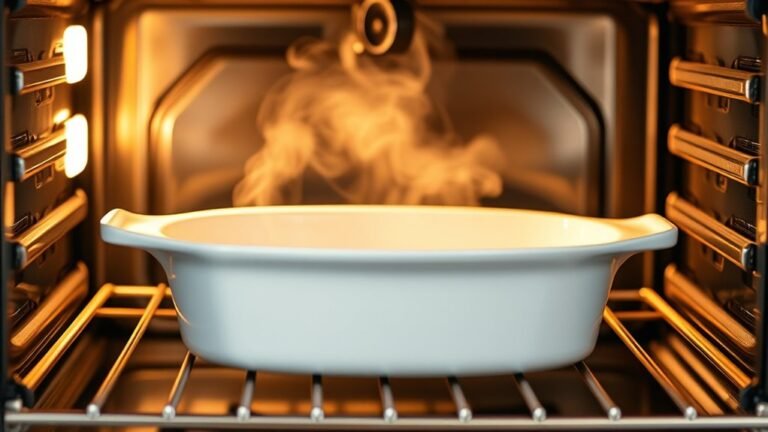
To achieve a perfectly crisp crust, you’ll want to preheat your Dutch oven at 450°F (232°C) with the lid on for 30 to 60 minutes. This guarantees it’s thoroughly heated.
This high heat allows the cast iron to create an ideal baking environment.
Follow these steps:
- Place the Dutch oven on the centered oven rack to promote even heat distribution.
- Set your oven to 450°F (232°C) and preheat with the lid on.
- Allow the preheating process to continue for 30 to 60 minutes until the Dutch oven is hot.
- Avoid temperatures above 500°F (260°C) to prevent enamel damage or warping.
This careful preheat ensures your bread bakes evenly. Plus, it helps develop that sought-after crispy crust.
Handle With Care
Since the Dutch oven will be extremely hot after preheating, you’ll need oven-safe gloves or pot holders to handle it safely and prevent burns. Use oven gloves or pot holders for heat protection when lifting the hot Dutch oven from the oven.
When transferring your dough, place it on parchment paper first; this allows you to move it into the pot without touching the searing surface. For lid handling, always use oven mitts or a sturdy cloth to carefully lift and place the lid back on, avoiding accidents.
Remember, safety precautions are vital to prevent burns or spills. After baking, let the Dutch oven cool completely before cleaning or storing to avoid thermal stress and damage.
Careful lifting and proper protection ensure a safe, smooth baking experience. It’s better to be cautious than sorry!
Ensure Even Heating
Although it takes some patience, preheating your Dutch oven at 450°F (232°C) for 30 to 60 minutes guarantees even heat distribution essential for baking perfect bread.
To assure even heating, follow these steps:
- Preheat the Dutch oven with its lid inside the oven to promote uniform heat exposure.
- Place the Dutch oven on the center rack to avoid hot spots and maximize even heat.
- Use an oven thermometer to confirm the Dutch oven reaches and maintains the correct temperature.
- Avoid placing the Dutch oven on the oven floor or near heating elements, which can cause uneven heat distribution or damage.
Shaping the Loaf
When you gently transfer the sticky dough onto a floured surface, you’ll find shaping it much easier and less messy. Lightly flour your hands and the surface to prevent the dough from sticking or tearing.
Begin shaping by folding the edges of the dough inward, then tuck them underneath to form a loose ball or oval. This technique creates surface tension, which helps the loaf hold its shape during proofing.
Handle the dough carefully to preserve the air bubbles inside, essential for an airy crumb. Once shaped, place the loaf seam side down onto a piece of parchment paper.
This prepares it perfectly for the final proof or for easy transfer later on. Proper shaping sets you up for a beautiful, well-risen bread.
Transferring Dough to the Dutch Oven
Carefully lifting your proofed dough with a silicone spatula or dough scraper helps prevent deflation during transfer.
When you’re ready to transfer dough into the preheated Dutch oven, follow these steps:
- Place the dough on floured parchment paper to avoid sticking.
- Using oven mitts, carefully lift the hot Dutch oven.
- If your dough rests on a parchment sling, lift it by the edges and gently place it inside the Dutch oven.
- Score the top of the dough with a sharp knife or razor blade to allow expansion during baking.
This method ensures your dough stays intact and bakes evenly in the hot Dutch oven.
It sets the stage for a perfect crust and crumb.
Baking With the Lid on
Because the lid traps steam inside the Dutch oven, it creates the perfect environment for your bread to develop a moist crumb and a crusty exterior.
The lid locks in steam, crafting moist crumb and a perfectly crusty bread exterior every time.
Before placing your dough inside, make sure to preheat both the Dutch oven and its lid thoroughly. This guarantees even heat transfer and promotes a strong oven spring during the first 30-35 minutes of baking time.
Keep the lid on to cover the dough, trapping steam that helps form a deep, shiny crust. After this initial bake, carefully remove the lid from the hot Dutch oven—using oven gloves—to let the top crisp and brown further.
This final uncovered stage usually takes 5-10 minutes, giving your bread that irresistible, golden finish without compromising its shape or texture. Easy, right? Just follow these steps, and you’ll get bakery-quality bread at home!
Finishing the Crust
After removing the lid, you’ll want to focus on finishing the crust to achieve that perfect golden-brown color and crispy texture. The steam trapped by the Dutch oven during the initial bake helps develop a deep, flavorful crust.
Here’s what you should do next:
- Bake the bread uncovered for the last 5-10 minutes to let the crust brown without drying out.
- Check the crust temperature with a thermometer; around 205°F indicates it’s done.
- Watch the crust closely to ensure it turns golden brown and crispy.
Once it’s baked, take your bread out and place it on a wire rack to cool. This keeps the crust crisp and prevents it from getting soggy.
This simple process guarantees a beautifully finished crust that’s both visually appealing and delicious.
Cooling and Serving Your Bread
Once your bread is out of the Dutch oven, let it cool on a wire rack for at least an hour. This helps lock in that crispy crust and perfect crumb.
Try not to slice it right away. Cutting too soon can make the inside gummy and mess up the texture.
When you’re ready to serve, aim for room temperature or just a little warmed. That way, you get the best flavor and softness.
Proper Cooling Time
Although it’s tempting to slice into your freshly baked bread right away, you should let it cool on a wire rack for at least an hour. This helps avoid a gummy interior and guarantees the crust crisps up perfectly.
Proper cooling time after baking is essential for the crust to harden and develop its crispness. Here’s how to handle resting bread:
- Remove bread from the Dutch oven and place it on a wire rack to allow air circulation.
- Let it cool at room temperature for a full hour to set the proper crumb.
- Avoid cutting early to prevent moisture release that ruins texture.
- Wait until the bread reaches room temperature to enjoy ideal flavor and crust shine.
Following these steps ensures your bread’s structure and taste are spot on. Trust me, it’s worth the wait!
Slicing Techniques
When your bread has fully cooled, you’ll want to slice it carefully to preserve its texture and appearance. Make sure your loaf has cooled to room temperature on a wire rack for at least an hour; this prevents a gummy crumb inside.
Use a serrated knife, gently sawing through the crust rather than pressing down, to avoid crushing the crumb and maintain the loaf’s structure. Aim for even slices by cutting in a single, smooth motion. This technique ensures clean cuts and preserves the bread’s texture.
Serving Suggestions
To get the best flavor and texture from your bread, let it cool on a wire rack for at least an hour before slicing or serving. This step assures a crisp crust and preserves the crumb structure by allowing moisture to redistribute evenly.
Follow these tips for serving your bread:
- Cool the bread completely on a cooling rack to avoid a gummy interior.
- Slice only when the bread reaches room temperature to maintain crumb structure.
- Store leftover bread in an airtight container at room temperature to keep freshness for 2-3 days.
- Reheat bread in a preheated oven at 350°F for 10 minutes to restore its crisp crust and enhance flavor and texture.
Following these steps guarantees delicious bread every time you serve it. Just trust the process, and you’ll enjoy great results!
Conclusion
Don’t worry if you’ve never baked bread before—this no-knead Dutch oven method makes it simple and foolproof. By following these easy steps, you’ll enjoy crusty, bakery-quality bread right from your kitchen, no fancy equipment or experience needed.
Give it a try, and you’ll be amazed at how rewarding and delicious homemade bread can be. Once you taste your first loaf, you’ll wonder why you didn’t start sooner!
Using a Dutch oven for baking bread locks in steam, creating that perfect crispy crust and soft interior. Plus, the no-knead technique means less effort and more delicious results. This method is ideal for beginners and anyone who wants fresh, tasty bread without the hassle. So grab your ingredients, follow these 10 easy steps, and enjoy baking bread that rivals anything from a bakery—right at home!