7 Steps to Cook Perfect St Louis Ribs in the Oven
Start by selecting fresh St. Louis ribs and removing the silver membrane for better seasoning. This step is key for tender, flavorful ribs. Pat them dry, then apply your dry rub generously to get that perfect taste.
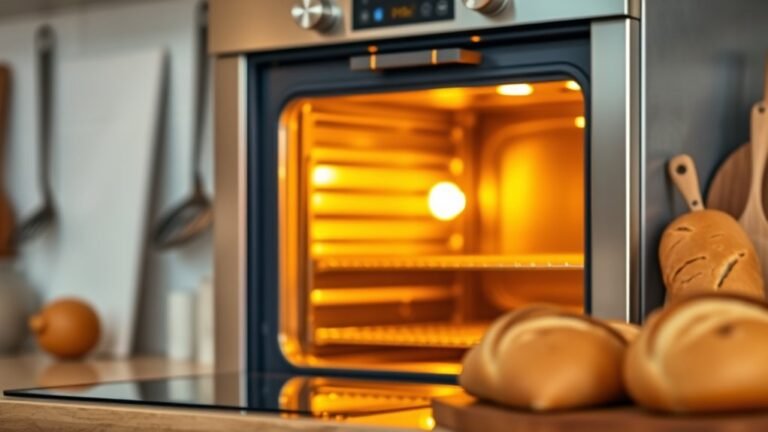
Preheat your oven to 275°F. Wrap the ribs tightly in foil with a splash of liquid to lock in moisture. Bake them low and slow for 2 to 3.5 hours until tender and juicy.
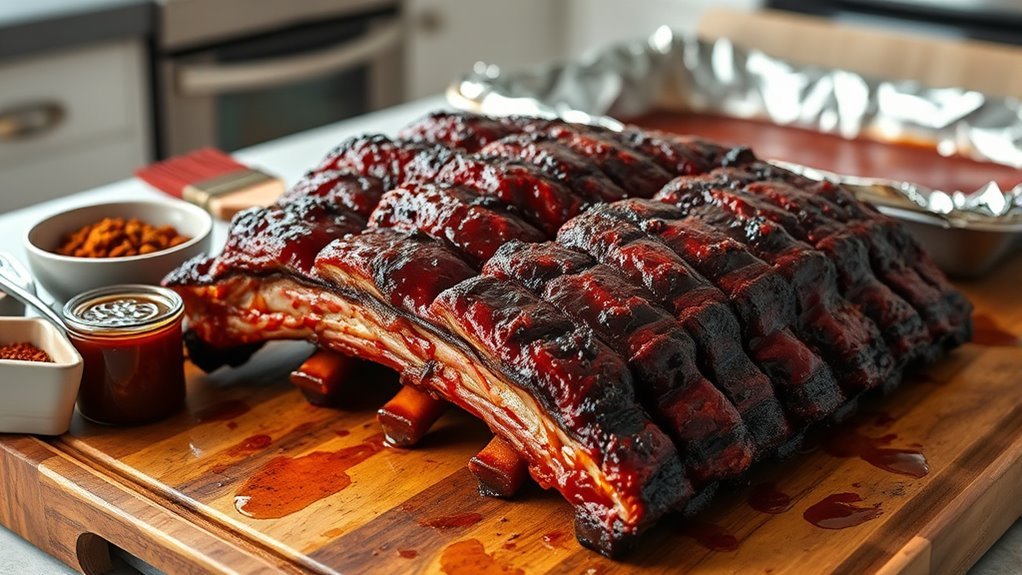
Once done, unwrap the ribs, brush with your favorite sauce, and broil briefly for a delicious caramelized finish. Don’t forget to let them rest before slicing to keep all those juices locked in.
Keep going to explore tips that elevate your ribs even further.
Select and Prepare Your St. Louis Ribs
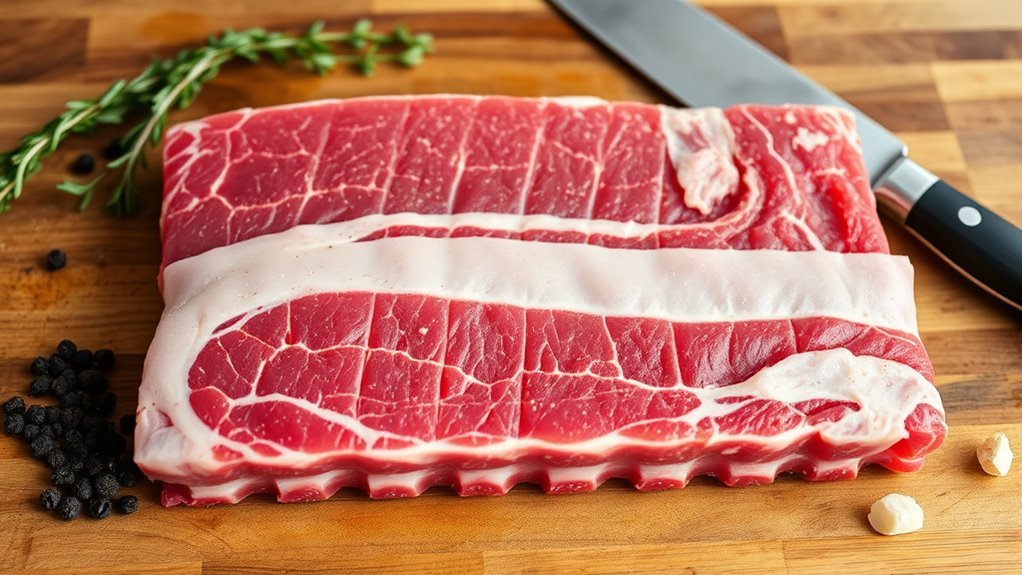
Start by choosing a fresh rack of St. Louis ribs, ideally weighing between 3 to 4 pounds. Look for even marbling and avoid any dry or discolored edges to guarantee quality.
Once you have your rack, you’ll want to prepare it properly for cooking in the oven. The first step is to carefully remove the silver membrane on the back, which can make ribs tough and prevent seasoning from soaking in.
After removing the membrane, pat the ribs dry with paper towels to eliminate excess moisture. This helps the dry rub stick better when you apply it later.
If the rack is too large, cut it into 2 or 3 smaller sections to fit your baking dish and ensure even cooking throughout.
Remove the Membrane and Apply Dry Rub
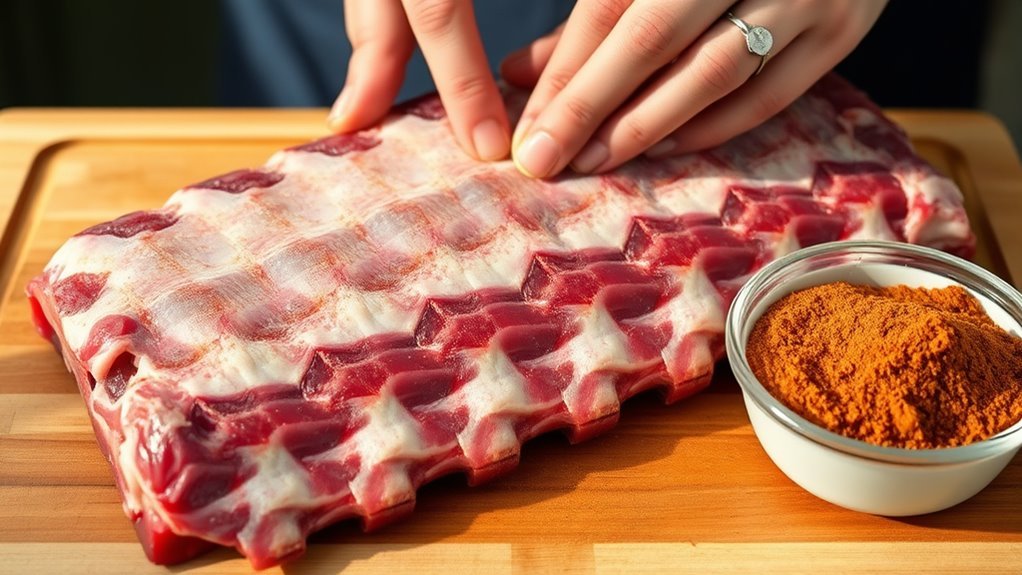
Before applying any seasoning, make sure you remove the silver membrane from the back of the ribs. You can do this by sliding a knife underneath and peeling it off with your fingers or a paper towel.
Remove the silver membrane from the ribs for better seasoning absorption and improved flavor.
This step is essential because it helps the dry rub penetrate the meat better. Next, dry the ribs thoroughly with paper towels so the dry rub will stick properly and not slide off.
Now, generously apply your seasoning mixture. Use salt, pepper, and your favorite spice blend, spreading it evenly over all sides of the meat.
Press the dry rub firmly into the ribs to enhance the flavor and create a tasty crust. Once seasoned, let the ribs rest at room temperature for about 20 minutes.
This resting time allows the dry rub to meld with the meat, boosting the overall flavor before you start cooking.
Preheat Oven and Prepare Ribs for Baking
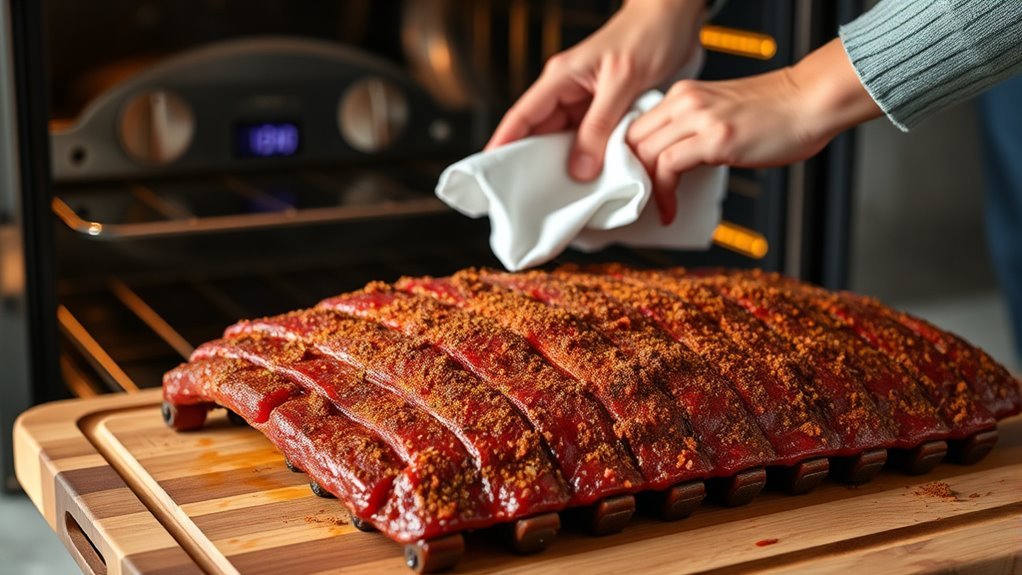
Although you’ve already seasoned your ribs, you’ll want to preheat your oven to 275°F (135°C) to create the perfect low and slow environment for tender results. Start by setting the oven temperature and lining a baking sheet with foil for easy cleanup.
Before seasoning, make sure to remove the membrane from the back of the ribs—this helps the dry rub soak in better. Pat ribs dry with paper towels to remove any excess moisture, which improves adherence of your dry rub.
Generously season ribs, pressing the dry rub firmly into the meat to maximize flavor. When preparing ribs for baking, these steps ensure that your ribs will cook evenly and stay juicy.
This careful preparation sets the stage before you wrap in foil and begin baking. It really makes a difference in how your ribs turn out!
Wrap Ribs in Foil to Retain Moisture
Once your ribs are seasoned and ready, wrapping them tightly in foil locks in moisture and creates a steamy environment that keeps the meat tender. This foil wrapping acts as a steam trap, essential for moisture retention during the cooking method.
To maximize rib tenderness, make sure the foil is secure and snug around the racks, preventing any moisture from escaping. You can add a splash of water or apple cider vinegar inside the foil to boost the moisture lock further.
Double-layering the foil provides extra protection against leaks, ensuring your oven baked ribs stay juicy. This sealing in juices technique is key for tender ribs that practically fall off the bone, turning your foil-wrapped ribs into a perfectly moist, flavorful masterpiece.
Bake Ribs Low and Slow for Tenderness
You’ll want to bake your ribs at a low temperature around 275°F for several hours to make certain they become tender and juicy. Cooking them slowly lets the connective tissues break down without drying out the meat.
Wrapping the ribs tightly in foil helps trap moisture, locking in flavor and softness. This way, your ribs come out super tender and full of taste. It’s a simple trick that really makes a difference!
Low Temperature Benefits
When you bake ribs low and slow at around 275°F, the collagen in the meat breaks down gradually, making the ribs tender and easy to pull apart. This low and slow method guarantees moisture retention by applying gentle heat, preventing the meat from drying out.
Extended cooking at this temperature promotes even heat distribution, so your ribs cook evenly without burning or overcooking. As the collagen breaks down, the ribs become juicy and tender, while excess fat renders out, adding to the rich flavor.
The slow, even cooking process also enhances flavor infusion, allowing spices and marinades to penetrate deeply. By embracing these low temperature benefits, you guarantee a perfectly tender, juicy rack of St Louis ribs every time.
Slow Cooking Duration
Cooking St. Louis ribs low and slow is key to perfect tenderness. Set your oven temperature at 275°F and plan a baking time between 2 to 3.5 hours.
This slow cooking permits collagen breakdown, turning tough meat into tender ribs. Wrapping ribs in foil during this cooking duration traps moisture, enhancing softness without drying out the meat.
Aim for an internal temperature of 190°F to 200°F to guarantee collagen has fully converted. After baking, give your ribs a resting time of 10-15 minutes to redistribute juices and lock in flavor.
Use the table below to guide your cooking duration based on rib size for consistent, tender ribs.
| Rib Size | Baking Time (hrs) | Internal Temp (°F) |
|---|---|---|
| Small | 2.0 – 2.5 | 190 – 200 |
| Medium | 2.5 – 3.0 | 190 – 200 |
| Large | 3.0 – 3.5 | 190 – 200 |
| Foil Wrap | Recommended | Helps moisture |
| Resting Time | 10 – 15 minutes | Maintains tenderness |
Moisture Retention Techniques
Although slow baking at 275°F breaks down collagen for tender ribs, wrapping them tightly in foil is essential to trap steam and lock in moisture. This ensures each bite stays juicy and fall-off-the-bone perfect.
When wrapping ribs, add a splash of water or apple cider vinegar inside the foil pouch to boost moisture retention during oven baked cooking. The foil creates a sealed environment where steam circulates, keeping the meat tender and juicy.
After baking, don’t skip resting the ribs while still covered in foil; this step lets the juices redistribute evenly throughout the meat. By maintaining a low temperature and sealing the ribs in foil, you prevent drying out.
This way, your St Louis ribs come out perfectly tender and flavorful every time.
Unwrap, Sauce, and Broil for Caramelization
Once the ribs have finished baking, carefully unwrap them and brush a generous layer of barbecue sauce over the surface to boost both flavor and appearance.
Next, place the ribs under the broiler set to high heat—around 500°F—to caramelize the sauce and develop a delicious, slightly charred crust. Keep a close eye during broiling, as the sugar in the sauce can quickly burn.
About halfway through broiling, brush on another layer of sauce to build a rich, glossy glaze. This step enhances both texture and taste, creating that signature sticky finish.
In just 3-4 minutes, your ribs will transform with a beautiful caramelized crust that’s irresistible. After broiling, the ribs are ready for the final step before serving.
Rest Ribs Before Serving for Juiciness
Because the ribs have just come out of the oven, you’ll want to rest them covered loosely with foil for 10-15 minutes to let the juices redistribute evenly throughout the meat. Resting is essential to keep the ribs juicy and flavorful.
During this time, the moisture settles back into the meat fibers, enhancing tenderness and ensuring each slice stays moist when you cut it. If you skip resting, the juices will run out, leaving the ribs dry and less enjoyable.
This step is especially important for larger racks or ribs cooked at high temperatures, as it locks in maximum tenderness and moisture. So, take a moment to rest your ribs properly—you’ll notice a big difference in juiciness and overall flavor when you serve them.
Conclusion
You’ve selected your ribs, removed the membrane, and applied the perfect rub. You’ve wrapped them tight, baked them slow, and sauced them just right.
Now, you’re ready to broil for that caramelized finish and let them rest for juicy perfection. You’ve mastered patience, precision, and passion in every step.
So dig in, savor each bite, and celebrate the delicious reward of your hard work and love for great food. Cooking perfect St Louis ribs in the oven takes time, but the mouthwatering results are worth every minute. Enjoy your tender, flavorful ribs and relish the satisfaction of homemade barbecue done right!