5 Easy Steps to Remove Melted Plastic From Your Oven
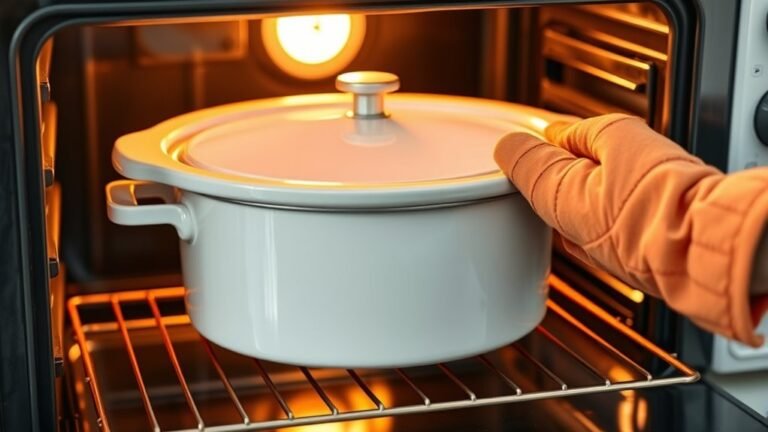
First, take a close look at the melted plastic in your oven and make sure the oven is completely cool and unplugged. It’s important to have good ventilation while you work, so open windows or turn on a fan to keep fresh air flowing.
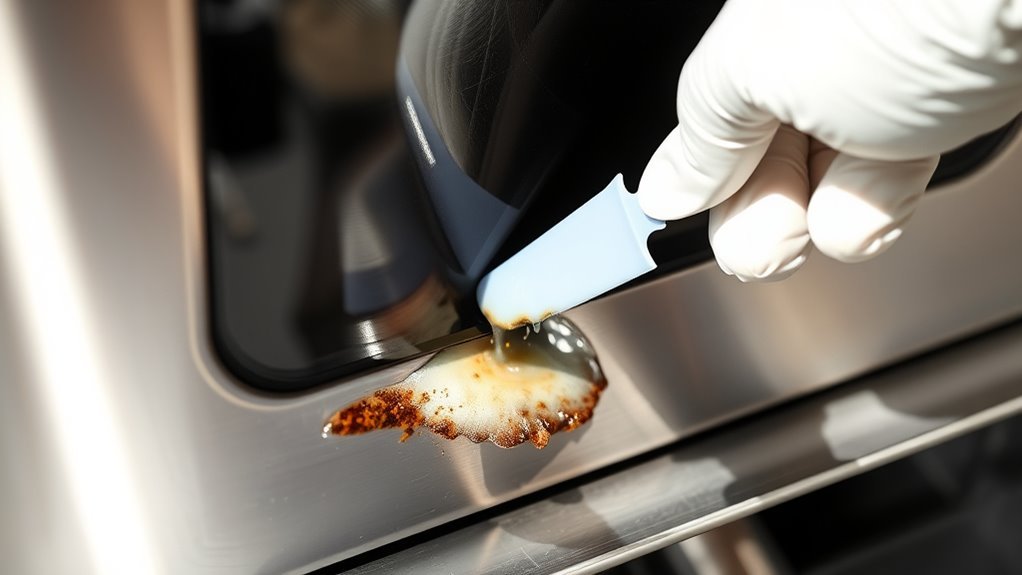
Next, gently scrape off the hardened plastic using a plastic scraper or a wooden spatula. If the plastic is stubborn, warming it just a little can help loosen it up.
After that, mix up a baking soda paste and apply it to any remaining residue. This will soften the plastic, making it easier to scrub away.
Use a non-abrasive sponge to gently clean the area without scratching the oven surfaces.
Then, carefully remove all traces of plastic with safe scrubbing tools. You want to be thorough but also protect your oven from damage.
Finally, give your oven a good cleaning and make sure to ventilate the space well before using it again. Keep following for more detailed tips to restore your oven fully and get it back to perfect working condition.
Assess the Melted Plastic and Prepare the Oven
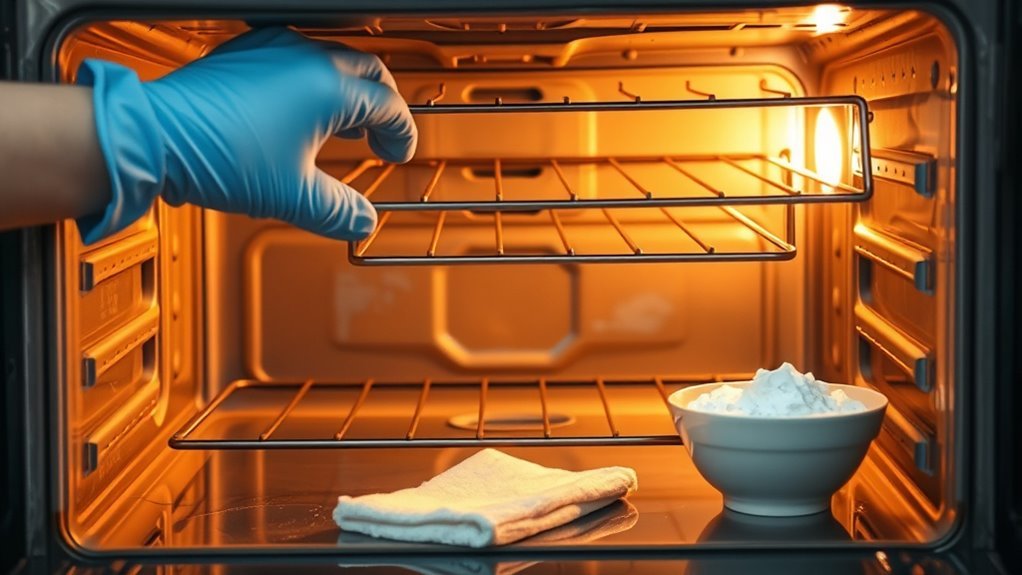
Before you begin cleaning, carefully inspect the oven interior and racks to gauge how much melted plastic you’re dealing with. Your initial assessment is vital for effective oven cleaning and safety.
Make sure the oven is completely cool and unplugged before you start. Check if the melted plastic is still soft or if it has hardened, as this will affect how you handle removal later.
Proper ventilation is essential, so open windows or turn on the exhaust fan to disperse any fumes and odors. Also, confirm when the plastic spill happened; recent spills might be easier to clean than older hardened plastic.
Taking these safety and preparation steps ensures a smoother, safer cleanup process.
Gently Scrape Off Hardened Plastic Residue
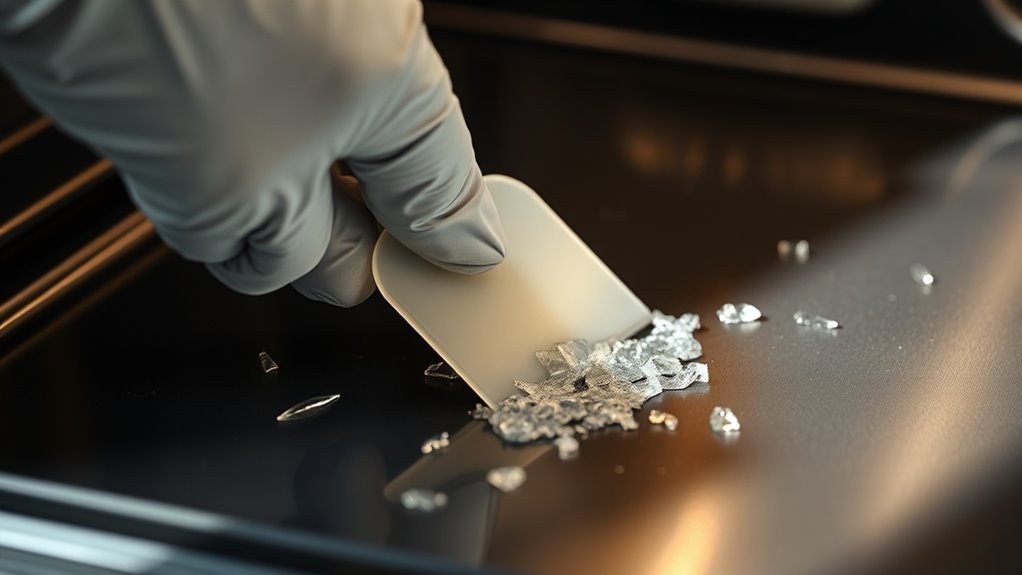
Once you’ve assessed the state of the melted plastic and verified the oven is cool and well-ventilated, you can start removing the hardened residue. Use a plastic scraper to carefully lift the plastic without damaging the oven surface.
Follow these steps for safety and effectiveness:
Follow these steps to safely and effectively remove melted plastic without damaging your oven.
- Gently apply moderate pressure with a scraper or wooden spatula to avoid scratching the oven’s finish.
- Soften stubborn residue by warming the oven to about 250°F or using a heat gun briefly.
- Work slowly, removing small pieces at a time to protect the oven interior.
- If needed, use a razor blade at a 45-degree angle to pry off remaining plastic carefully.
Always prioritize safety and avoid gouging the oven while scraping off the residue. Take your time—it’s better to be patient than to damage your oven!
Apply a Baking Soda Paste to Loosen Remaining Plastic
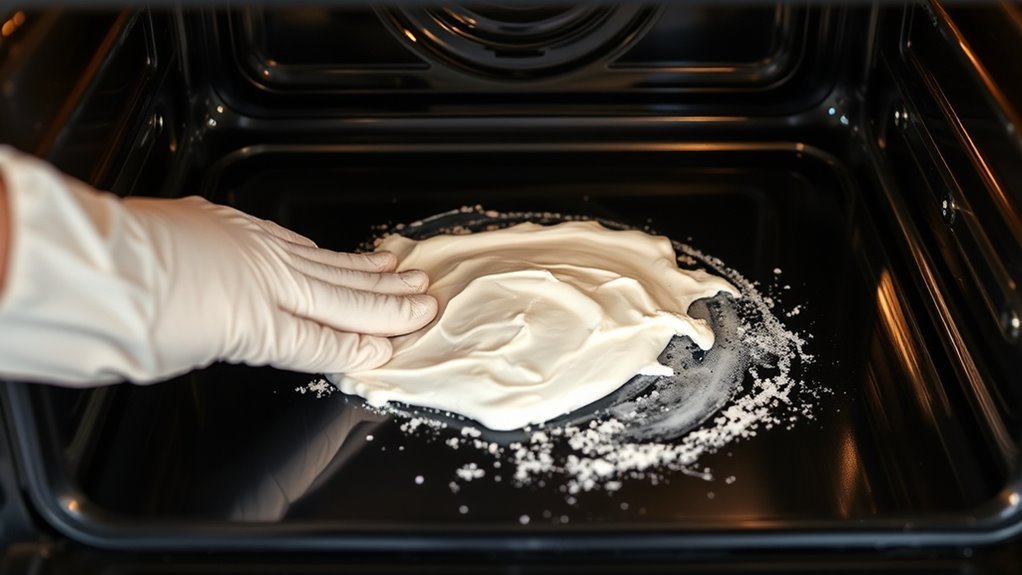
Although scraping removes most of the melted plastic, applying a baking soda paste helps loosen any stubborn residues left behind. To make the paste, mix baking soda with a small amount of water until thick and spreadable.
Apply this paste directly onto the cooled plastic residues, ensuring full coverage on the affected areas. Let it sit for 3 to 5 minutes to soften and loosen the plastic.
After waiting, gently scrub the spots with a non-abrasive sponge or cloth to lift remaining residues without damaging your oven’s surface. Finally, wipe away the baking soda paste and loosened plastic thoroughly with a damp cloth.
This method effectively helps clean any lingering melted plastic and prepares your oven for the next cleaning steps.
Use Safe Scrubbing Tools to Remove Residue
When removing melted plastic from your oven, choosing safe scrubbing tools is essential to protect its surface. Using the wrong tool can damage the enamel or coating, making the problem worse.
Here’s how to proceed safely:
- Use a plastic scraper or silicone tool to gently lift softened plastic without scratching.
- Apply a non-abrasive sponge or soft cloth to wipe away residue after heating or applying baking soda paste.
Avoid metal tools like steel wool or sharp blades, as they can damage the enamel. For stubborn spots, use a nylon scrub brush that cleans effectively without abrasion.
Always verify your tools are clean and dry before use to prevent introducing debris or causing scratches. This approach helps preserve your oven’s surface while removing plastic residue effectively.
Thoroughly Clean and Ventilate the Oven Interior
Before you start cleaning, take out all the oven racks and shelves to reach every corner inside. After you remove plastic residue, thoroughly clean the oven interior using a damp cloth or sponge to wipe away any leftover debris.
It’s essential to ventilate the area well by opening windows or turning on fans to maintain proper airflow. Continuous ventilation during and after cleaning helps disperse any fumes from plastic or cleaning agents, ensuring your safety.
Follow all safety precautions by allowing the oven to air out completely before plugging it back in or using it. Proper ventilation prevents inhalation of harmful fumes and keeps your kitchen safe while you restore your oven to a clean, plastic-free condition.
Conclusion
Now that you’ve tackled the melted plastic mess step by step, your oven is ready to shine again—like a phoenix rising from the ashes. Remember, patience and gentle care are your best allies in this cleanup battle.
With these simple tips, you’ve turned a sticky situation into a quick fix. So next time plastic meets heat, you’ll know exactly how to restore your oven’s sparkle without missing a beat.
Removing melted plastic from your oven doesn’t have to be stressful. By following these easy steps, you can safely and effectively get your oven back to its clean, shiny state. Just take it slow, use the right tools, and your oven will be good as new in no time!