How to Bake a Spiral Ham in the Oven in 7 Easy Steps
To bake a spiral ham in the oven, start by choosing a fully cooked, spiral-cut ham weighing about 7-10 lbs. This type of ham is perfect for easy serving and ensures even cooking.
Remove all packaging carefully, then place the ham flat side down in a roasting pan. Scoring the surface lightly helps the glaze soak in better, adding extra flavor.
Next, preheat your oven to 325°F. Pour some water into the pan to keep the ham moist during baking. Cover the ham tightly with foil to lock in the juices.
Bake the ham for 12-15 minutes per pound, until it reaches an internal temperature of 140°F. About 20 minutes before it’s done, apply your glaze for a delicious caramelized finish.
Once out of the oven, let the ham rest before slicing. This step helps the juices redistribute, making every bite juicy and tender.
Keep reading for tips to make your spiral ham truly unforgettable!
Selecting the Right Spiral Ham
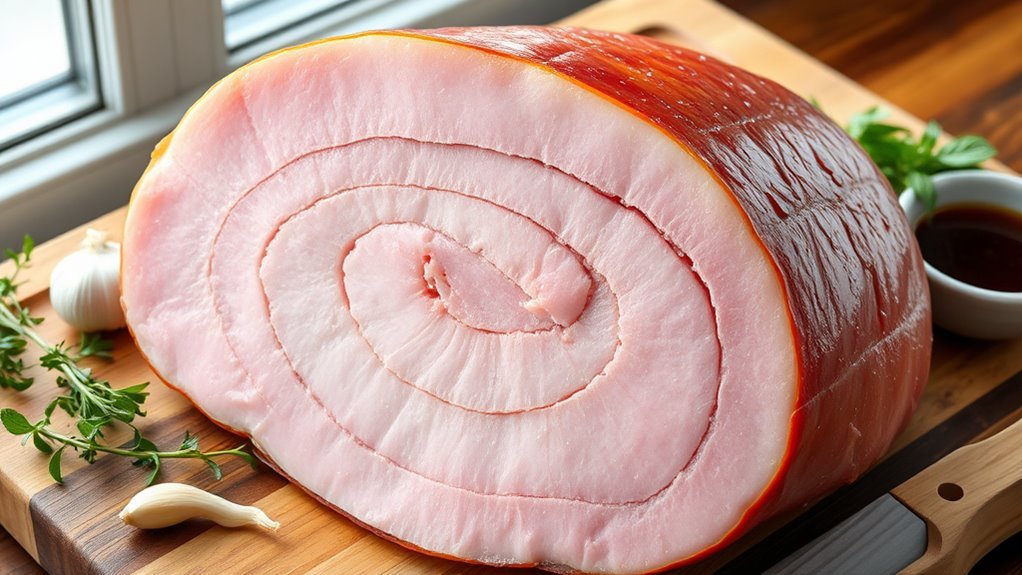
When selecting the right spiral ham, you’ll want to pick a pre-cooked, spiral-cut ham weighing between 7 and 10 pounds for the best combination of convenience and flavor. Choose a ham labeled as fully cooked or ready to heat to guarantee it’s pre-prepared and easy to warm in your oven.
Look for a shiny, moist appearance without any discoloration or freezer burn. Consider flavor options like glazed, hickory smoked, or bourbon to add a special touch to your meal.
Also, check if the ham includes a glaze packet and clear cooking instructions to make the baking process smooth. Selecting the right spiral ham upfront sets you up for a delicious, hassle-free oven-baked ham experience.
Preparing the Ham for Baking
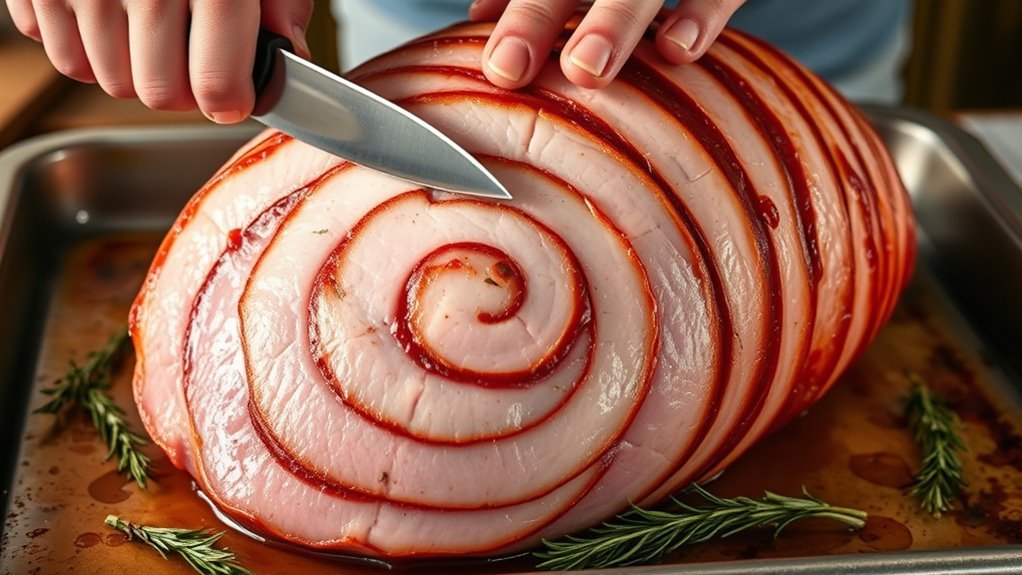
Before you start baking, remove all packaging and any plastic discs or buttons from the ham to guarantee safety and proper cooking.
Always remove packaging and plastic parts from the ham before baking to ensure safety and even cooking.
To prepare your spiral ham for the oven, place it flat side down in a shallow roasting pan or baking dish. Score the surface in a diamond pattern—this helps the glaze soak in better and locks in moisture during baking.
Add a bit of water or juice (about ½ to 1 cup) to the pan’s bottom; this keeps the ham juicy while it cooks. Follow these steps to get the best results:
- Remove all packaging and plastic parts
- Place ham flat side down in a roasting pan
- Score the ham to enhance moisture and glaze absorption
- Add liquid to the pan to maintain moisture during baking
Preheating the Oven and Setting Up
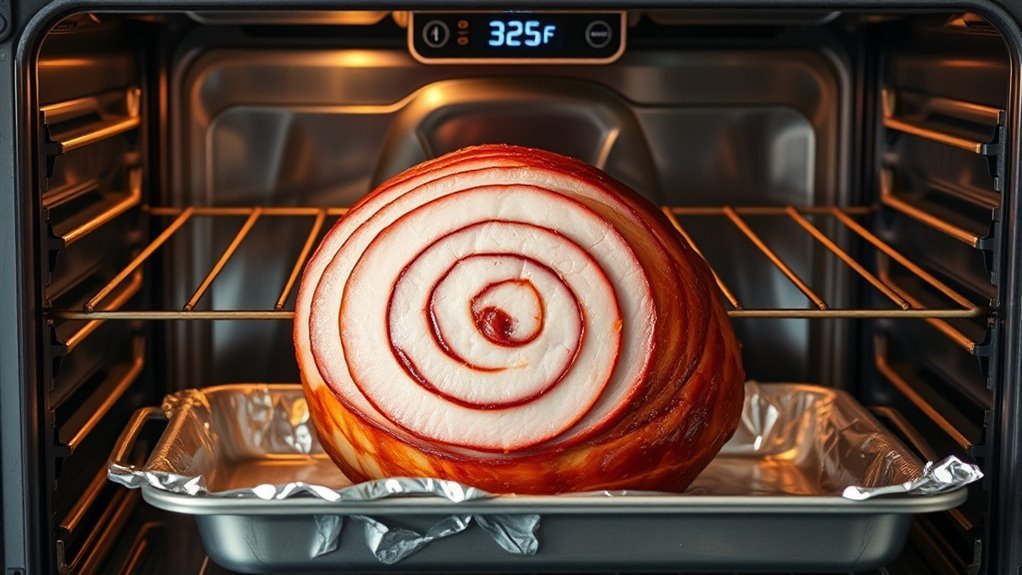
Although you’ve prepped the ham thoroughly, you still need to preheat your oven to 325°F (163°C) to guarantee even cooking. While the oven warms up, remove any plastic packaging or discs from the spiral ham to avoid melting during baking.
Place the ham flat side down on a wire rack set inside a shallow roasting pan. Adding about half an inch of water to the pan’s bottom helps keep the ham moist as it cooks.
Finally, cover the ham tightly with foil to trap moisture and prevent it from drying out. Setting up your oven and ham this way ensures a juicy, evenly cooked spiral ham every time you bake.
Baking the Ham to Perfection
Since you’ve already prepped and set up your ham, you’ll bake it at 325°F, keeping it covered tightly with foil to lock in moisture. Follow this spiral ham recipe closely to ensure your baked ham heats evenly without drying out.
Heat it for 12-15 minutes per pound, aiming for an internal temperature of 140°F. Try not to uncover the ham during baking—that can dry it out or cause uneven browning before you get to the glazing step.
- Place the ham on a wire rack in a shallow roasting pan.
- Cover tightly with foil to keep moisture in.
- Use a meat thermometer to monitor the internal temperature.
- Let the ham rest 15 minutes after baking before slicing.
This method prepares your ham perfectly for a delicious glazed ham finish.
Making and Applying the Glaze
Once your ham has reached the perfect temperature and rested, it’s time to add flavor and shine with a delicious glaze. Combine brown sugar, orange juice, Dijon mustard, and any spices you like in a saucepan.
Bring the mixture to a boil, then simmer until thickened into a smooth glaze.
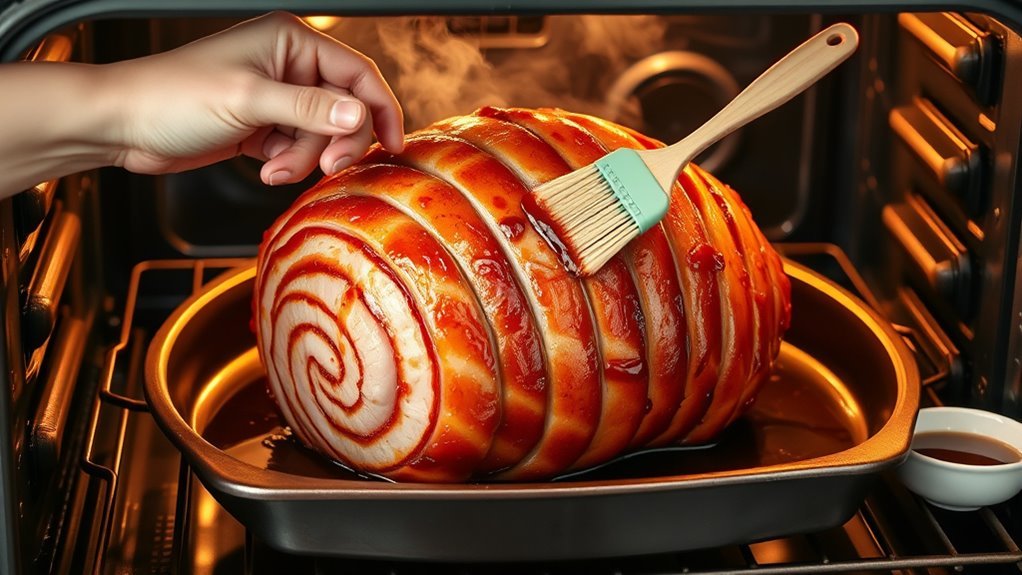
During the last 20 to 30 minutes of baking, spread the glaze evenly over the ham’s surface. Reapply it every 10 minutes to build a rich, caramelized coating.
For a sticky, shiny finish, you can briefly increase the oven temperature or broil the ham for 2 to 3 minutes, but watch it closely to avoid burning.
If you’re using a glaze packet, warm it in hot water, cut a corner, and spread it evenly for a professional look.
Finishing the Ham With a Caramelized Crust
To achieve a golden, caramelized crust on your spiral ham, start by applying your glaze during the last 20 minutes of baking. This timing lets the brown sugar and other sugars in the glaze undergo caramelization, creating a shiny surface that’s both flavorful and visually appealing.
Apply glaze in the last 20 minutes of baking for a golden, caramelized, and flavorful spiral ham crust.
You can increase the oven temperature or briefly broil the ham afterward to deepen the crust’s color and texture. Don’t forget to baste the ham with its own juices or extra glaze during these final minutes to build layers of sticky sweetness.
- Use a sugar-based glaze like brown sugar for ideal caramelization
- Apply glaze late to avoid burning but allow crust formation
- Adjust oven temperature to enhance browning
- Baste frequently for a glossy, rich caramelized crust
Resting and Serving Your Spiral Ham
After finishing the caramelized glaze, let your spiral ham rest for at least 15 minutes before slicing. This resting time is essential—it allows the juices to redistribute, keeping the ham moist and tender.
Cover the ham loosely with foil during resting to maintain warmth and help the glaze set. This gives the surface a glossy, caramelized finish.
Proper resting not only retains moisture but also makes carving easier, so your slices come out clean and uniform. When you’re ready to serve, arrange the slices neatly on a platter to showcase the beautiful glaze.
Taking this simple step ensures your spiral ham is flavorful, juicy, and visually appealing. It really makes it the perfect centerpiece for any meal.
Conclusion
Now that you’ve mastered baking a spiral ham, get ready to become the legendary hero of every holiday feast! This simple 7-step method turns ordinary ham into a mouthwatering masterpiece that’ll have everyone begging for your secret.
With that irresistible caramelized crust and perfect glaze, your oven just created a miracle. So go ahead—serve it up, watch jaws drop, and bask in the glory of your unbeatable ham skills!
Baking a spiral ham in the oven is easier than you think. By following these easy steps, you’ll get a juicy, flavorful ham every time. Whether it’s for Christmas, Easter, or any special occasion, this approach guarantees a delicious centerpiece.
So next time you want to impress your guests, remember these 7 easy steps for baking a spiral ham in the oven. Your holiday feast will never be the same!