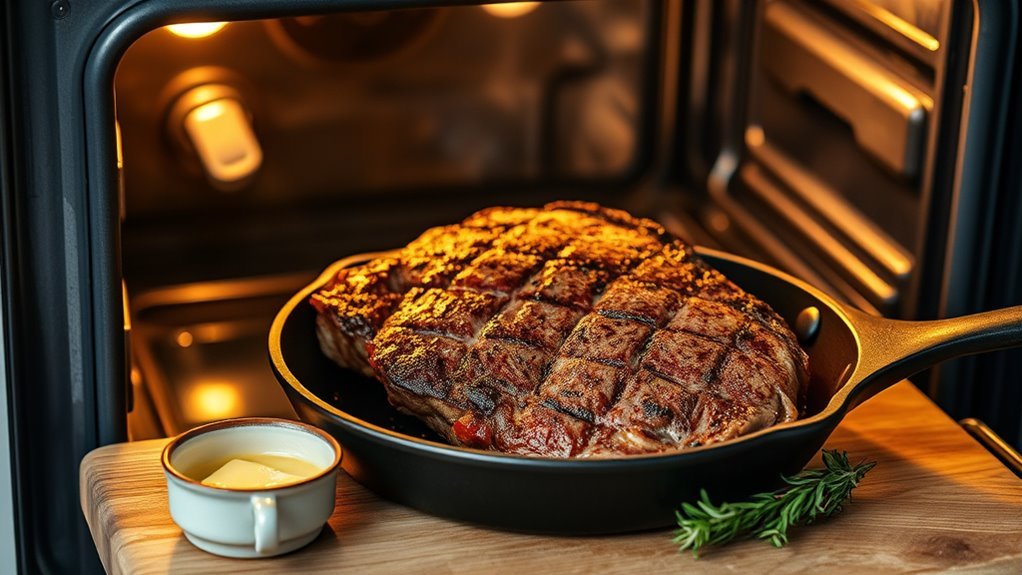
How to Finish Steak in the Oven in 3 Simple Steps
To finish steak in the oven, start by searing it in a hot skillet to create a golden crust that locks in flavor. This initial step is crucial because it gives your steak that delicious, caramelized exterior everyone loves.
Next, transfer the skillet to a preheated oven set between 375°F and 450°F. Roast the steak until it reaches your desired doneness.
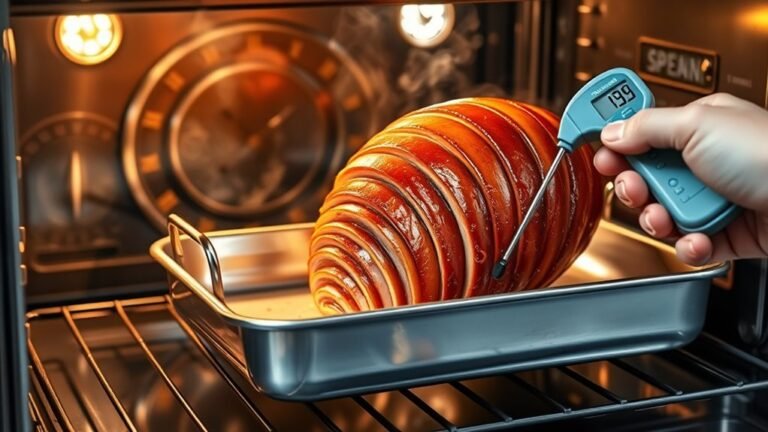
Using a meat thermometer helps you nail the perfect temperature every time.
Finally, let the steak rest for 5-10 minutes, covered loosely with foil. This resting period keeps all those tasty juices locked inside, making your steak juicy and flavorful.
Stick around for more tips that’ll make your steak even tastier and juicier!
Sear the Steak for a Perfect Crust
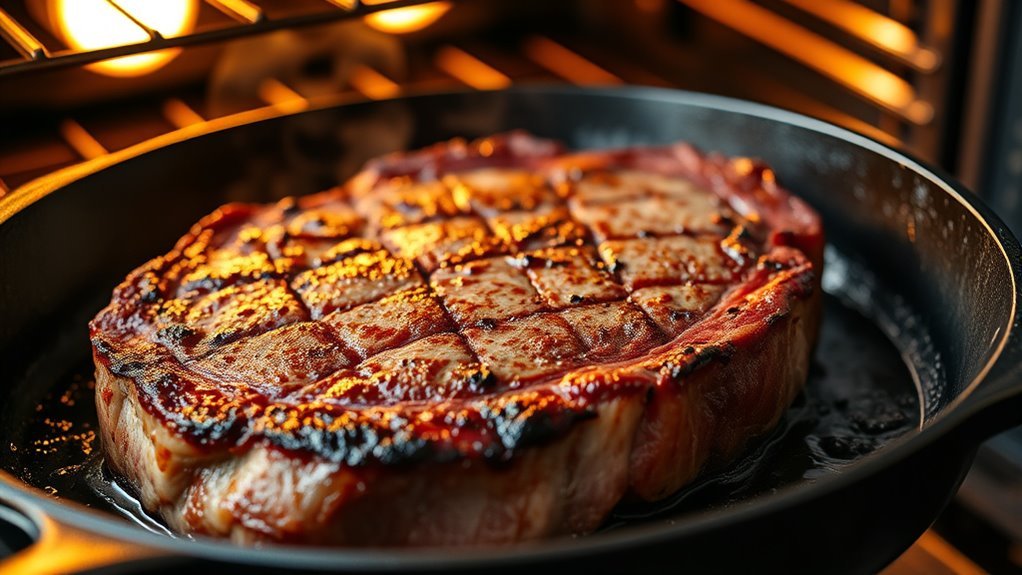
Before you place your steak in the pan, make sure the skillet is very hot to achieve a deep, caramelized crust. When you sear the steak on a hot skillet over high heat, it develops a rich crust that locks in flavor.
Don’t move the steak for 1-2 minutes per side to ensure even browning and a golden-brown exterior. Proper searing means the pan-seared surface should release easily, signaling that you’ve developed the perfect crust.
Use tongs to handle the steak without piercing it, preserving juices and aiding in consistent browning. Avoid overcrowding the pan, as this can cause steaming instead of searing.
Cooking in batches helps maintain high heat and guarantees that every steak gets that irresistible caramelized crust you’re aiming for.
Transfer the Steak to a Preheated Oven
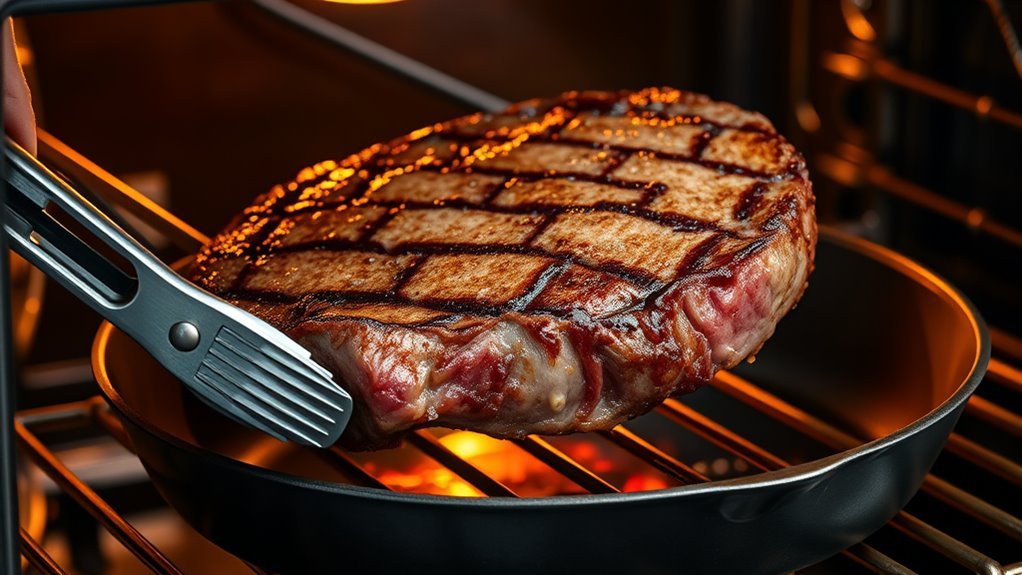
Once your oven reaches the desired temperature between 375°F and 450°F, carefully transfer the skillet with the seared steak directly into the oven using oven mitts. Make sure you’re using oven-safe cookware like a cast-iron skillet to handle the hot cookware safely.
Position the oven rack close to the heat source to ensure even cooking throughout. When you transfer steak to the preheated oven, you lock in the sear while allowing the heat source to cook the steak evenly inside.
Keep a meat thermometer handy to check the steak’s internal temperature as it roasts, ensuring you hit your preferred doneness. Always handle the skillet with oven mitts to avoid burns, and avoid moving the pan too much once inside the oven for consistent results.
Rest the Steak to Lock in Juices
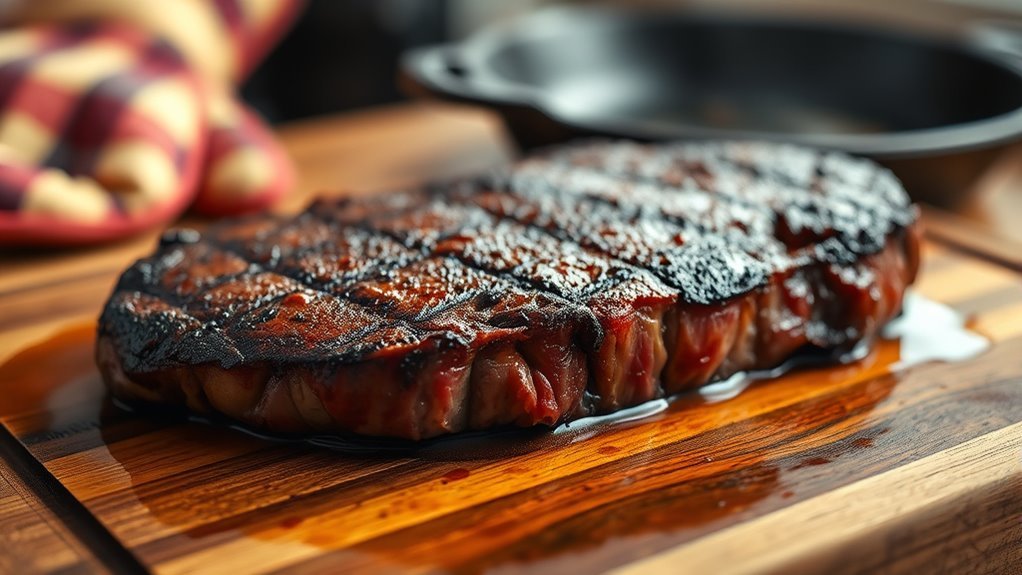
After removing the steak from the oven, you’ll want to let it rest for 5 to 10 minutes. This resting period allows juice redistribution, which helps lock in juices and improves moisture retention.
During the resting process, cover the steak loosely with foil to keep heat while preventing moisture loss. The internal temperature will rise about 5°F due to carry over cooking, so factor that into your desired doneness.
Proper rest time ensures a tender, flavorful steak and prevents juices from running out when sliced.
| Resting Step | Purpose |
|---|---|
| Rest the steak | Seal in juices |
| Cover with foil | Moisture preservation |
| Resting period | Juice redistribution |
| Monitor temperature | Carry over cooking effect |
Conclusion
You might think finishing steak in the oven is complicated, but it’s actually simple and rewarding. Searing gives you that crispy crust you crave, while the oven gently cooks it through without rushing.
Resting afterward might seem like waiting, but it’s the secret step that locks in all those juicy flavors. By combining these contrasting steps—fast sear, slow cook, and patient rest—you’ll master a perfectly cooked steak every time.
Finishing steak in the oven is a great way to ensure even cooking and a tender, juicy result. When you sear first, you get that amazing crust, and the oven does the rest by cooking the steak evenly without burning it. Don’t skip the resting step—it’s crucial for locking in the steak’s juices and flavor. With this simple three-step process, you’ll be able to finish steak in the oven like a pro and enjoy restaurant-quality results right at home.