7 Steps to Cook Duck Perfectly in the Oven
To cook duck perfectly in the oven, start by selecting a 5-6 lb bird. Make sure to defrost it fully and pat it dry before you begin.
Next, score the skin carefully without cutting into the meat, then season it well. This helps the flavors sink in and ensures a crispy skin.
Stuff the cavity with garlic and herbs to boost the flavor.
When you roast the duck, set the oven to a high temperature—around 450-500°F—to get that beautifully crisp skin everyone loves.
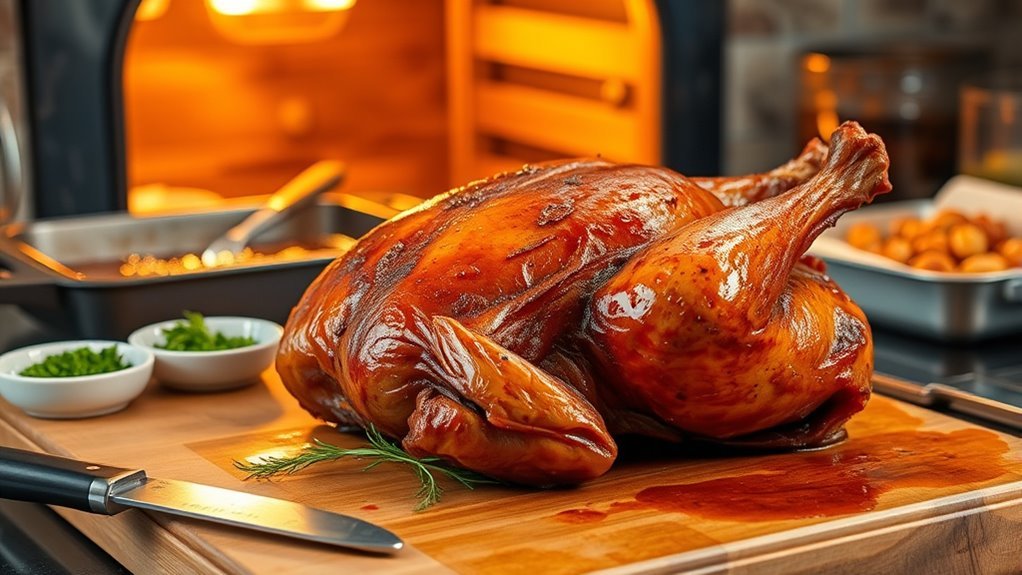
During the last 20 minutes, brush on a honey-balsamic glaze for a glossy, tasty finish.
Once it’s done, let the duck rest before carving. This step keeps the meat juicy and tender.
Follow these simple steps closely, and you’ll discover even more tips for a stunning, delicious roast duck every time!
Selecting and Preparing the Duck
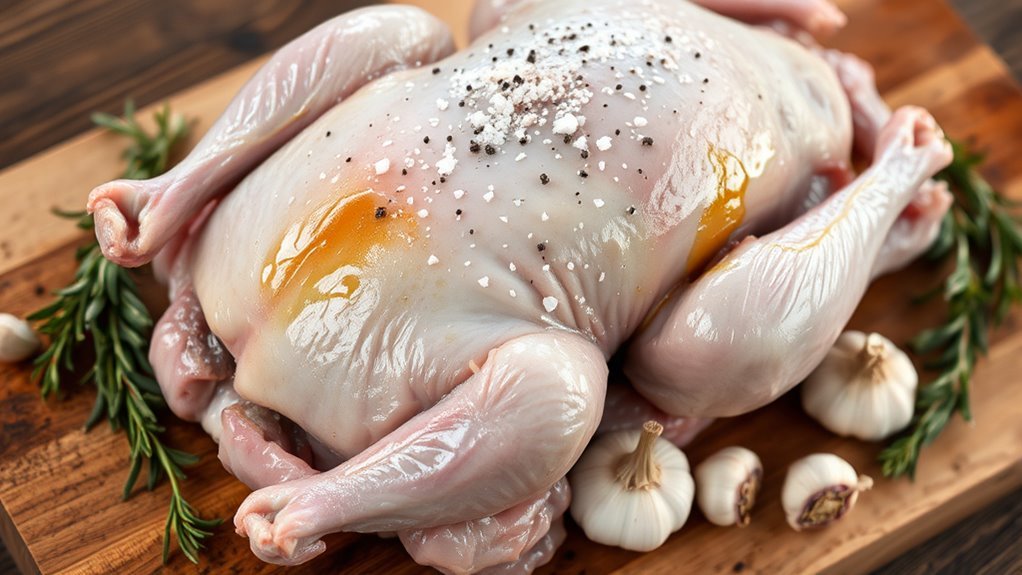
To start, pick a whole duck weighing around 5 to 6 pounds with thick skin and evenly distributed fat. This guarantees a juicy bird with crispy skin once cooked.
Before cooking, remove the giblets, neck, and any excess skin. Rinse the duck inside and out, then pat it dry with paper towels to help the skin crisp up during roasting.
Next, score the skin in a diamond pattern without cutting into the meat—this promotes fat rendering and a beautifully crisp texture.
Generously season the duck with salt and your favorite spices. Consider stuffing the cavity with garlic cloves and lemon slices for extra flavor.
Let the seasoned duck sit at room temperature for 30 minutes before roasting; this helps it cook evenly and enhances the seasoning’s effect. Easy, right?
Defrosting and Cleaning the Bird
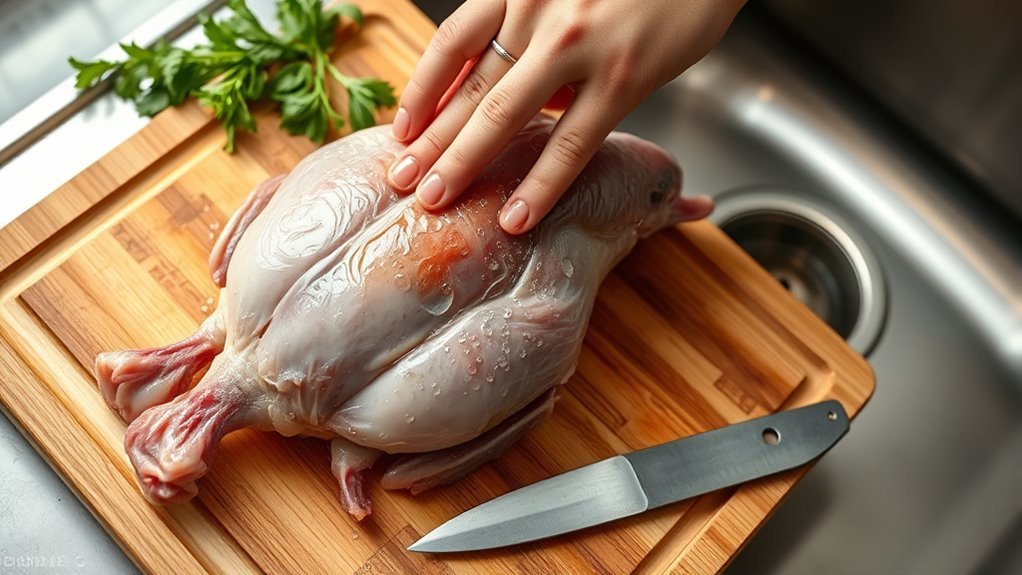
Once you’ve selected and prepped your duck, make sure it’s fully defrosted before moving on. Defrosting frozen duck in the refrigerator for 24 to 48 hours guarantees even thawing and food safety.
Ensure your duck is fully defrosted in the refrigerator for 24 to 48 hours before cooking.
Once thawed, start cleaning the duck by removing the giblets, neck, and any excess skin from the cavity. Rinse the entire duck thoroughly, both inside and out, with cold water to eliminate residual blood or debris.
After rinsing, pat the duck dry with paper towels—this step is vital to achieve crispy skin during roasting. Confirm the duck is completely defrosted and dry before proceeding.
Proper defrosting and cleaning set the foundation for a perfectly cooked duck, ensuring both flavor and texture meet your expectations.
Scoring and Seasoning the Skin
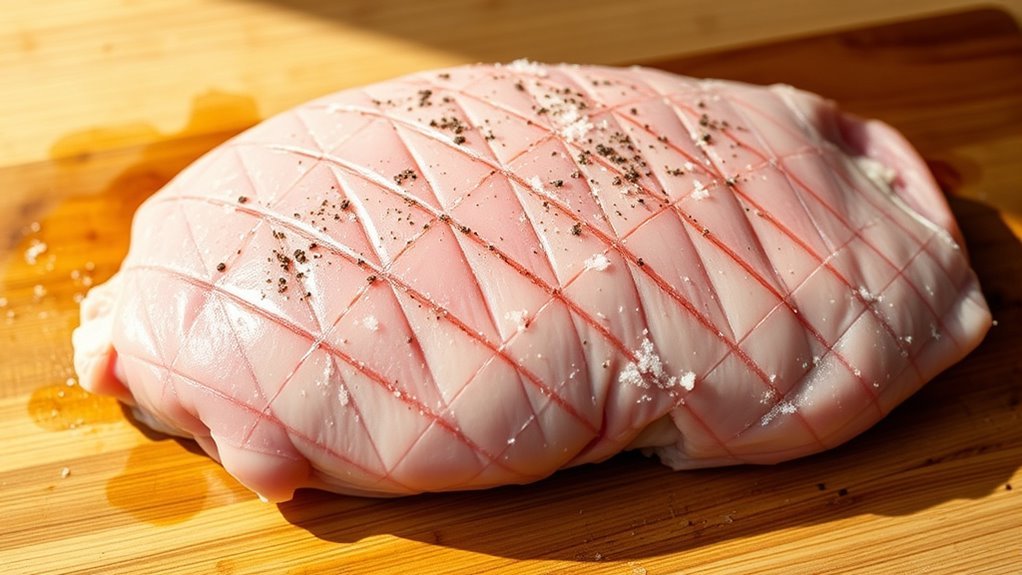
Although it might seem simple, scoring the duck skin correctly is essential for rendering fat and achieving that coveted crispy texture. Use a sharp knife to score the skin in a diamond pattern with 5-6 diagonal cuts, but be careful not to cut into the meat.
This scoring helps excess fat render out, preventing sogginess and promoting crispy skin during roasting. Before seasoning, pat the skin dry thoroughly with paper towels to remove moisture that could interfere with crispiness.
Once dry, season the duck generously with salt, pepper, and any optional spices you like. Proper scoring and seasoning set the foundation for a perfectly cooked duck with flavorful, crispy skin that will impress every time.
Just be sure to avoid over-scoring to keep the meat juicy and cooking even.
Stuffing the Cavity for Flavor
After scoring and seasoning the skin, turn your attention to the cavity, where adding flavorful ingredients can transform your duck into a fragrant masterpiece.
Begin your stuffing with garlic cloves and lemon slices; these aromatics infuse the meat with a bright, savory flavor as it roasts. Fresh herbs like thyme or rosemary elevate the taste further.
You can also add onions or orange slices for extra depth. Just be careful not to overstuff—the cavity needs space for heat to circulate evenly and cook the duck safely.
Once filled, secure the opening with toothpicks or kitchen twine to keep the stuffing in place during roasting. Thoughtful stuffing guarantees your duck will be juicy, aromatic, and bursting with rich flavor by the time it’s done.
Roasting at the Correct Temperature
You’ll want to preheat your oven to between 450°F and 500°F to get that perfectly crispy skin and even cooking. Make sure the oven is fully preheated for at least 20 minutes so the temperature stays steady throughout roasting.
Position your duck in the center of the oven to ensure it cooks evenly and develops that golden, crispy finish. This way, every bite is just right!
Ideal Oven Temperature
When roasting duck, setting your oven to the right temperature is essential for achieving crispy skin and tender meat. The ideal oven temperature ranges from 450°F to 500°F, depending on the duck’s size.
Smaller ducks or duck breasts roast best at around 500°F, which helps render fat quickly and crisps the skin beautifully. Larger ducks do better closer to 450°F to avoid drying out.
Maintaining a consistent oven temperature throughout ensures even cooking and maximum texture. By roasting at the correct temperature, you’ll get a succulent interior with a perfectly crispy skin exterior every time.
Preheating Importance
Setting your oven to the right temperature is only part of the equation; making sure it’s fully preheated before you put your duck inside makes a big difference.
When you preheat your oven properly—ideally between 375°F and 450°F—you guarantee even heat distribution, which is essential for roasting.
A fully preheated oven prevents the duck from sticking and helps achieve crispy skin.
Always allow at least 15 to 20 minutes for your oven to reach the desired oven temperature.
Using an oven thermometer can help verify accuracy since built-in gauges aren’t always reliable.
Proper preheating reduces cooking time variability, so your duck cooks evenly and safely reaches the target internal temperature.
Don’t skip this step to get the best results every time.
Temperature Impact on Skin
Although it might be tempting to roast your duck at a lower temperature to be cautious, doing so can lead to rubbery skin and greasy fat that hasn’t rendered properly.
To achieve crispy skin, you need to set your oven to at least 375°F, ideally between 450°F and 500°F.
This high temperature helps the fat render quickly, ensuring golden-brown, crispy skin without overcooking the meat.
Preheating your oven thoroughly guarantees even heat distribution, which is *essential* for perfect results.
| Temperature (°F) | Skin Texture | Fat Rendering |
|---|---|---|
| Below 375 | Rubbery | Poor |
| 375 – 425 | Mostly crispy | Good |
| 450 – 500 | Crispiest | Excellent |
| Above 500 | Risk of burning | Too fast |
Keep the temperature steady to get that perfect crispy skin.
Applying the Honey-Balsamic Glaze
How do you achieve that irresistible glossy, crispy skin on your roast duck? The secret lies in applying the honey-balsamic glaze during the final 20 minutes of roasting.
Use a pastry brush or spoon to evenly coat the skin every 10 minutes, making sure the glaze reaches all crevices. This repeated application builds a shiny, caramelized crust without adding extra sweetness.
The acidity in balsamic vinegar breaks down sugars, promoting that perfect crisp skin as it bakes. But be careful not to apply the glaze too early—doing so risks burning and bitterness.
Timing is key to enhancing both the color and appearance of your duck, giving you that stunning, flavorful finish that elevates your roast to perfection.
Resting and Carving the Duck
Once you’ve glazed your duck to a perfect golden crisp, it’s time to let it rest. Resting the duck uncovered for 5 to 15 minutes allows the juices to redistribute, keeping the meat juicy and tender.
This step also stabilizes the internal temperature, preventing those flavorful juices from spilling out during carving. When you’re ready, place the duck on a stable cutting board and grab a sharp carving knife.
Start by slicing the breast meat across the grain into thin, even pieces for the best texture and presentation. If you like, you can remove the crispy skin after resting, then carve the legs and wings neatly.
Proper resting and carving make sure your duck stays juicy and looks just as delicious as it tastes.
Conclusion
Now that you’ve mastered these steps, cooking duck perfectly in the oven is a piece of cake. Remember, patience is key—don’t rush the roasting or resting process, or you might miss the boat on flavor and texture.
With practice, you’ll impress everyone at the table with a crispy, juicy duck that’s bursting with taste. So, roll up your sleeves and get ready to enjoy a meal that’s truly worth the effort!
Perfect oven-roasted duck isn’t just delicious; it’s a rewarding experience that brings a special touch to any dinner. Keep these tips in mind, and soon you’ll be serving up perfectly cooked duck that’s golden, crispy on the outside, and tender inside every time.