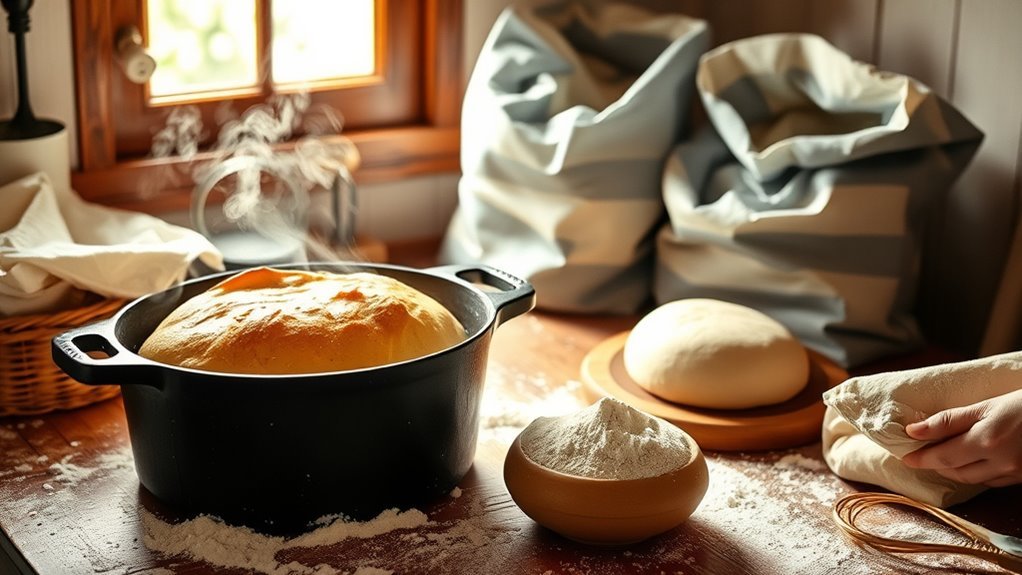
10 Easy Steps to Bake Bread Using a Dutch Oven
To bake no-knead bread using a Dutch oven, start by mixing flour, yeast, salt, and warm water into a sticky dough. This simple combination is the base for your homemade bread that’s crusty on the outside and soft inside. Let it rise until doubled in size, which usually takes a few hours.
Next, shape the dough gently on parchment paper to avoid deflating it. Preheat your Dutch oven at 450°F to get it nice and hot. Place the dough inside with the lid on to trap steam, creating the perfect environment for baking.
Bake for 20-30 minutes with the lid on, then remove the lid to brown the crust for another 5-10 minutes. This step gives you that beautiful golden finish.
Finally, let the bread cool fully before slicing to keep the crumb tender and moist. Keep following to discover all the pro tips for perfect crust and crumb.
Understanding No Knead Bread Basics
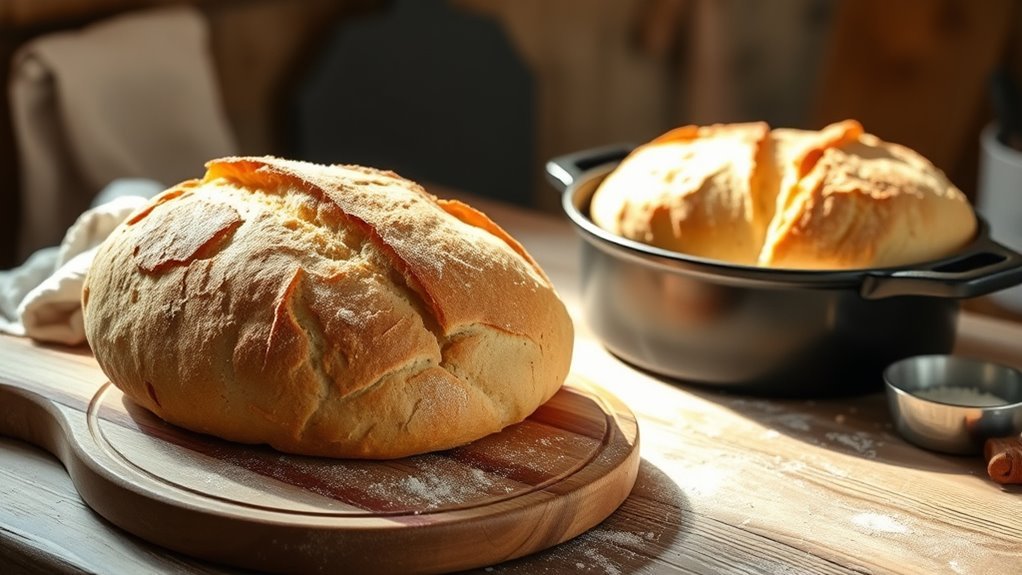
Although you won’t knead the dough, no knead bread relies on a long fermentation period to develop gluten naturally, resulting in a tender, airy loaf with minimal effort.
The dough’s high hydration makes it loose and sticky, so you handle it gently, allowing gluten development during the long rise or proofing stage. This extended fermentation enhances flavor and texture without traditional kneading.
Using a preheated Dutch oven in the baking process creates steam that’s essential for crust formation, giving you a crisp, golden exterior while keeping the crumb soft and open.
Gathering Ingredients and Tools
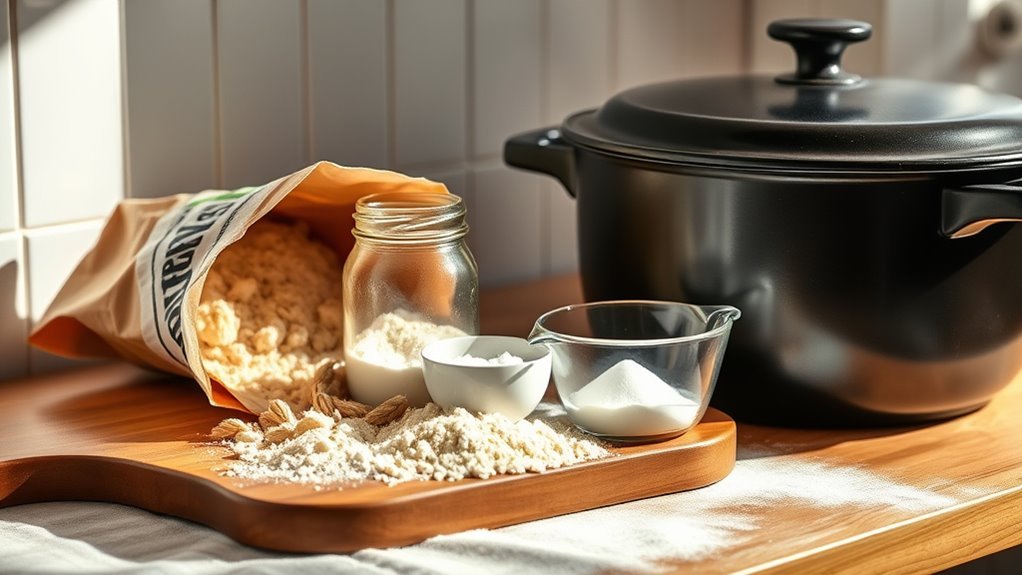
Before you plunge into mixing your dough, gather all the ingredients and tools you’ll need to guarantee a smooth baking process. You’ll need 3.25 cups of flour, 2.25 teaspoons of active dry yeast, 1/2 tablespoon salt, and 1.5 cups of warm water.
Use measuring cups or a kitchen scale to ensure precise ingredient preparation. Prepare a mixing bowl and line it with parchment paper for easy dough handling. Select a heavy Dutch oven, ideally 4-5 quarts, for baking.
Don’t forget to preheat your oven to 450°F with the Dutch oven inside for at least 30 minutes to ensure a hot oven for perfect crust.
| Ingredient | Quantity | Tool Needed |
|---|---|---|
| Flour | 3.25 cups | Measuring cups |
| Active Dry Yeast | 2.25 teaspoons | Measuring spoons |
| Salt | 1/2 tablespoon | Measuring spoons |
| Warm Water | 1.5 cups (105°F) | Kitchen thermometer |
| Dough Handling | N/A | Mixing bowl, parchment paper |
Mixing the Dough Properly
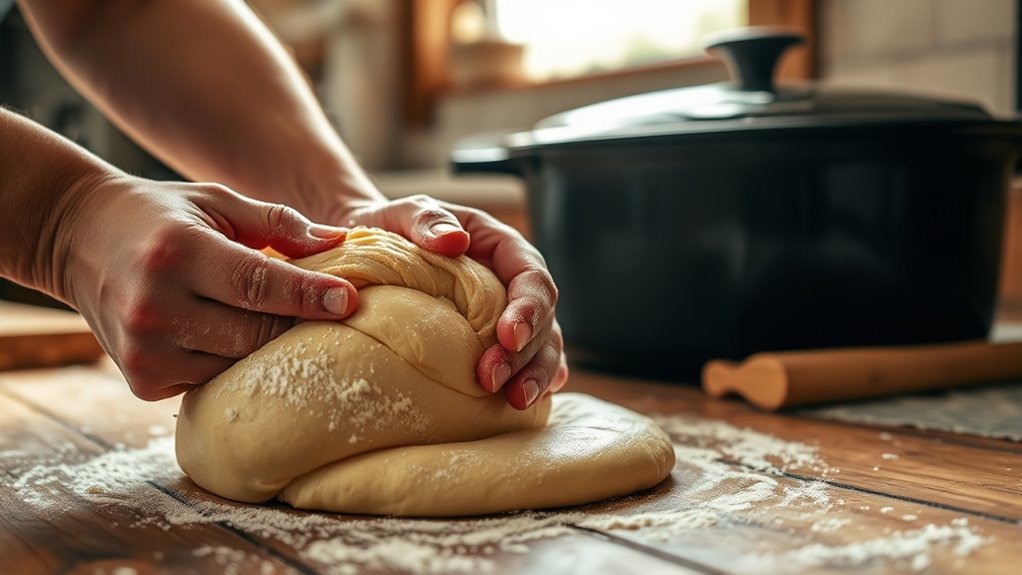
With all your ingredients measured and your Dutch oven heating, you can start mixing the dough. Use a silicone spatula or wooden spoon to combine the flour, yeast, salt, and water. Make sure the water temperature is around 105°F to 110°F to activate the yeast without killing it.
Mix until there are no dry pockets of flour, and the dough looks moist, rough, and shaggy in texture. Avoid kneading at this stage; instead, let the dough rest so it can fully hydrate. This resting period helps develop gluten naturally, improving the dough’s structure.
If you want to add herbs or olives, fold them in during mixing to distribute evenly. Proper mixing sets the foundation for a successful rise and perfect bread. Trust me, this step is key to getting great results!
Letting the Dough Rise Correctly
Once you’ve mixed your dough, let it rise in a warm, draft-free spot until it doubles in size and becomes bubbly and loose—this usually takes 2 to 3 hours. During this bulk fermentation, place the dough in a lightly greased or floured bowl and cover it with plastic wrap or a damp towel to maintain humidity.
The proofing environment and temperature are essential for proper proofing time. Check that your dough has expanded at least 50% and shows visible bubbles with a soft, pillowy texture.
Avoid overproofing by not letting it sit more than 4 hours at room temperature, as this can cause the dough to collapse. For a slower rise and more flavor, you can proof the dough overnight in the refrigerator for up to 24 hours.
Preparing for Dutch Oven Baking
After your dough has risen properly, it’s time to get your Dutch oven ready for baking. Start by placing a piece of parchment paper on a floured surface to prevent sticking during dough transfer.
Gently shape your dough into a round or oval loaf, preserving those precious gas bubbles for an airy crumb. Just before baking, score the top with a sharp knife or razor blade; this helps the bread expand and develop a beautiful crust.
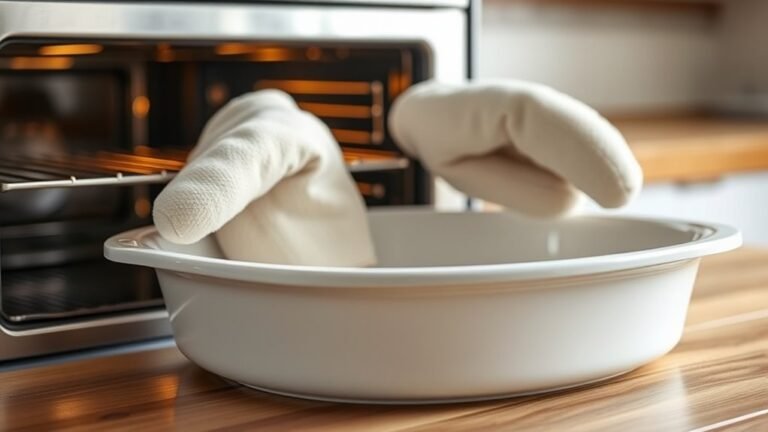
When preheating your oven, remember your Dutch oven inside gets extremely hot—use oven mitts for careful handling when removing it. This preparation guarantees a smooth dough transfer into the hot Dutch oven, setting you up for perfectly baked bread with a crisp crust and tender inside.
Preheating the Dutch Oven
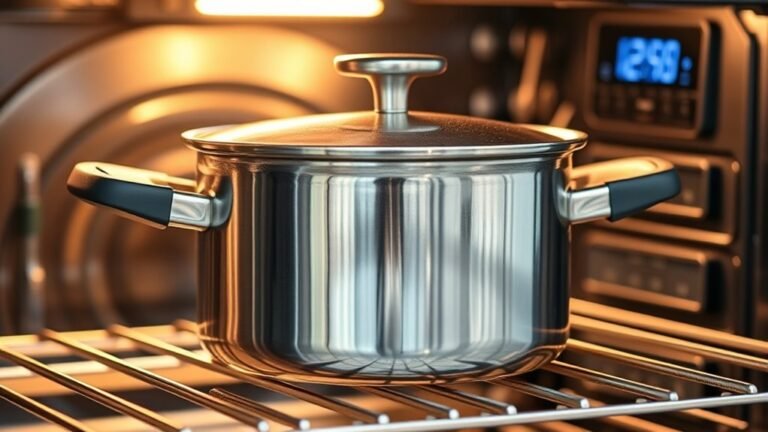
Although it takes some patience, preheating your Dutch oven to 450°F (232°C) for 30 to 60 minutes is essential for achieving the perfect oven spring and crust.
Preheat your Dutch oven to 450°F for 30–60 minutes to ensure ideal oven spring and crust.
Place the Dutch oven with its lid inside your oven to guarantee even preheating and reach the ideal temperature. Always use oven mitts when handling the hot Dutch oven to avoid burns.
Be cautious not to preheat an empty Dutch oven at excessively high temperatures, as this can damage the enamel or cast iron surface. A well-preheated Dutch oven creates a steamy environment inside, which promotes a crispy crust and helps your loaf rise fully.
Taking these steps during preheating sets the foundation for baking delicious, bakery-quality bread at home.
Shaping and Transferring the Dough
You’ll want to handle the sticky dough gently, using a floured surface or parchment paper to keep it from sticking. Shape it into a loose ball by folding the edges inward without pressing out the air bubbles.
Using parchment paper makes it easy to transfer your dough straight into the preheated Dutch oven. It’s a simple trick that really helps keep things neat and easy!
Handling Sticky Dough
When handling sticky dough, lightly flour your hands and work surface to keep the dough from sticking as you shape it. Use a dough scraper or silicone spatula to gently lift and fold the dough, preserving its airy texture.
Avoid pressing too hard; instead, focus on folding and tucking the edges into a loose round or oval shape. To transfer, slide the scraper under the dough onto a piece of floured parchment paper, minimizing direct handling.
Carefully lift the parchment with the dough and place it into the preheated Dutch oven using oven gloves to prevent burns. This method ensures your sticky dough maintains its structure and easily moves from your work surface to the pot, setting you up for a perfectly baked loaf.
Shaping Techniques
After managing the sticky dough, the next step is shaping it carefully to keep its airy texture intact. Begin dough shaping by gently transferring the dough onto a floured surface with a silicone spatula or dough scraper to avoid tearing.
Use lightly floured hands to handle the dough, preventing sticking without overworking it. Fold the edges inward and tuck them underneath to form a loose ball, preserving essential gas bubbles that give the bread its light crumb.
Place the shaped dough on parchment paper to maintain shape during transferring. When ready, carefully move the dough with parchment into the preheated Dutch oven.
If you want, score the top before baking to encourage oven spring. This helps your bread rise beautifully while keeping its structure intact.
Using Parchment Paper
Although handling sticky dough can be tricky, using parchment paper makes shaping and transferring much easier. Start by lightly flouring the parchment paper to keep it stick free and make removal smooth.
Use a silicone spatula or dough scraper to gently lift and shape the loaf on the parchment with minimal handling. This helps preserve the dough’s gas bubbles and airy texture.
Fold or shape the dough directly on the parchment to avoid deflating it. When it’s time to bake, cut a parchment piece slightly larger than your dough for easy grip.
To transfer dough into the preheated Dutch oven, carefully lift corners of the parchment and slide the dough inside. This method keeps your loaf intact and ensures a clean, stick-free transfer.
Baking With the Lid on
When you bake with the Dutch oven lid on, it traps steam that helps your bread rise fully and develop a moist interior with a crisp crust.
Keeping the lid on for the first 20-30 minutes *assures* the crust from setting too soon and *guarantees* even heat around the dough.
Take the lid off in the last 5-10 minutes to let the crust brown beautifully and get that perfect golden finish.
Steam Trapping Benefits
Because the Dutch oven traps steam released from the dough, baking with the lid on creates a humid environment that helps your bread rise fully and develop a beautiful crust. This steam trap prevents the crust from hardening too soon during the initial bake, allowing maximum oven spring as the dough expands.
The moisture inside enhances starch gelatinization, producing a shiny, crisp crust with rich coloration. When you cover the loaf, you maintain essential moisture, ensuring a tender crumb beneath the crust.
Proper shaping before placing the dough in the Dutch oven ensures even rising and steam circulation. By keeping the lid on, you create the perfect balance of steam and heat, promoting an ideal crust without sacrificing oven spring or texture.
Later, you’ll remove the lid to finish browning.
Crust Development Process
As you bake with the lid on, trapped steam creates the perfect humid environment that helps your dough expand fully and develop a moist, shiny, and crispy crust. This steam supports oven spring by keeping moisture around the dough, allowing it to rise taller before the crust hardens.
Preheat your Dutch oven with the lid on to guarantee even oven temperature, which promotes uniform crust color and texture. The steam gelatinizes starches on the surface, creating that signature crackly crust and glossy finish.
Here’s how key factors affect your baking process:
| Factor | Effect on Crust | Result |
|---|---|---|
| Steam | Moisture retention | Shiny, moist crust |
| Oven Spring | Dough expansion | Taller loaf |
| Preheat | Even heat distribution | Uniform golden brown |
| Lid On | Traps steam | Crackly, crispy crust |
| Oven Temperature | Perfect crust development | Excellent crust texture |
Timing Lid Removal
Keeping the lid on your Dutch oven traps steam that helps your bread rise and develop a moist crust during the first 20-30 minutes of baking at 450°F. This steam retention promotes excellent oven spring and prevents the crust from hardening too soon.
Proper timing of lid removal is vital; lifting the lid too early can reduce steam, limiting rise, while waiting too long may affect crust color and texture. Once you remove the lid carefully using oven mitts to handle the hot Dutch oven, continue baking for another 5-10 minutes.
This final baking time allows the crust to deepen into a shiny, golden-brown crust with a caramelized finish. Mastering when to perform lid removal ensures your bread achieves the perfect balance of moist interior and beautifully colored crust.
Finishing the Bake With the Lid off
Once the crust has set and turned a rich golden-brown, you’ll want to remove the Dutch oven lid for the last 5 to 10 minutes of baking. This final step lets the crust brown beautifully and become crisp by exposing it to dry heat. It also prevents over-steaming inside.
Use oven mitts or tongs to carefully lift the lid, allowing steam to escape safely. Removing the lid too early can lead to a gummy crust, so timing is key.
Handle the lid with care to release steam; removing it too soon risks a gummy crust.
Enjoy the transformation as you see the crust develop a shiny, deep golden-brown hue. You’ll also smell that toasty, inviting aroma filling your kitchen.
And just wait until you finally slice into your bread—you’ll feel that satisfying crunch.
This careful finish ensures a perfect crust without burning or over-darkening.
Cooling and Serving Your Bread
After baking, let your bread cool on a wire rack for at least an hour. This helps lock in the flavor and crisps up the crust nicely.
When it’s time to slice, grab a serrated knife. Use a gentle sawing motion to keep the loaf intact without squashing it.
Once it’s cooled and sliced, you’re all set to enjoy your bread. Or, if you’re not eating it right away, store it properly to keep it fresh.
Cooling Duration Importance
Although it’s tempting to slice into your freshly baked bread right away, you should let it cool for at least an hour. This cooling time is vital to allow steam to escape, preventing a gummy interior and ensuring the crumb structure sets properly.
During the resting period, the crust development continues, becoming crisp and flavorful.
For proper cooling, place your loaf on a wire rack to avoid trapping moisture underneath. This can soften the crust and ruin the texture. Remember, cutting too soon can cause the bread to collapse or become squishy.
Take your time—proper cooling will reward you with bread that has:
- A perfectly crisp crust
- A tender, well-formed crumb
- Rich, developed flavor and texture
Proper Slicing Technique
To enjoy your bread at its best, you should let it cool completely on a wire rack for at least an hour before slicing. This waiting time guarantees the crust is fully set—firm, golden, and slightly shiny—preventing a gummy interior.
When you’re ready to slice, use a serrated bread knife with a sharp blade, applying a gentle sawing motion. This technique helps you cut clean, even cuts through the crust without crushing the loaf.
Slice the bread just before serving to keep the crust crisp and the bread fresh-tasting. Proper slicing preserves the texture and flavor of each slice.
If you have leftovers, store them in an airtight container at room temperature. Then, reheat slices as needed to enjoy that fresh-tasting quality again.
Serving Suggestions
While it’s tempting to dig in right away, letting your bread cool on a wire rack for at least an hour will give it the best flavor and texture. After baking your bread in the dutch oven, this cooling step is vital to set the crumb and form a perfect crust.
Cutting into hot bread fresh from the oven can make it dense and gummy, so patience really pays off.
When your bread has cooled, remember to:
- Serve at room temperature for the ideal texture.
- Store in an airtight container or paper bag to keep the crust crisp.
- Enjoy the full depth of flavor your dutch oven recipe developed.
Taking these steps ensures your baking efforts shine every time you serve fresh bread. Trust me, it’s worth the wait!
Conclusion
Now that you’ve mastered these 10 easy steps, baking bread with a Dutch oven is like revealing a hidden treasure in your kitchen. Each step, from mixing to cooling, builds the perfect crust and crumb, turning simple ingredients into a golden masterpiece.
Remember, patience is your secret ingredient—letting the dough rise and bake properly will reward you with bread that’s as warm and inviting as a cozy hug.
Using a Dutch oven not only locks in moisture but also creates that beautiful, crispy crust we all love. So, take your time and enjoy every moment of the baking process.
Happy baking! With these easy steps, your homemade bread will soon fill your home with irresistible aromas and delicious flavor.