7 Steps to Cook Perfect St Louis Ribs in the Oven
To cook perfect St. Louis ribs in the oven, start by selecting well-marbled racks and removing the membrane for tenderness. Pat them dry and apply a generous dry rub.
Then, wrap tightly in foil with a splash of liquid to lock in moisture. Bake low and slow at 275°F for 2-3 hours, basting with honey and apple cider vinegar.
Unwrap, slather with barbecue sauce, and broil briefly for a caramelized finish. Keep going to uncover tips for flawless ribs every time.
Selecting and Preparing St Louis Ribs
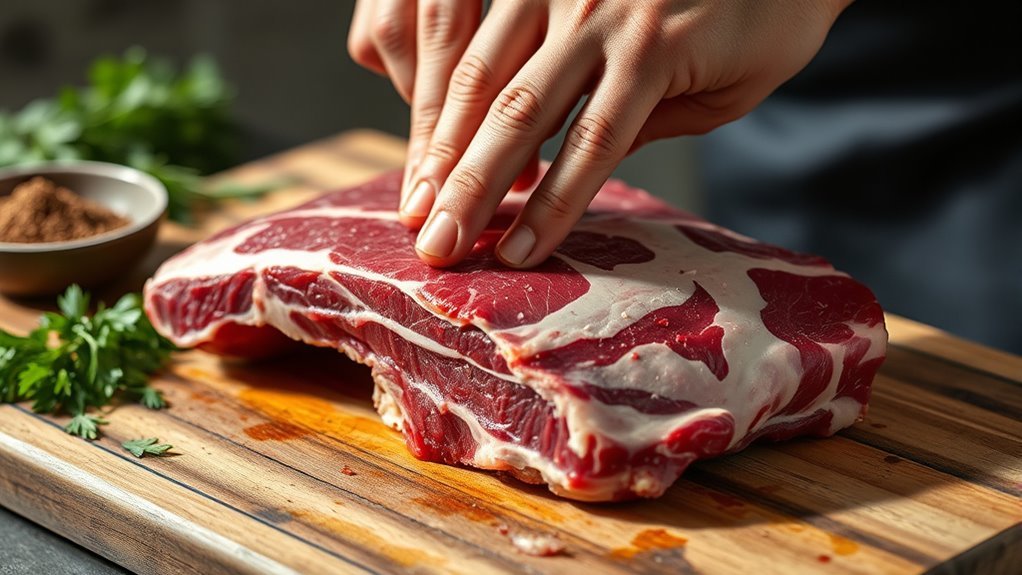
When selecting St. Louis ribs, pick a rack weighing between 3 to 4 pounds with even marbling and no dry or discolored edges. This guarantees juicy, flavorful meat during oven preparation.
Before seasoning, pat ribs dry with paper towels to help the dry rub stick better. You’ll want to cut the rack into smaller sections of 2-3 ribs; this fits your oven more easily and helps them cook evenly.
Pat ribs dry and cut into 2-3 rib sections for better seasoning and even oven cooking.
While you’ll remove the membrane later, remember this pre-cooking prep step is key for tender ribs. When you season the ribs, be generous—press the dry rub firmly into the meat to really boost the flavor.
Proper selection and pre-cooking prep set the foundation for perfect St. Louis ribs cooked right in your oven. It’s all about those little steps before cooking that make a big difference!
Removing the Membrane and Applying the Dry Rub
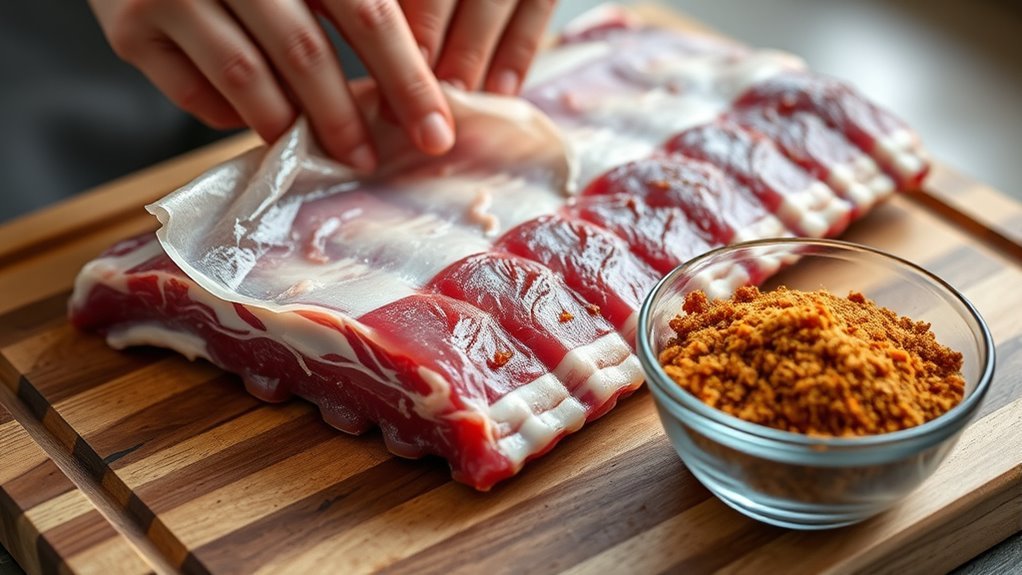
Before seasoning your St. Louis ribs, you need to remove the membrane from the back. Slide a knife underneath the silver skin membrane and peel it off using your fingers or a paper towel. This step improves the meat texture and allows better flavor infusion.
Next, pat the ribs dry thoroughly with paper towels to prepare them for dry rub application. Generously sprinkle your chosen dry rub over all sides of the ribs, pressing it firmly into the surface. This ensures the seasoning stays attached during cooking and forms a flavorful crust.
Let the ribs rest at room temperature for 15 to 20 minutes after the seasoning process; this helps the spices set and enhances tenderness. This way, your ribs are perfectly prepared for the next cooking steps.
Wrapping Ribs in Foil for Tenderness
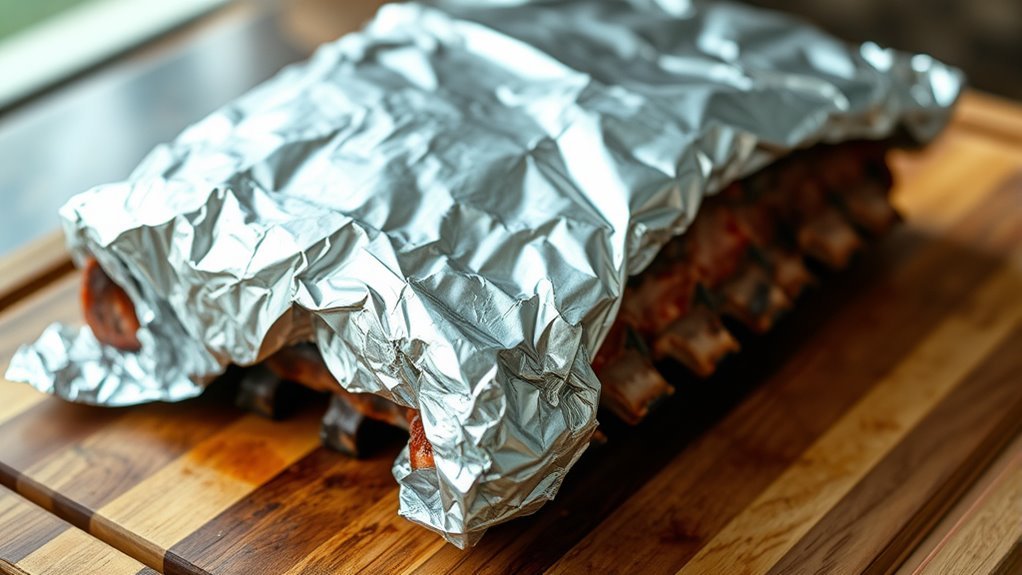
When you wrap your ribs tightly in foil, you lock in steam that keeps them juicy and tender. Make sure the foil covers the entire rack and seals securely to trap moisture effectively.
Adding a splash of water or apple cider vinegar inside the foil can boost tenderness even more. It’s a simple trick but really makes a difference!
Foil Sealing Benefits
Although you might be tempted to skip this step, wrapping your ribs tightly in foil plays a crucial role in achieving tender, juicy St. Louis ribs. When you wrap the ribs in foil, the sealing traps steam and juices inside, which helps break down collagen and makes the meat incredibly tender.
This foil seal also prevents moisture from escaping during cooking, so your ribs stay succulent and flavorful. By wrapping them tightly, you guarantee uniform heat distribution, allowing the ribs to cook evenly without drying out.
The foil essentially creates a mini oven around the ribs, intensifying tenderness by trapping heat and moisture. Skipping this step means you risk losing valuable juices and ending up with tougher meat. So, always wrap and seal your ribs in foil for the best results.
Moisture Retention Techniques
Wrapping your ribs tightly in foil does more than just trap heat—it locks in moisture that keeps your meat tender and juicy. When you wrap your ribs during baking, the foil seals in the natural juices and steam, creating a moist environment that breaks down collagen for tender meat.
Using a double layer of foil enhances the sealing, preventing any moisture loss. To boost moisture retention, add a splash of water or apple cider vinegar inside the foil before sealing. This steam intensifies tenderness during the baking stage.
Baking the Ribs at a Low Temperature
You’ll want to preheat your oven to a steady 275°F and wrap the ribs tightly in foil to lock in moisture.
Plan on baking them low and slow for about 2 to 3.5 hours, depending on their size, until they’re perfectly tender. Keeping the temperature low guarantees the ribs stay juicy and fall right off the bone.
Ideal Oven Temperature
When you bake St. Louis ribs, keeping the oven temperature steady at 275°F is key for perfect ribs. This low and slow method allows consistent cooking, promoting collagen breakdown that turns tough connective tissue into tender ribs.
Temperatures above 300°F risk drying out the meat, while lower temps just extend cooking time unnecessarily. Use an oven thermometer to monitor and maintain this ideal temperature without opening the door often, which can cause fluctuations and affect moisture.
| Temperature | Effect on Ribs | Cooking Outcome |
|---|---|---|
| Below 275°F | Longer cooking time | More collagen breakdown |
| 275°F | Ideal low and slow heat | Tender, juicy ribs |
| Above 300°F | Risk of drying out | Tougher ribs |
Keeping the oven at 275°F ensures your ribs come out tender every time. So, stick to that temperature and enjoy some seriously delicious ribs!
Foil Wrapping Technique
Maintaining the oven at 275°F sets the stage for tender ribs, but how you prepare the ribs for baking can make all the difference. Start by wrapping each rack tightly in aluminum foil to create a sealed environment that traps steam and moisture, ensuring juicy results.
For extra tenderness, add a splash of water or apple cider vinegar inside the foil before you seal it. Make sure to wrap tightly so no juices escape, which keeps the meat moist.
If you’re cooking multiple racks, place each in its own foil packet on a baking sheet and rotate them for even heat. When you reheat leftovers, rewrap the ribs in fresh foil to lock in moisture and preserve that perfect tenderness.
Cooking Duration Guidelines
Although cooking times can vary based on the size and type of ribs, baking St. Louis ribs at a low oven temperature of 275°F typically takes about 2.5 to 3.5 hours to reach perfect tenderness.
To guarantee rib doneness, use a meat thermometer to check the internal temperature, aiming for 190°F to 200°F for fall-off-the-bone results. Foil wrapping during cooking helps retain moisture but may slightly extend the cooking duration.
Keep an eye on tenderness, as overcooking beyond 200°F can dry out your oven baked ribs. Here’s what to expect:
- Smaller racks ready in about 2 hours
- Larger racks need up to 3.5 hours
- Foil wrapping locks in juices
- Use tenderness tests alongside cooking time and temperature
Basting With Honey and Apple Cider Vinegar
How do you guarantee your St. Louis ribs come out tender, moist, and juicy? Baste them regularly with a glaze made from equal parts honey and apple cider vinegar.
This mixture adds a sweet and tangy flavor that enhances tenderness and helps form a caramelized crust. Apply the glaze every 30 minutes during baking to maintain moisture and develop a glossy coating.
| Ingredient | Role | Effect |
|---|---|---|
| Honey | Sweetener | Adds flavor and caramelizes |
| Apple Cider Vinegar | Acidic tenderizer | Breaks down connective tissue |
| Basting Frequency | Every 30 minutes | Keeps ribs moist and juicy |
This simple basting technique really elevates your ribs with a perfect balance of flavor and texture. Give it a try, and you’ll notice the difference!
Unwrapping and Applying Barbecue Sauce
Once you’ve basted your ribs with the honey and apple cider vinegar glaze, it’s time to unwrap them carefully from the foil to keep them moist and intact. Gently peel back the foil, preserving the juicy tenderness inside.
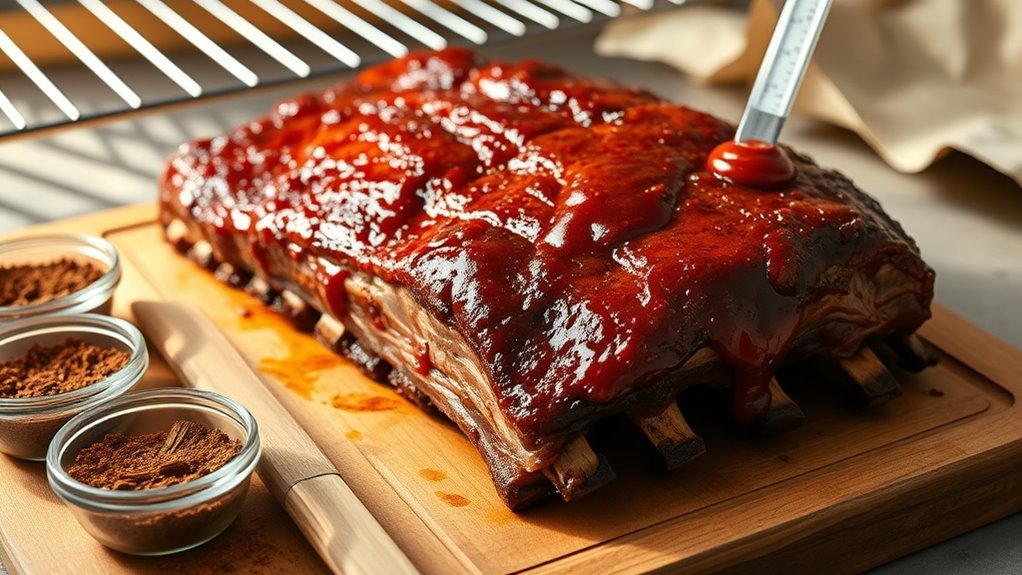
Next, apply a generous layer of barbecue sauce all over the ribs with a basting brush, making sure every inch is coated. This step adds flavor and helps create that irresistible stickiness.
Picture this: glossy ribs glistening under a thick barbecue sauce layer, the rich aroma wafting as you baste each side. Juices trapped beneath the foil keep those ribs nice and moist.
You’ve got a tender rack ready to caramelize under the broiler. After applying the sauce, let the ribs rest briefly before moving on to the next step.
Broiling for Caramelized Finish
Why not give your ribs a final touch of perfection by broiling them? After baking and resting, brush on an extra layer of barbecue sauce to create a rich glaze.
Set your oven’s broiler to high heat, around 500°F, and place the ribs under it for 3-4 minutes. This intense heat will caramelize the sugars in the sauce, forming a crispy, slightly charred crust that locks in smoky flavors.
Broil ribs at 500°F for 3-4 minutes to caramelize sauce and create a crispy, smoky crust.
Keep a close eye to prevent burning, as the sugars can quickly go from caramelized to charred. Broiling mimics grilling by delivering direct heat, giving your ribs a beautiful, flavorful finish with a deliciously crispy, smoky exterior.
This step truly elevates your St Louis ribs to perfection.
Conclusion
Who knew that by simply wrapping ribs in foil and low-baking them, you’d reveal such tenderness? As the ribs cook slowly, all the juices stay locked in, making each bite melt in your mouth.
As you baste with honey and apple cider vinegar, the flavors meld like old friends reuniting. That sweet and tangy combo really brings the ribs to life.
Unwrap, slather on that barbecue sauce, and broil to caramelized perfection—each step perfectly timed, almost like the ribs were meant to be cooked this way.
Now, you’re ready to enjoy St. Louis ribs that taste like a delicious coincidence come true. These oven-baked St. Louis ribs are tender, flavorful, and perfectly caramelized—just like you’d get at a top BBQ joint. Give this simple 7-step method a try, and you’ll have mouthwatering ribs every time, right in your own kitchen!