5 Easy Steps to Remove Melted Plastic From Your Oven
First, make sure your oven is completely cooled and unplugged. This is super important for safety before you start dealing with melted plastic. Then, take a close look to identify exactly where the melted plastic is located and assess how much there is.
Next, gently warm the oven just enough to soften the plastic. This makes it easier to remove without damaging your oven’s interior. Be careful not to overheat it!
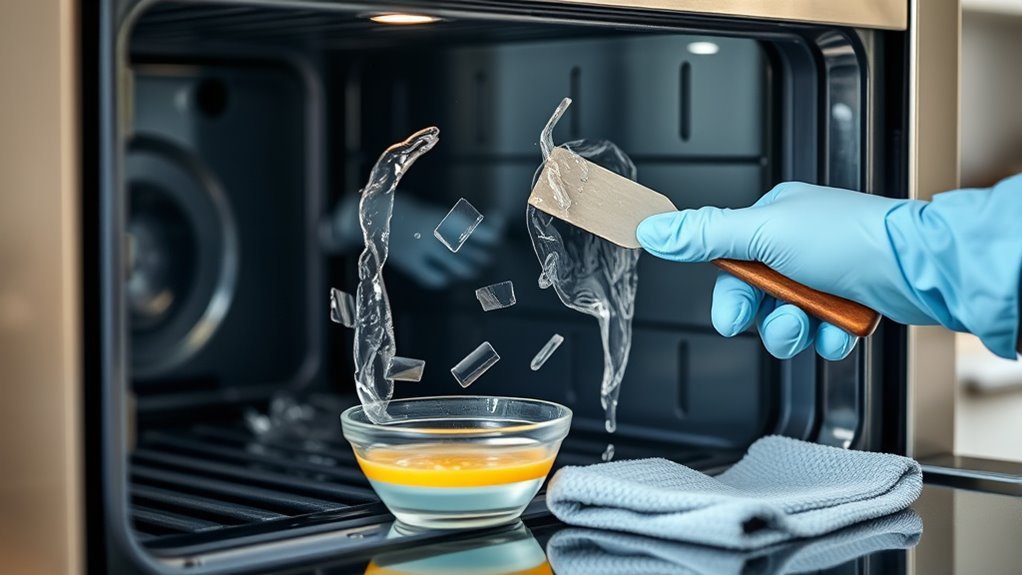
Once the plastic is softened, use a plastic spatula or a razor scraper to carefully scrape off the residue. Take your time with this step to avoid scratching your oven.
After scraping, mix up a baking soda paste and apply it to any stubborn bits left behind. This helps lift the remaining plastic residue. Then, wipe everything clean with a damp cloth.
Finally, make sure to ventilate your kitchen really well to clear out any fumes before turning your oven back on. Keep reading for detailed tips to make each step even easier!
Assess the Melted Plastic and Prepare Your Oven
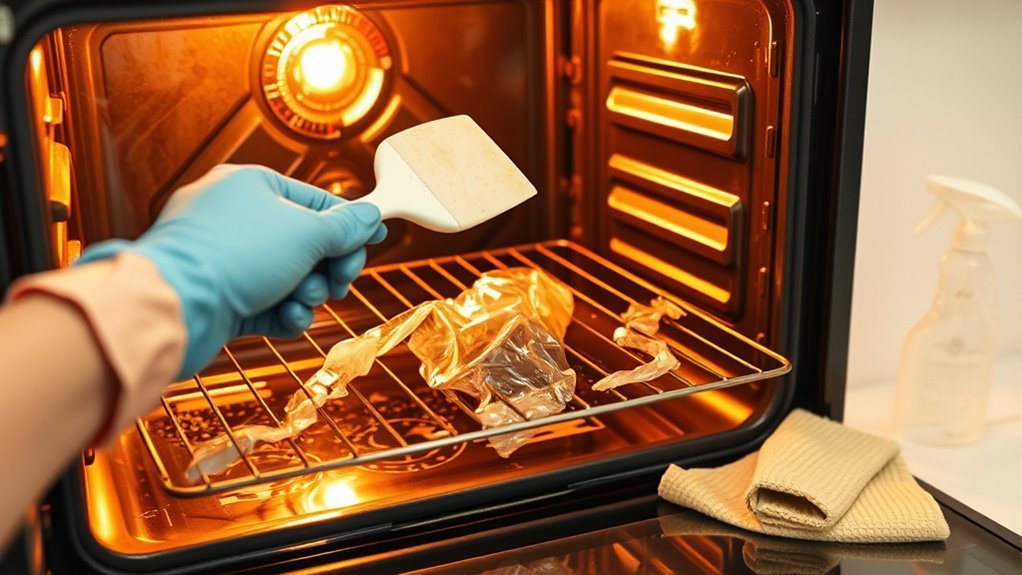
Before you begin removing melted plastic from your oven, carefully assess the damage by pinpointing where the plastic is and how extensive it is, both inside the oven and on the racks. First, verify your oven is completely cooled and unplugged to prioritize safety.
Take note if the melted plastic has hardened or remains soft, as this will guide your removal approach. Next, set up proper ventilation by opening windows or turning on exhaust fans to prevent inhaling any harmful fumes.
Gather all necessary tools before you start—gloves, plastic scrapers, and cleaning supplies will make the process smoother. Taking these steps to assess and prepare your oven not only protects you but also ensures a more effective cleanup.
Soften the Plastic for Easier Removal
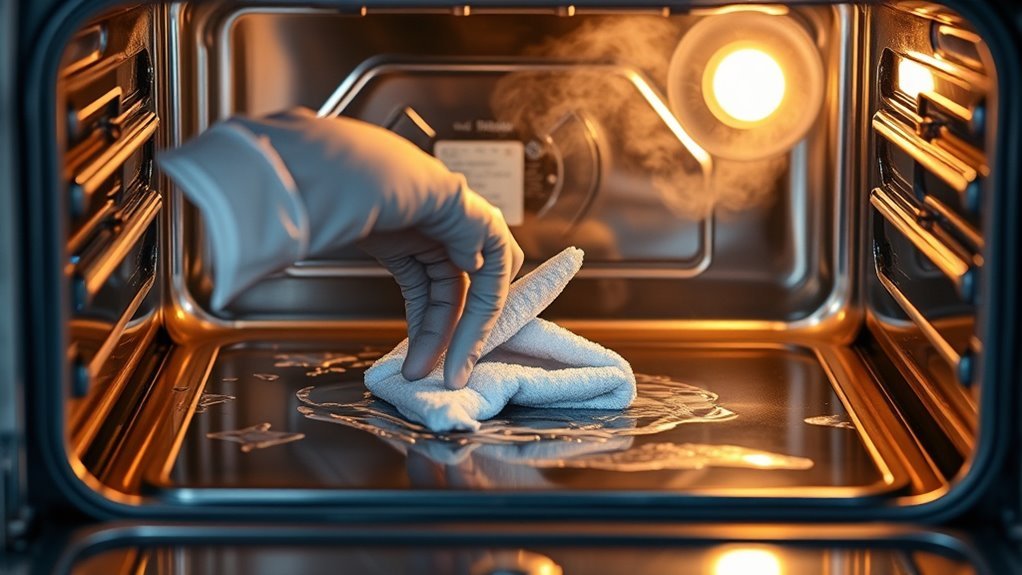
When you gently warm your oven to about 250°F, the melted plastic softens, making it much easier for you to remove. Applying gentle heat helps the plastic become pliable, preventing it from breaking into hard-to-remove pieces.
You can use the oven’s residual heat or a heat gun on a low setting for stubborn spots, but always make sure the oven is unplugged and cooled before starting.
| Method | Benefit |
|---|---|
| Low oven heat | Softens plastic evenly |
| Heat gun (low) | Targets stubborn residue |
| Residual heat | Reduces scraping effort |
| Gentle heat | Keeps plastic pliable |
Softening melted plastic first really saves time and effort during cleanup. It’s a simple trick that makes the whole process way easier!
Gently Scrape Off the Plastic Residue
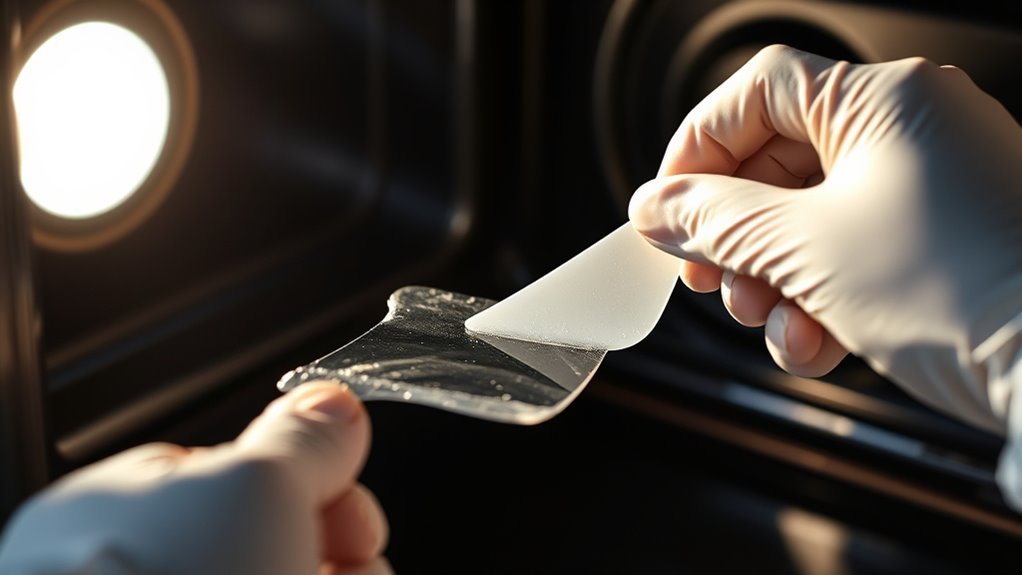
Although the plastic has softened, you’ll need to gently scrape it off using a plastic or silicone spatula to avoid scratching your oven’s surface. Start by prying and lifting the softened plastic residue with slow, controlled motions.
If some spots are stubborn, carefully use a razor scraper at a shallow angle, applying minimal pressure to protect the oven’s interior. Warming the oven slightly beforehand helps soften the plastic further, making it easier to remove without force.
Always scrape gently to avoid gouging or damaging the oven coating. Once you’ve lifted the plastic residue, wipe the area with a damp cloth to clear any leftover debris.
This careful approach ensures you remove the plastic effectively while preserving your oven’s finish.
Apply a Cleaning Paste to Remove Remaining Plastic
Since some plastic residue might still cling to your oven, you’ll want to tackle it with a gentle cleaning paste. Mix baking soda with a small amount of water to create a thick, spreadable paste.
Apply the paste generously over any remaining plastic inside the oven. Let it sit for 3 to 5 minutes to help loosen the stubborn residue.
Afterward, gently scrub the area with a non-abrasive sponge or cloth to lift the softened plastic without damaging your oven’s surface. Finally, wipe the surface thoroughly clean with a damp cloth to remove any leftover paste and debris.
This method is safe to use and effective, making it an essential step to clean the oven and restore it to its best condition.
Clean and Ventilate the Oven Thoroughly
After removing the plastic residue with the baking soda paste, you’ll need to focus on thoroughly cleaning and ventilating your oven. Proper ventilation is key to guaranteeing all toxic fumes are removed safely.
Open windows and doors to create effective cross-ventilation. Turn on the exhaust fan or range hood to boost fumes removal. Using a portable fan aimed at an open window can further increase airflow and disperse any lingering smells.
Avoid using the oven’s self-cleaning cycle immediately, as this can release harmful fumes. It’s best to wait until the area is fully ventilated before cooking again.
| Task | Tip |
|---|---|
| Open windows & doors | Ensure cross-ventilation |
| Exhaust fan or range hood | Turn on for fumes removal |
| Portable fan | Aim towards open window |
| Avoid self-cleaning cycle | Prevent exposure to harmful fumes |
Conclusion
You might think a melted mess means hours of frustration, but with these five easy steps, you’ll turn chaos into calm in no time. While the plastic may seem stubborn and ruined, your oven can soon be spotless and ready to bake again.
Don’t let a slip-up spoil your cooking—just follow these simple tips. You’ll have your oven shining like new, proving that a little effort goes a long way.
Removing melted plastic from your oven doesn’t have to be a nightmare. With patience and these easy steps, you can restore your oven’s clean look without harsh chemicals or damage.
So, next time plastic melts, remember these tips to keep your oven looking great and ready for your next delicious meal. Easy oven cleanup is just a few steps away!