10 Easy Steps to Clean an Oven Without Oven Cleaner
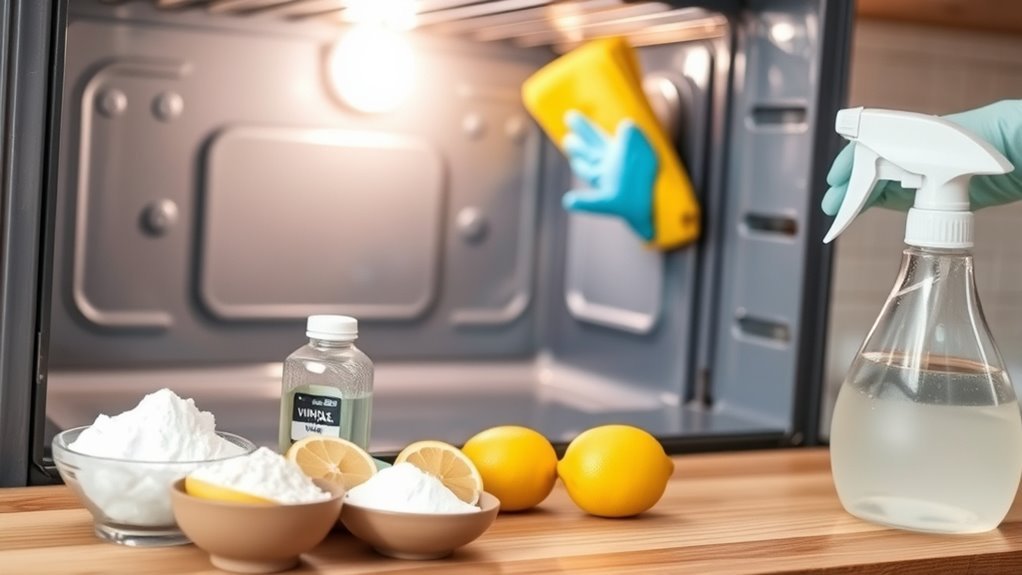
Gather natural supplies like baking soda, vinegar, and gloves. These simple ingredients are perfect for cleaning your oven without harsh chemicals. Remove oven racks and soak them separately to tackle grime effectively.
Mix baking soda with water to form a paste, then spread it evenly inside the oven, avoiding heating elements. Let it sit overnight to break down stubborn grease and burnt-on food.
The next day, wipe away the paste with a damp cloth. Then, spray vinegar to loosen any remaining residue. Finish by wiping clean, drying, and replacing the racks.
Follow these easy steps to effortlessly refresh your oven’s cleanliness and shine. You’ll be amazed at how natural ingredients can make your oven look brand new again!
Gather Your Natural Cleaning Supplies
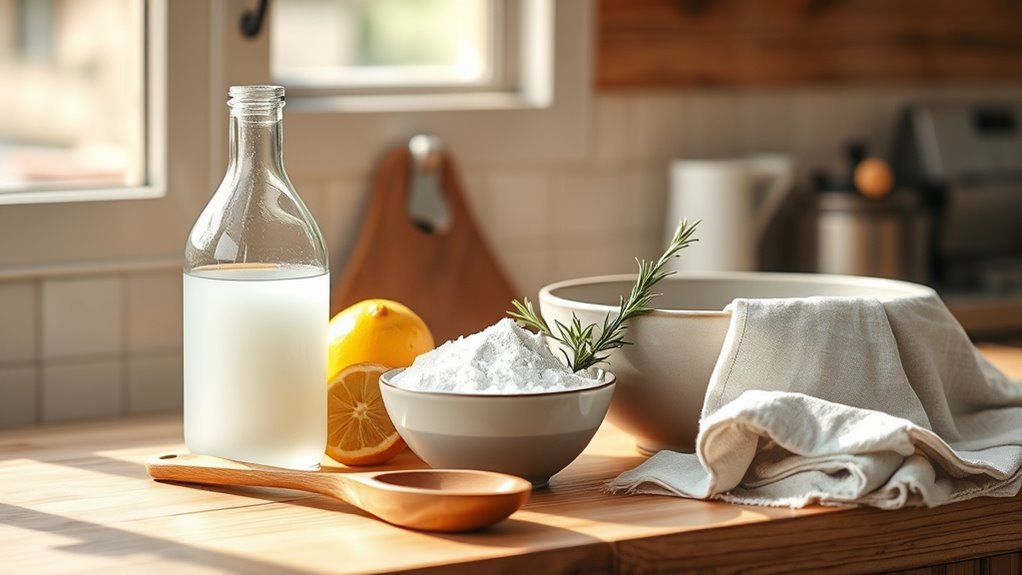
Before you begin cleaning your oven, gather natural supplies like baking soda, vinegar, lemon juice, and dish soap. These natural cleaning supplies make oven cleaning safe, affordable, and eco-friendly.
Start with natural ingredients like baking soda and vinegar for a safe, affordable, and eco-friendly oven clean.
Baking soda works as a mild abrasive and deodorizer, perfect for tackling baked-on grease without harsh chemicals. Vinegar complements baking soda by breaking down residue and creating a fizzing reaction that loosens grime effectively.
Grab a mixing bowl to create your cleaning paste, a spray bottle for vinegar, and a damp cloth or sponge for wiping. Don’t forget rubber gloves to protect your hands during the process.
Using these readily available household items simplifies oven cleaning and avoids the need for commercial oven cleaners, keeping your kitchen green and fresh. Easy, right?
Remove Oven Racks and Accessories
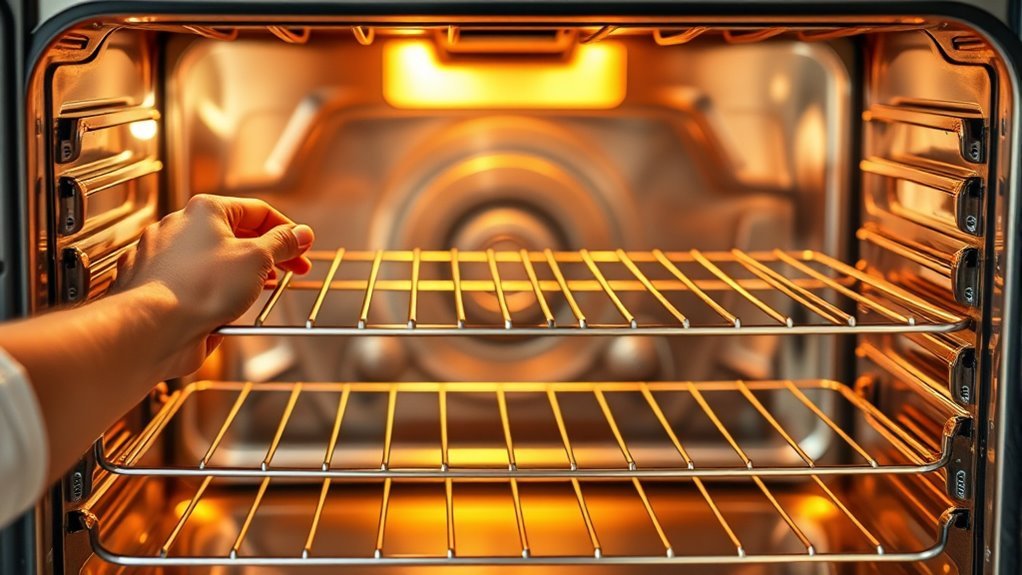
Start by removing all oven racks and accessories to clear the interior completely. This gives you full access to every surface and prevents any damage during cleaning.
Once the oven is empty, you can clean both the interior and the accessories more effectively. It just makes the whole process easier and more thorough.
Clear Oven Interior
To clear your oven interior, you’ll want to remove all racks, pizza stones, and accessories first. Taking out oven racks and other items gives you full access to the oven’s walls and floor, making cleaning much easier.
Without these obstacles, you can apply cleaning solutions directly to greasy spots and stubborn grime. Plus, removing racks prevents them from getting damaged or coated in residue during cleaning.
Once out, soak your oven racks in warm water mixed with natural cleaners like baking soda or vinegar to loosen grease. This two-step approach ensures both your oven interior and oven racks get thoroughly cleaned, leaving everything hygienic and grease-free.
Clearing the oven interior this way sets the stage for an effective, chemical-free oven cleaning process. It really makes the whole job a lot simpler and safer!
Prepare for Cleaning
When you prepare for cleaning, make sure the oven is completely cool and turned off. This way, you can safely remove all racks, pizza stones, and accessories.
Removing these items first gives you full access to the oven’s interior surfaces and helps prevent damage. Plus, cleaning racks and accessories separately helps extend their lifespan and keeps your oven hygienic.
Place all removed items in the sink or on the countertop to avoid messes. It’s a simple step but makes the whole process smoother.
| Item | Why Remove? | Cleaning Tip |
|---|---|---|
| Oven Racks | Full access, avoid damage | Soak in warm, soapy water |
| Pizza Stones | Prevent cracks, better cleaning | Use gentle scrubbing brush |
| Other Accessories | Protect from harsh scrubbing | Clean separately by hand |
Prepare a Baking Soda Paste
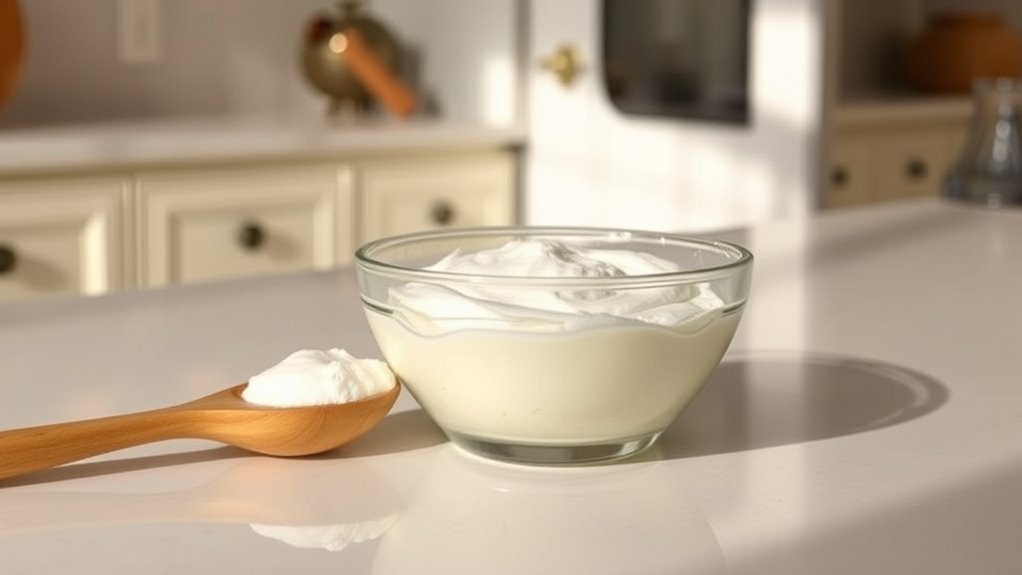
Start by mixing half a cup of baking soda with three tablespoons of water to form a thick paste.
Adjust the amount of water or baking soda until it looks like toothpaste. This consistency helps the paste stick well to your oven’s surfaces for effective cleaning.
Mixing Baking Soda
Although it might seem simple, mixing the right baking soda paste is key to tackling oven grime effectively. To make a paste, combine ½ cup of baking soda with 2-3 tablespoons of water.
Stir until you get a thick, spreadable texture that’s easy to apply. This paste loosens baked-on grease without harsh chemicals, making cleaning your oven safer and simpler.
Here’s a quick guide:
| Ingredient | Amount |
|---|---|
| Baking soda | ½ cup |
| Water | 2-3 tablespoons |
| Texture | Thick, spreadable |
Adjust water or baking soda as needed to get a smooth, pancake-like consistency. Just apply the paste to oven surfaces, but be sure to avoid heating elements for the best results. Easy, right?
Achieving Paste Consistency
To get the best results, you’ll want to mix ½ cup of baking soda with about 3 tablespoons of water until the paste reaches a thick, pancake-like texture. This guarantees the right paste consistency for effective oven cleaning.
Use a spoon or spatula to blend the ingredients evenly, creating a smooth, spreadable paste. If the mixture feels too dry, add water gradually; if it’s too runny, sprinkle in more baking soda.
The goal is a thick mixture that clings well to your oven’s surfaces without dripping. Achieving this balance is key to covering grime thoroughly and making cleanup easier.
With a well-prepared paste, you’ll tackle oven messes efficiently and avoid harsh chemicals altogether.
Apply the Paste to Oven Surfaces
When you’re ready, use a spatula or brush to spread the baking soda paste evenly over the oven’s interior surfaces, steering clear of the heating elements. Make sure to apply the paste generously on stubborn grease and baked-on stains to clean oven grime effectively.
Use a spatula to spread baking soda paste evenly inside the oven, avoiding heating elements and targeting tough stains.
For heavily soiled spots, add a thicker layer of baking soda paste to maximize its cleaning power. If the paste starts drying out during application, lightly spray it with water to keep it moist and active.
Cover all oven surfaces thoroughly, ensuring no area is missed. This careful application helps the baking soda break down tough residues, setting the stage for easier removal later.
Properly applying the paste is key to achieving a deep, chemical-free clean oven interior. It really makes all the difference!
Let the Paste Sit Overnight
After you’ve spread the paste evenly, let it sit overnight to break down stubborn grime. This extended soaking allows the paste to harden and penetrate deep, making your cleanup much easier.
Extended Paste Soaking
Although it might require some patience, letting the baking soda paste sit overnight allows it to break down stubborn grease and baked-on food more effectively than a quick scrub. To maximize the cleaning power, cover all interior surfaces evenly with the paste and let it soak for at least 12 hours.
This extended soak helps dissolve tough grime that shorter cleaning times often miss. Just make sure not to use or turn on the oven during this time so the paste stays put and works its magic.
After the overnight soak, you’ll find that grime loosens easily, making it super simple to wipe away with a damp cloth and spatula. This method ensures a deeper clean without harsh chemicals, leaving your oven fresh and ready to use.
Overnight Grime Breakdown
Because the baking soda paste needs time to work, you should let it sit in your oven overnight, typically for 12 hours or more. During this time, the baking soda’s alkaline properties break down stubborn grime, loosening baked-on grease and food residue.
To keep the paste effective, cover your oven’s interior with plastic wrap or a damp cloth to prevent it from drying out prematurely. Make sure the oven remains closed and undisturbed overnight, allowing the grime to soften fully.
This extended sitting period is vital—it makes cleaning easier the next day by turning tough stains into residue that wipes away smoothly. By letting the baking soda paste work overnight, you set yourself up for a much cleaner oven with minimal scrubbing effort.
Enhanced Cleaning Effectiveness
When you let the baking soda and vinegar paste sit overnight, you give it the time it needs to break down stubborn grease and baked-on food effectively. This extended period allows the alkaline power of baking soda to penetrate deep into oven surfaces, loosening grime more thoroughly than quick cleanings.
By soaking overnight, the paste works gently yet efficiently, reducing the need for aggressive scrubbing that can damage your oven. This natural, deep cleaning method guarantees the paste reaches porous areas, resulting in a more even clean.
Using baking soda and vinegar overnight enhances cleaning effectiveness, leaving your oven shinier with less effort. So, be patient—letting the mixture sit is key to a truly spotless oven without harsh chemicals.
Clean Oven Racks Separately
To clean oven racks thoroughly, start by removing them from the oven so you can reach every surface. Next, soak the oven racks in a bathtub or large basin filled with hot water mixed with either a cup of vinegar or baking soda.
Let them soak for several hours or overnight to loosen grime. After soaking, follow these steps:
- Use a non-abrasive scrub brush or sponge to gently scrub off grease and buildup.
- Rinse the racks thoroughly with clean water to remove any residue.
- Dry the racks completely before placing them back into the oven to prevent rust.
This method effectively cleans your oven racks without harsh chemicals. It makes them look fresh and helps extend their life.
Wipe Away the Baking Soda Paste
Although the baking soda paste may seem stubborn, you can easily wipe it away using a damp cloth. Start by wetting your cloth and wiping the oven surfaces in a circular motion to lift the residue.
For stubborn spots, use a spatula or soft scrub brush to loosen the dried baking soda before wiping. Rinse your cloth frequently in clean water to avoid spreading residue.
Repeat this cleaning method until the oven is spotless and free from baking soda paste. It’s pretty straightforward once you get the hang of it!
| Cleaning Step | Tip |
|---|---|
| Wipe with wet cloth | Use circular motions |
| Stubborn spots | Loosen with spatula or brush |
| Rinse cloth often | Prevent residue buildup |
Spray Vinegar to Loosen Residue
Since vinegar contains acetic acid, spraying it onto your oven surfaces will react with the baking soda paste. This causes a foaming action that helps break down stubborn grease and grime.
To clean effectively, follow these steps:
- Use a spray bottle to evenly spray vinegar over all areas with residue, making sure you cover everything thoroughly.
- Let the vinegar sit for a few minutes. This allows the foaming to loosen baked-on grime and residue.
- After waiting, you’ll notice the residue becomes easier to clean, which gets your oven ready for the final wipe.
This simple vinegar spray not only breaks down tough residue but also helps you clean your oven naturally without harsh chemicals.
Just remember to spray evenly and be patient. That way, you’ll get the best results!
Do a Final Wipe Down
Once the vinegar has loosened the grime, it’s time to wipe down the oven interior thoroughly. Start by using a damp cloth to remove all the loosened debris and cleaning residue. Make sure to pay close attention to corners, edges, and around the heating elements.
For any stubborn spots, just dampen your cloth with a vinegar-water solution and gently scrub the area until it’s clean. After the initial wipe, follow up with a clean, dry microfiber cloth for the final wipe. Buff the surfaces to a streak-free shine.
This step guarantees you remove all moisture and leftover residue, leaving your oven fresh and ready for use. Taking the time for this final wipe really makes all the difference in achieving a spotless, streak-free oven interior.
Replace Oven Racks and Enjoy a Fresh Oven
After thoroughly cleaning the oven interior, go ahead and replace the racks to complete the process and enjoy a fresh, ready-to-use oven. Proper cleaning starts by removing oven racks before tackling the oven interior to avoid spreading dirt.
Start by removing racks before cleaning the oven interior, then replace them for a fresh, ready-to-use oven.
Follow these steps for effective care:
- Soak oven racks in warm, soapy water or a vinegar solution for 30 minutes to loosen grime.
- Scrub racks separately using a baking soda paste or vinegar to cut through grease and baked-on food.
- Once the oven interior is spotless, reinstall the clean racks carefully.
Regularly cleaning and replacing oven racks not only prolongs their lifespan but also maintains a hygienic cooking environment.
This simple step guarantees your oven stays fresh and ready for your next meal.
Conclusion
By following these simple steps, you’ll have a sparkling oven without harsh chemicals—just when you thought cleaning couldn’t get easier, it does. It’s funny how the natural ingredients sitting in your pantry can transform your oven and your routine.
So, as you slide those racks back in, you’re not just finishing a chore; you’re embracing a healthier, fresher kitchen. Sometimes, the easiest solutions are right under your nose.
Cleaning your oven without oven cleaner isn’t just convenient—it’s a way to avoid harsh chemicals and make your kitchen safer for everyone. With a few pantry staples and a little elbow grease, your oven will shine like new. Give these easy steps a try and enjoy a cleaner, more natural kitchen routine.