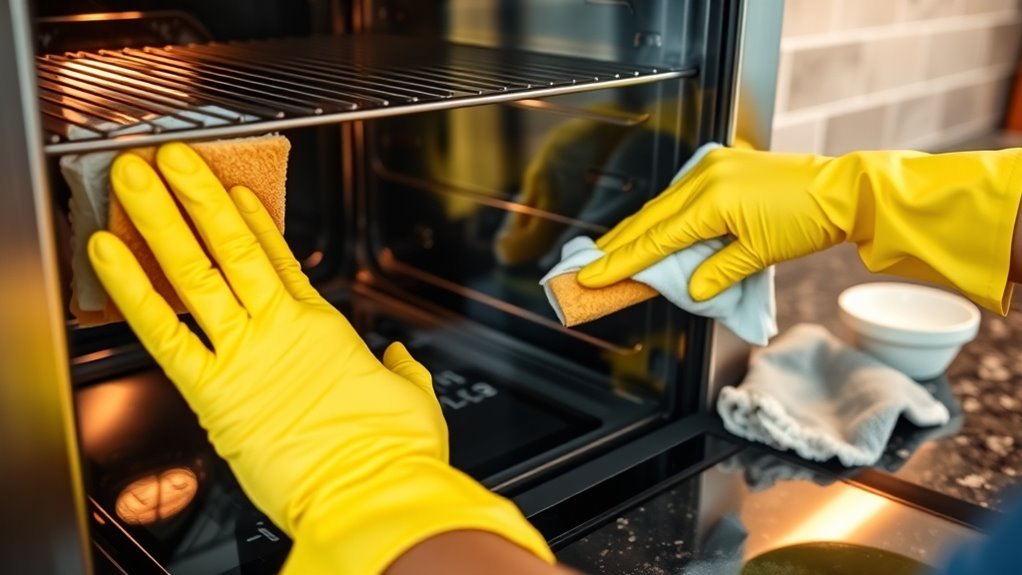
How to Clean Glass Oven Door in 3 Easy Steps
To clean your glass oven door in three easy steps, start by carefully removing the door. Unscrew the hinges and place the door on a soft surface to avoid any scratches or damage.
Next, grab a vinegar solution and wipe the glass thoroughly. For tough stains, apply a baking soda paste and let it sit for a bit. Then, gently scrub with a non-abrasive sponge to lift away grime without scratching.
Finally, reassemble the door by tightening the screws back in place. Make sure the door operates smoothly before finishing up.
Keep reading to discover tips for a spotless, streak-free finish that will make your oven door look brand new!
Remove and Prepare the Oven Door
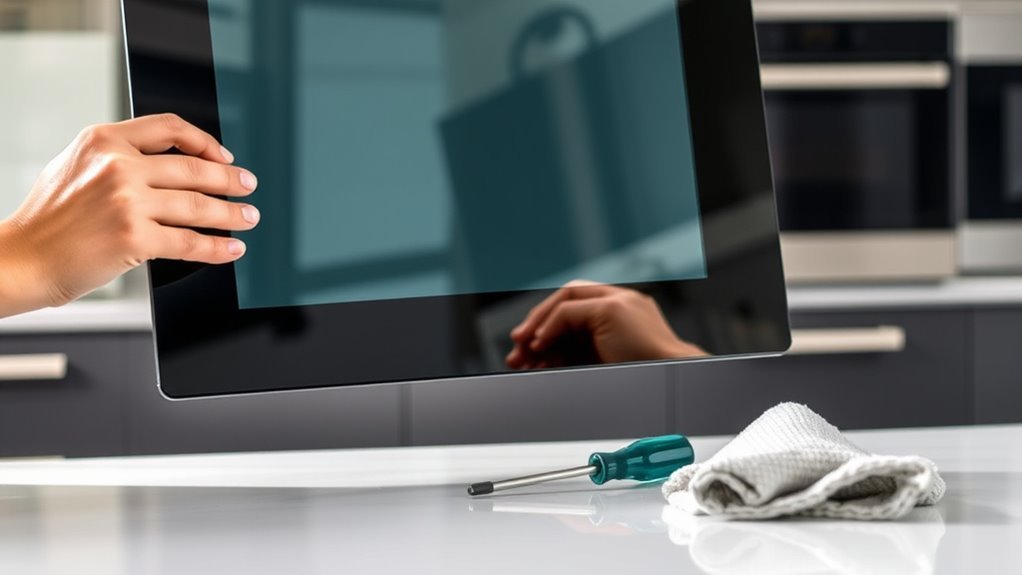
Before you remove the oven door, carefully open it and check the hinges for any dirt or grease buildup. This step guarantees smooth removal and prevents damage.
Open the oven door and inspect hinges for dirt or grease to ensure easy, damage-free removal.
If your oven model requires, use a screwdriver to release the hinge tabs or unscrew any screws holding the door. Gently lift the oven door straight off the hinges, supporting it with both hands to avoid dropping it.
Once removed, place the door on a soft, flat surface covered with towels to prevent scratches. If you plan to disassemble the door further, take note of the screws’ locations and the positioning of the glass panes.
This careful preparation will help you clean the door thoroughly and reassemble it correctly later without any hassle.
Clean the Glass Surfaces
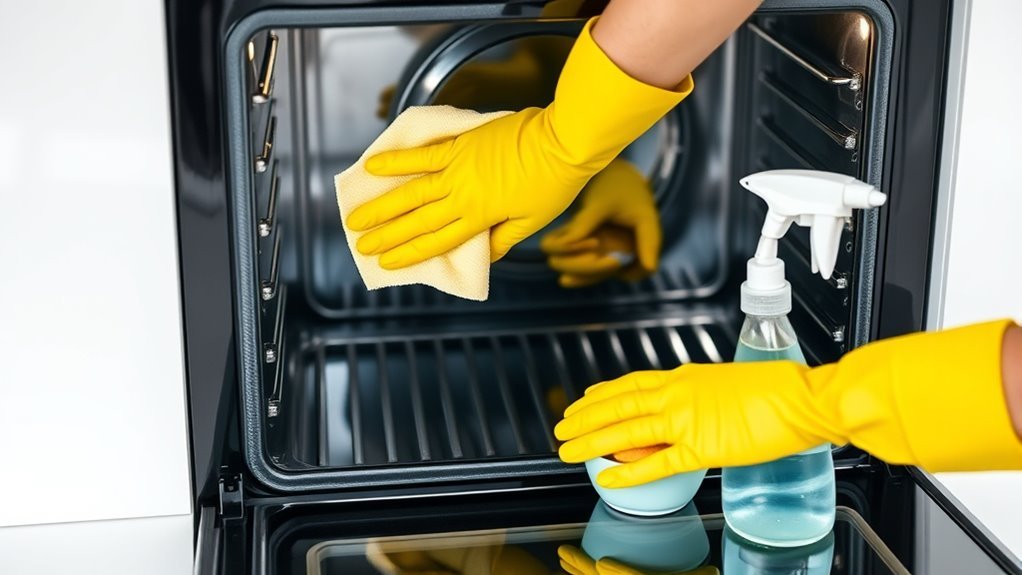
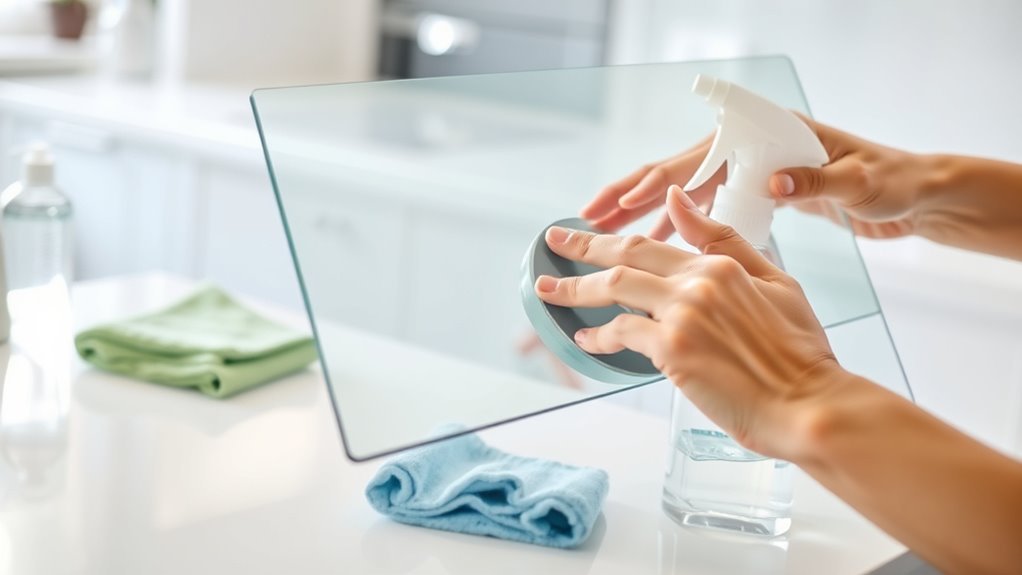
With the oven door safely removed and prepped, you can focus on cleaning the glass surfaces effectively. Start by dampening a microfiber cloth with a vinegar solution and gently wipe down the exterior glass of the oven door.
For stubborn stains, apply a baking soda paste and let it sit for at least 20 minutes before wiping it away with a damp cloth. If any spots remain, use gentle scrubbing with a non-abrasive sponge or plastic scraper to avoid scratching the glass.
After cleaning, rinse the glass with a clean microfiber cloth dampened with warm water to remove residue. Finally, buff the glass dry with a dry microfiber towel to achieve a streak-free, shiny finish that makes your oven door look like new.
Reassemble and Final Touches
After thoroughly cleaning the glass, you’ll want to carefully reattach the panes and secure all screws and bolts exactly where they belong. As you reassemble the oven door, make sure to align hinges properly before locking them in place.
Next, tighten fasteners to ensure the door stays stable. Perform a final inspection by testing that the door opens and closes smoothly and seals properly.
If it wobbles or doesn’t operate correctly, just revisit the screws and hinges to adjust them. Finally, clean smudges or fingerprints on the exterior using a microfiber cloth for a streak-free finish.
Taking these steps guarantees your oven door looks great and functions perfectly after cleaning, giving you peace of mind and a sparkling result.
Conclusion
Cleaning your oven door glass is like wiping away a foggy window to let the sunshine in. By removing and prepping the door, scrubbing the glass surfaces thoroughly, and carefully reassembling everything, you’ll restore that clear view in no time.
With just a little effort, your oven door will sparkle like new, making every meal feel brighter and more inviting. Keep these simple steps handy—they’re your recipe for a spotless, gleaming kitchen!
Remember, regular cleaning of your oven door glass not only improves its appearance but also helps maintain your oven’s efficiency. So, follow these easy steps to clean your oven door glass, and enjoy a crystal-clear view every time you cook. A clean oven door glass truly brightens up your kitchen space and keeps your cooking experience enjoyable!