10 Simple Steps to Cook Spaghetti Squash in the Oven
Choose a firm, ripe spaghetti squash to get started. Prep your tools and line a baking sheet with parchment paper for easy cleanup.
To make the squash easier to cut, soften it first by microwaving briefly or roasting it whole. Then, slice it in half and scoop out all the seeds and fibrous bits. Place the halves cut side down on your baking sheet.
Roast the squash at 400°F for about 30-40 minutes. Flip it halfway through to ensure even caramelization and cooking. Once the squash is tender, use a fork to scrape out the spaghetti-like strands.
Season the strands to taste and serve immediately. Follow these simple steps, and you’ll master cooking spaghetti squash in the oven with ease every time!
Choose the Right Spaghetti Squash
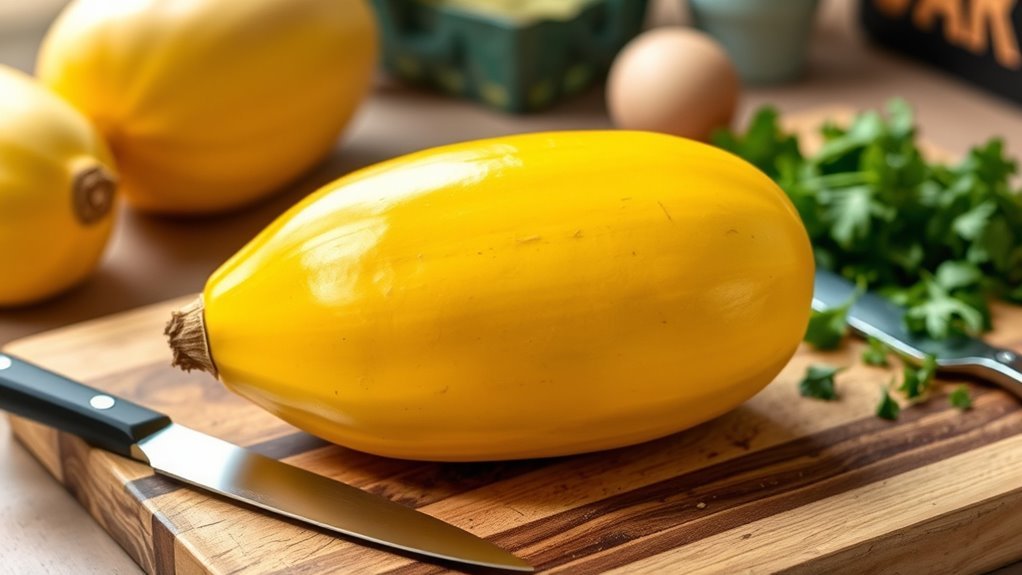
When selecting spaghetti squash, choose one that’s large and firm, ideally weighing between 3 to 4 pounds. To choose the right squash, inspect the squash skin closely—it should have a matte, dull finish rather than a shiny surface, which indicates ripeness.
Avoid any squash with soft spots, cuts, or blemishes, as these can affect freshness and quality. Check the stem carefully; a firm stem that’s dry signals the squash is fully ripe, while a green or soft stem suggests it isn’t ready.
Also, test the squash skin by pressing gently—it should resist puncture easily, showing maturity. By paying attention to these details, you’ll pick a perfect spaghetti squash that’s fresh, ripe, and ready for cooking.
Prepare Your Tools and Workspace
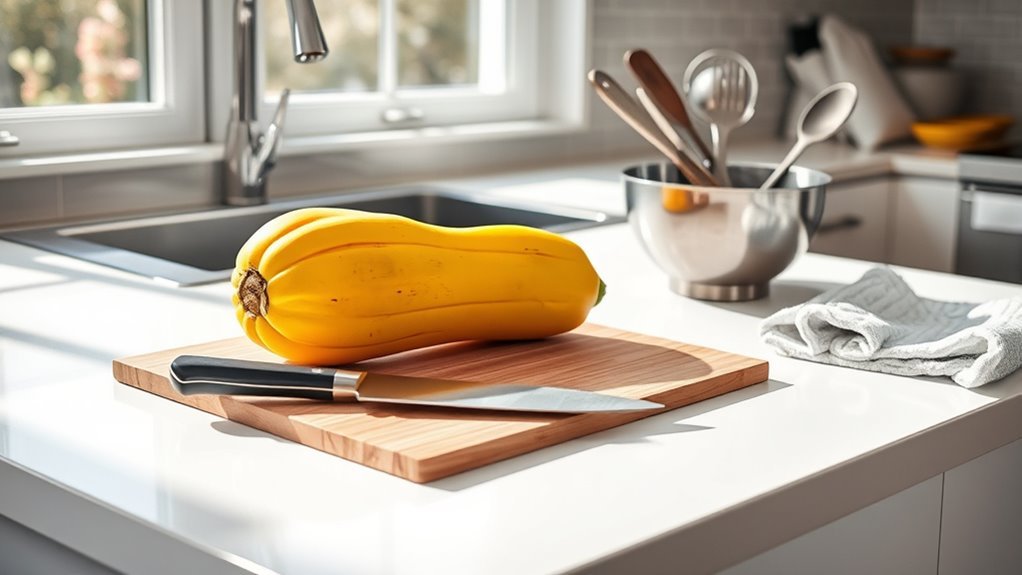
Before you start cutting into the tough spaghetti squash, gather all your tools and set up your workspace for efficiency and safety. Grab a sharp chef’s knife, a sturdy cutting board, a large spoon, a parchment-lined baking sheet, and a fork for scraping.
Make sure your workspace is clean, dry, and well-lit to prevent accidents during cutting. Arrange your tools within easy reach to streamline preparation and avoid cross-contamination.
Preheat your oven to 400°F and have a towel or oven mitt nearby for handling the hot squash later. By organizing your tools and workspace thoughtfully, you’ll guarantee a smooth, safe preparation process that makes cutting and cooking your spaghetti squash much easier.
Soften the Squash for Easier Cutting
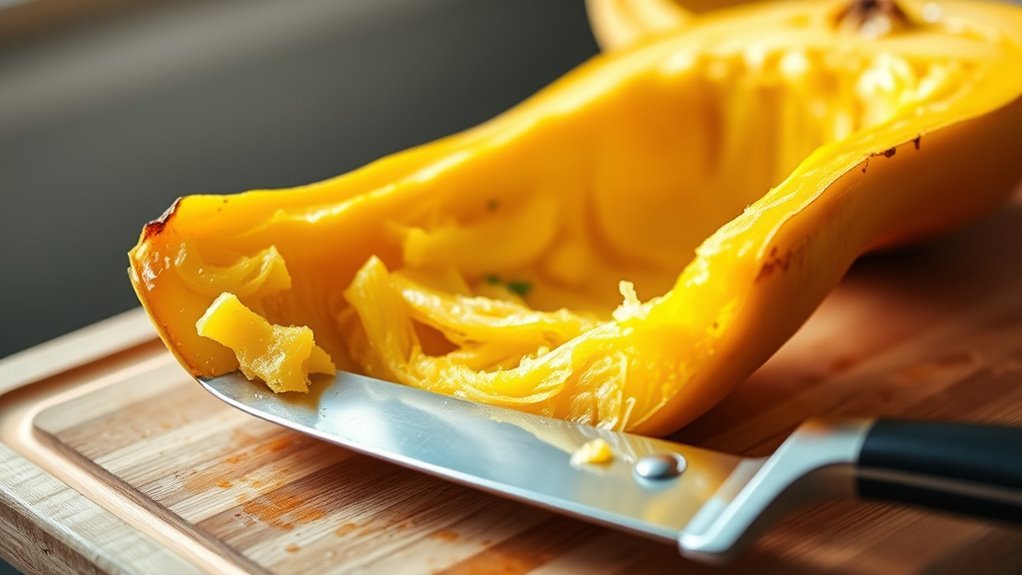
To make cutting your spaghetti squash safer and easier, start by softening it first. You can microwave the whole squash for a few minutes or roast it in the oven at 400°F after pricking the skin.
Both methods help loosen the tough exterior, so you won’t struggle when slicing. It’s a simple trick that saves time and keeps your fingers safe!
Microwaving Before Cutting
Since the tough skin of spaghetti squash can make cutting tricky, microwaving it first softens the squash and makes the process much easier. Start by pricking the whole squash several times with a fork to let steam escape during microwaving.
Then, microwave the uncut squash on high for about 5 minutes. This pre-cooking step softens the skin, so you won’t struggle as much when cutting.
After microwaving, use oven mitts to carefully handle the hot squash, then cut off the tough stem end for stability. Now, slicing the squash into halves or rings becomes much simpler.
Microwaving before cutting not only softens the squash but also reduces oven roasting time and lowers the risk of cracking or splitting during preparation.
Oven Pre-Roasting Benefits
Although cutting into a raw spaghetti squash can be tough, oven pre-roasting softens both the skin and flesh. This makes it much easier and safer for you to slice.
This softening reduces the effort needed during prep and cutting, especially for larger squash. Plus, pre-roasting in the oven cuts down the overall cooking time, speeding up your meal prep.
| Benefit | How It Helps | Tips |
|---|---|---|
| Softening | Easier, safer cutting | Roast at 375°F for 20-30 min |
| Skin Tenderizing | Less resistance | Pierce skin to release steam |
| Time Efficiency | Faster cooking | Preheat oven before roasting |
| Injury Prevention | Safer handling | Use a sharp knife |
| Cleaner Cuts | Better presentation | Let squash cool slightly |
Cut the Squash Into Halves or Rings
Before you cut the squash into halves or rings, trim the stem to keep it steady and safe. This simple step helps prevent slipping while you work.
To make slicing easier, prick the spaghetti squash with a fork several times to let steam escape during cooking. You can also microwave the whole squash for 3-5 minutes or give it a quick roast to soften the skin.
Use a sharp chef’s knife or serrated saw for the slicing technique, cutting either lengthwise to cut in half or crosswise into rings, depending on your recipe.
After slicing, you’ll be ready for seeds removal and further oven preparation to get your squash perfectly cooked.
Remove the Seeds and Fibrous Material
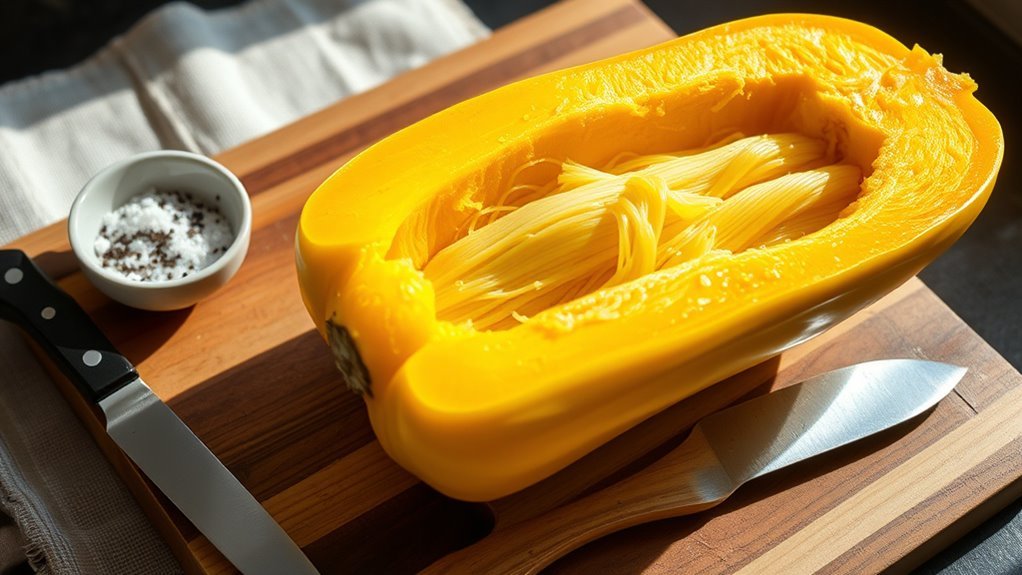
Use a large spoon to scoop out all the seeds and stringy fibers from the center of each squash half. Make certain you remove everything to keep the strands clean and guarantee even cooking.
You can discard the seeds or save them for roasting if you like. Either way, it’s up to you!
Seed Removal Techniques
Once you’ve halved the spaghetti squash, scoop out the seeds and fibrous material with a large spoon. This step helps guarantee better air circulation and reduces moisture during roasting.
When you’re removing the seeds, make sure to scoop out everything carefully, including all the stringy fibers around them. It’s important because leftover seeds or fibers can cause sogginess and uneven cooking.
Use gentle scraping motions to clean the flesh thoroughly without damaging it. Proper seed removal ensures your squash roasts evenly, resulting in tender strands that resemble noodles.
You can either discard the seeds or save them for roasting later if you like. Taking the time to clean the flesh well really sets the stage for perfectly roasted spaghetti squash every time.
Fibrous Material Cleanup
After scooping out the seeds, turn your attention to the fibrous material clinging to the squash’s interior. Use a large spoon to scoop out the fibrous insides thoroughly, removing all stringy fibers.
This cleaning step is essential to guarantee a clean surface for roasting and to prevent sogginess during cooking. Be sure to scrape around the edges carefully, eliminating any remaining loose fibrous material.
You can discard the seeds or save them for planting if you like. If desired, rinse the squash halves briefly to remove leftover bits, but make sure to dry them completely before seasoning and roasting.
Properly removing the seeds and fibrous material improves the squash’s texture and avoids excess moisture. This sets you up for perfectly cooked spaghetti squash every time.
Season the Squash With Oil, Salt, and Pepper
Although the squash is already cut, you’ll want to lightly brush the exposed sides with olive oil. This helps it roast evenly and develop flavor.
Then, season it with ¾ teaspoon of kosher salt and ¼ teaspoon of freshly ground black pepper. This combo of olive oil, kosher salt, and black pepper creates a flavorful base that really enhances the squash’s natural taste.
Applying these seasonings before roasting allows the flavors to soak into the flesh, making every bite delicious. Just be careful not to use too much oil, as that can add unwanted moisture and make the squash watery.
Arrange the Squash on a Baking Sheet
Grab a sturdy baking sheet and line it with parchment paper or foil to make cleanup easier.
Place the squash halves cut side down to help caramelize the flesh while they roast.
Make sure you leave space between them so hot air can circulate evenly.
Choose Baking Sheet Type
When you choose a baking sheet for your spaghetti squash, pick one with a rim to catch any juices that might spill during roasting. Line it with parchment paper for easy cleanup.
Make sure the baking sheet is sturdy and flat to promote even heat. Avoid flimsy or warped options that lead to uneven cooking.
Also, consider the size of your squash; a larger baking sheet prevents overcrowding and ensures proper roasting.
| Feature | Importance | Tip |
|---|---|---|
| Rimmed | Prevents spills | Choose rimmed sheets |
| Parchment paper | Eases cleanup | Line the baking sheet |
| Even heat | Ensures uniform cook | Use sturdy, flat sheets |
Choosing the right type really improves your cooking experience and results. It’s a small step that makes a big difference!
Position Squash Cut-Side
Since placing your spaghetti squash cut side down on a parchment-lined baking sheet promotes even roasting, make sure the halves sit flat to prevent rolling or shifting during cooking. After you squash in half, position each half with the cut side firmly against the baking sheet.
This orientation helps retain moisture, resulting in tender strands and caramelized edges that add great flavor. When the cut side touches the baking sheet, it encourages even heat distribution, which means your squash roasts uniformly without drying out.
If the halves wobble or tilt, they won’t cook evenly, so take a moment to adjust their placement. Proper positioning on the baking sheet is a simple step that guarantees your spaghetti squash roasts perfectly every time, making the cooking process smoother and the final dish more delicious.
Use Parchment or Foil
How can you make cleanup easier while ensuring your spaghetti squash roasts evenly? Start by lining your baking sheet with parchment paper or foil. Parchment paper offers a non-stick surface that helps prevent sticking, making it easy to remove the squash after roasting.
Alternatively, foil can protect your baking sheet and allows you to shape the squash into rings or halves if desired. Make sure the parchment or foil covers the entire baking surface to catch any juices and avoid messes.
When arranging the squash, place it cut side down on the prepared sheet. This setup not only promotes even roasting but also simplifies cleanup, letting you enjoy your perfectly cooked spaghetti squash with less hassle.
Roast at the Optimal Temperature and Time
Although roasting spaghetti squash at 400°F (204°C) typically takes 30 to 40 minutes, you should adjust the time based on the size to make certain the flesh becomes fork-tender without turning mushy.
Place the squash cut side down on a parchment-lined baking sheet to promote even roasting. Larger squash may need up to 45 minutes in the oven.
Keep an eye on the time to avoid overcooking, which can cause the flesh to become too soft. To check for doneness, insert a fork into the squash; it should slide in easily, and the edges should be lightly browned.
Flip the Squash for Even Caramelization
Once the squash has roasted for about 20 to 25 minutes, it’s time to flip the halves to promote even caramelization. Flipping the squash ensures the cut sides develop a golden, crispy texture while the interior stays tender.
Use tongs or a spatula to carefully turn each half without breaking the flesh or damaging the skin. This step prevents uneven browning and helps excess moisture evaporate, resulting in fluffier, less watery spaghetti strands.
Flipping is especially essential when you roast the squash at higher temperatures like 400°F, as it balances the caramelized surface. By taking the time to flip the squash halfway through roasting, you’ll achieve perfectly cooked, flavorful spaghetti squash every time.
Scrape and Serve Your Spaghetti Squash
Before you start scraping, let the spaghetti squash cool just enough so you can handle it safely and the flesh firms up slightly. Once it’s cool, use a fork to gently scrape the inside of each half, working from the edges inward.
This motion will create those tender strands that resemble spaghetti. Be sure to remove any excess flesh or skin to keep only the delicate strands. After scraping, fluff the strands with your fork to give them a light, airy texture.
Finally, season the spaghetti squash with salt, pepper, or your favorite toppings to enhance its natural flavor. Cooking in the oven makes the flesh tender and easy to separate, so scraping becomes a simple, satisfying step before serving.
Conclusion
Now that you’ve mastered these simple steps, savor the satisfying sweetness of your splendidly roasted spaghetti squash. With each forkful, feel the fresh, fibrous strands fall effortlessly, making mealtime more magical.
By choosing carefully, cutting cautiously, and roasting right, you’ve created a culinary classic that’s both healthy and hearty. Keep practicing these practical principles, and you’ll consistently conjure up scrumptious, savory squash dishes that delight your dinner guests every single time.
Cooking spaghetti squash in the oven is easier than you think, and it’s a fantastic way to enjoy a nutritious, low-carb alternative to pasta. Stick with these 10 simple steps, and you’ll always have perfectly roasted spaghetti squash ready to enhance your meals.
So go ahead, roast that squash, and enjoy a delicious, wholesome dish that’s sure to impress!