How to Finish Steak in the Oven in 3 Simple Steps
To finish your steak in the oven, start by searing it in a hot, oiled skillet until both sides develop a golden crust. This initial sear locks in the juices and adds a delicious, flavorful crust. It’s the perfect way to get that restaurant-quality steak at home.
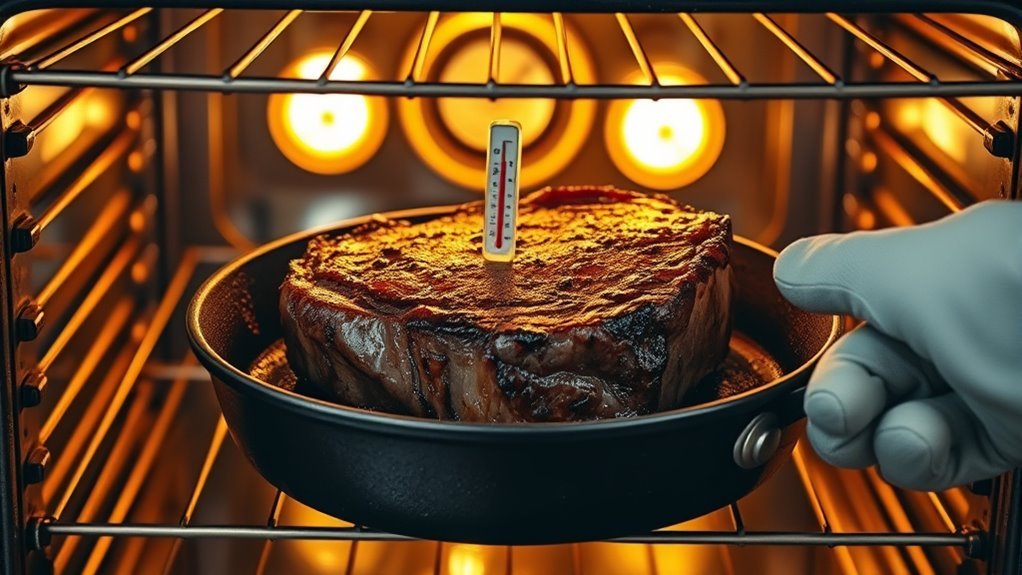
Next, transfer the skillet to a preheated oven set between 400°F to 450°F. Cook the steak until it reaches your desired doneness. Using a meat thermometer here really helps you nail the perfect temperature without overcooking.
Finally, let the steak rest for 5 to 10 minutes, loosely covered. This resting period lets the juices redistribute throughout the meat, keeping it juicy and tender.
Stick around for more tips on perfect seasoning and slicing!
Sear the Steak to Perfection
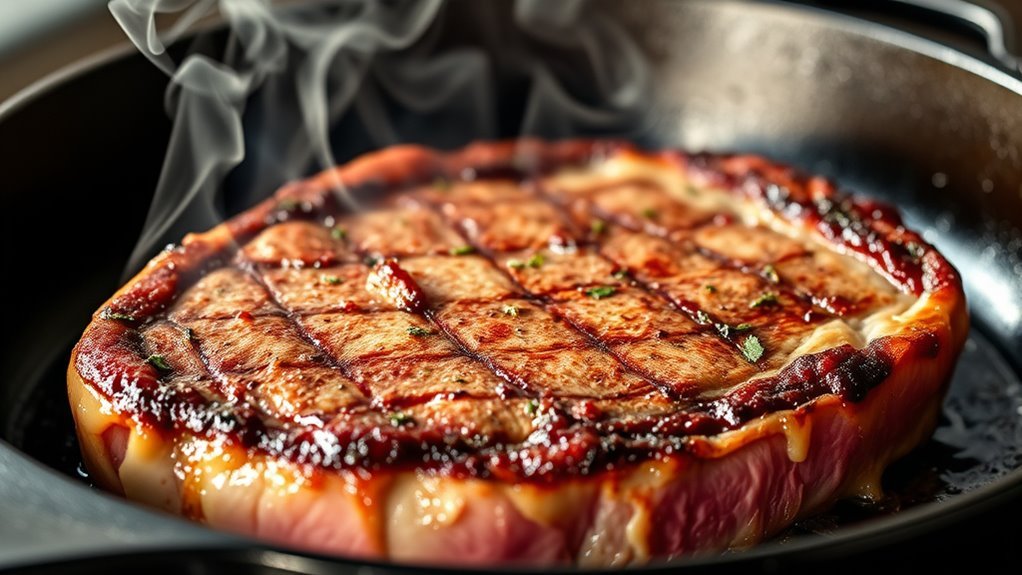
Before finishing your steak in the oven, you need to sear it to perfection. Start by heating your cast iron skillet over medium-high heat until it’s smoking hot—this usually takes about five minutes.
Pat the steak dry and add a thin layer of high-heat oil, like avocado or grapeseed, to promote browning and prevent sticking. Carefully place the steak in the skillet without moving it, and sear for 1.5 to 2 minutes until a golden-brown crust forms.
Pat dry, oil lightly, then sear without moving for a perfect golden crust.
Use tongs to check if the steak releases easily before you flip it. Flip and sear the other side for another 1.5 to 2 minutes, developing a deep, caramelized crust on both sides.
This high heat sear locks in flavor and creates that perfect crust. It’s a simple step but makes all the difference!
Transfer to a Preheated Oven
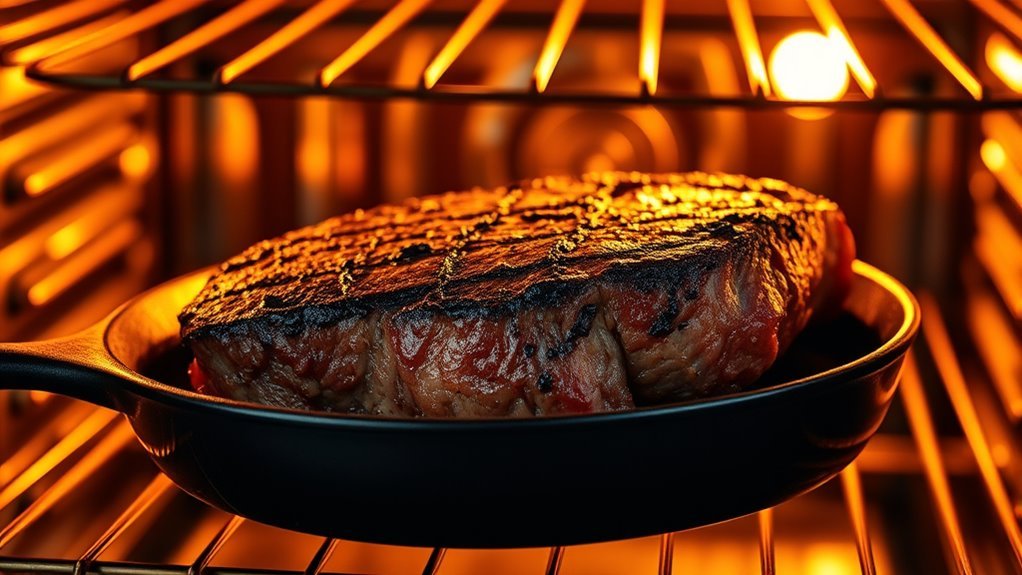
Once your steak has a beautiful sear, it’s time to move it into the oven to finish cooking. Make sure your oven is preheated to between 400°F and 450°F for excellent results.
Use oven-safe cookware like a cast iron skillet, which lets you transfer the steak directly from the stovetop to the oven without losing heat. Carefully pick up the hot skillet with oven mitts to avoid burns and place it on the middle or upper rack for even heat distribution.
Insert a meat thermometer into the thickest part of the steak to monitor the internal temperature accurately. Cooking this way ensures you finish the steak perfectly, achieving the doneness you want while keeping that flavorful crust from the sear.
Rest the Steak Before Serving
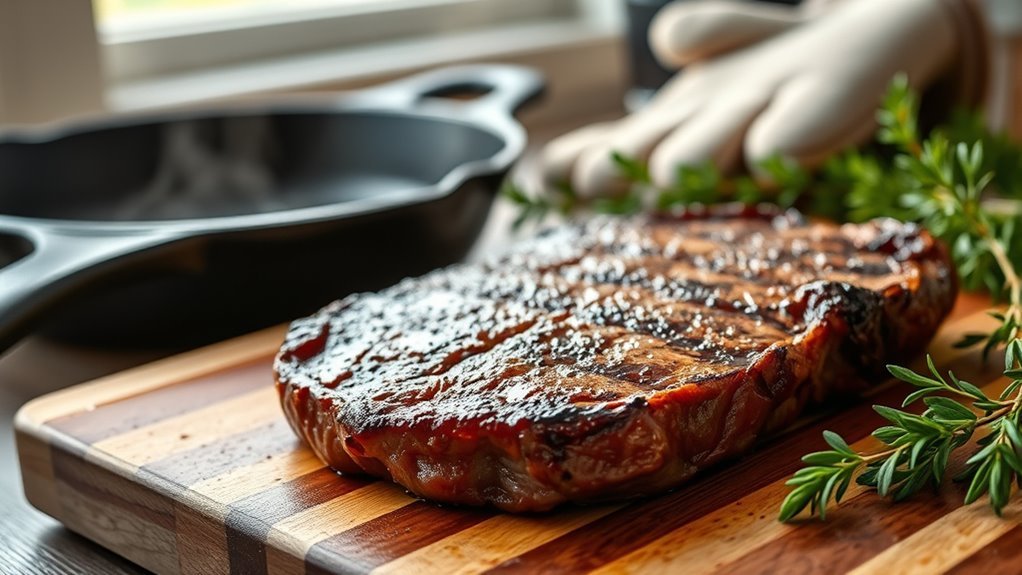
Though it’s tempting to dig in right away, you should let your steak rest for 5 to 10 minutes after taking it out of the oven. Resting steak allows the juices to redistribute evenly throughout the meat, enhancing both tenderness and flavor.
To keep your steak warm and prevent moisture loss during rest time, cover it loosely with foil. Before resting, use a thermometer to check the internal temperature to guarantee it’s cooked to your liking and avoid overcooking.
Cutting into your steak immediately causes significant juice loss, leading to a drier texture. So, by giving your steak this essential rest period, you’ll preserve its juicy richness and serve a perfectly tender, flavorful meal every time.
Conclusion
Finishing your steak in the oven is easier than you think, and it guarantees juicy, evenly cooked results every time. Did you know that over 70% of home cooks struggle with getting their steak just right?
By searing first, transferring to a preheated oven, and letting it rest, you’ll join the successful few who master this simple technique. It’s all about that perfect balance of heat and timing.
Give it a try—you’ll impress yourself and anyone at your table! Mastering how to finish steak in the oven not only elevates your cooking skills but also ensures every bite is tender and flavorful. This method is a game-changer for steak lovers looking for consistent, restaurant-quality results at home. So next time you want a juicy steak without the guesswork, remember these three simple steps. You’ll be serving up the perfect steak in no time!