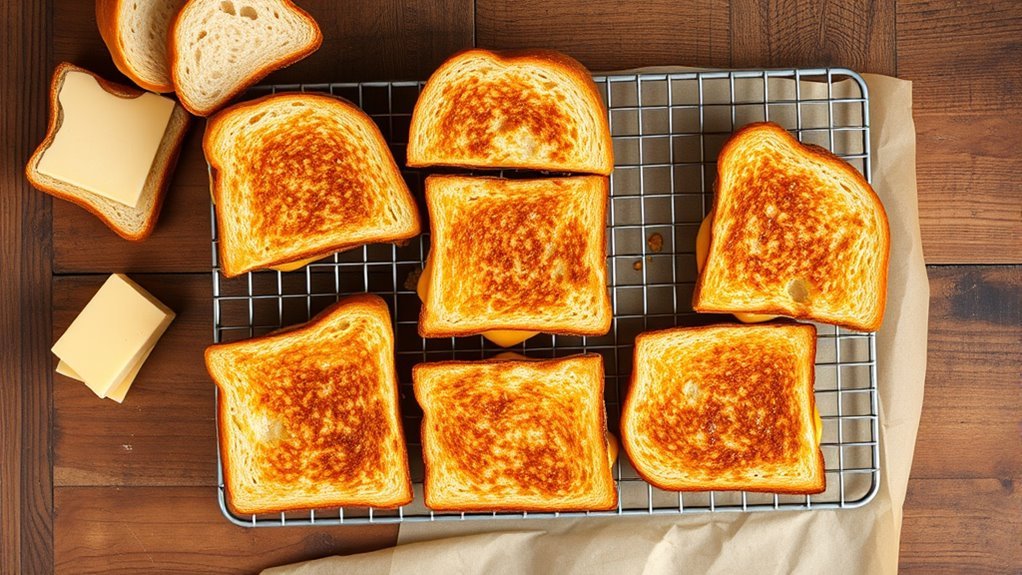
How You Make Grilled Cheese in the Oven in 5 Easy Steps
To make grilled cheese in the oven, start by gathering quality bread and melting cheese, plus softened butter. Slice the bread evenly and spread butter on the outer sides.
Layer cheese between the slices, then place sandwiches on a baking sheet lined with parchment.
Bake at 450°F for 6 minutes, flip, and bake 2-3 more minutes until golden and melty.
Let cool slightly before slicing.
Keep going to discover tips for perfect crispiness and tasty variations.
Gather Your Ingredients and Tools

Before you start assembling your grilled cheese sandwiches, gather all your ingredients and tools to streamline the process. Choose quality bread—sourdough, white, or whole-grain works well—and cheese varieties like cheddar, provolone, or mozzarella for that perfect melt.
Gather quality bread and cheese first to make assembling your grilled cheese sandwiches quick and easy.
Prepare your butter, preferably salted, and soften it slightly using a metal spreader with holes to apply it smoothly. Have your additional ingredients ready if you want to customize your sandwiches with bacon, tomatoes, or herbs.
Line a sheet pan with parchment paper or lightly grease it to prevent sticking and make cleanup easier. Finally, keep a sharp knife or pizza cutter nearby to slice your sandwiches into neat pieces after baking in the oven.
Getting all these ingredients and tools ready will help you layer and build your grilled cheese with ease. It just makes the whole process quicker and more enjoyable!
Prepare the Bread and Cheese
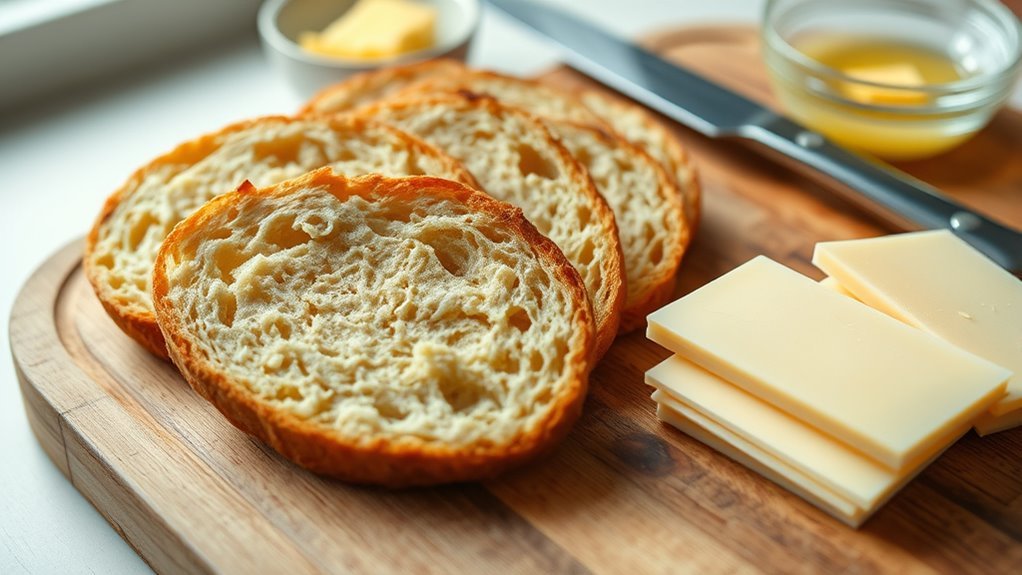
When you prepare the bread and cheese, make sure to slice your bread evenly so it toasts consistently in the oven. Choose high-quality bread like sourdough or whole-grain for the best texture.
Next, select cheeses known for great melting—cheddar, mozzarella, or provolone work perfectly. Slice your cheese thinly to ensure it melts evenly.
Spread softened butter generously on the outside of each slice of bread to achieve a golden crust. When you prepare the cheese slices, layer them evenly between the slices of bread to cover the entire surface.
This way, you’ll get a gooey interior once melted. Taking time to prepare the bread and cheese properly sets the foundation for a perfectly crispy, melty grilled cheese sandwich you’ll love.
Assemble the Sandwiches

Once you’ve prepared your bread and cheese, it’s time to assemble the sandwiches. Start by spreading butter on the outer sides of each bread slice—these butter sides will face out to achieve a golden crust.
Begin by buttering the bread’s outer sides to ensure a perfectly golden crust on your sandwiches.
On a baking sheet, place the first slice of bread, butter side down. Then, assemble sandwiches by layering ingredients carefully: add evenly spaced cheese slices, followed by any optional toppings like tomato or bacon.
Top with the second slice of bread, butter side up. Repeat this process, placing sandwiches evenly spaced on the baking sheet to ensure even cooking.
Make sure to assemble in layers neatly to prevent sliding or uneven melting. This careful layering and placing sandwiches properly prepares them perfectly for baking in the oven.
Bake the Sandwiches in the Oven
Although you’ve already assembled your sandwiches, you’ll need to preheat your oven to 450°F (232°C) and line a baking sheet with parchment paper to guarantee easy cleanup.
Using the oven method guarantees even toasting and perfectly melted, crispy cheese.
Here’s how to bake your grilled cheese on the sheet pan placed on the middle oven rack:
- Bake for 6 minutes until the bread starts turning golden brown.
- Flip each sandwich carefully to toast the other side.
- Bake for an additional 2-3 minutes until both sides are golden and cheese is melted.
Once done, remove from the oven, let cool slightly, then slice your sandwiches to enjoy that perfect crispy cheese texture.
Serve and Enjoy Your Grilled Cheese
To keep your grilled cheese perfectly crispy, let it cool for a few minutes on a wire rack before slicing. Next, slice for presentation—either diagonally or cut into pieces—to make serving easier and more appealing.
Serve immediately while the cheese is hot and gooey, or reheat briefly if needed. Pair with soup or side dishes like a fresh salad to enhance flavor.
For a delicious presentation, consider plating ideas that highlight your sandwich’s golden crust.
| Easy Serving Tips | Plating Ideas |
|---|---|
| Serve hot | Use colorful plates |
| Cut into pieces | Add fresh herbs garnish |
| Pair with soup | Arrange with side salad |
| Serve immediately | Drizzle dipping sauces |
Conclusion
Now that you’ve gathered your ingredients, prepared your bread and cheese, and assembled your sandwiches, you’re well on your way.
You’ve baked them to golden perfection and served them hot, ready to enjoy a classic grilled cheese made easy.
You’ve saved time, skipped the stove, and created a melty, crispy delight all in one go.
So, grab a plate and dig in!
Savor every bite—you’ve mastered how to make grilled cheese in the oven in just five simple steps. This method is a game-changer for quick, delicious meals without the mess. Enjoy your perfectly melty, oven-grilled cheese sandwich!