How to Cook Green Beans in the Oven in 3 Easy Steps
To cook green beans in the oven, start by trimming the ends and rinsing them well, then pat them dry. This simple prep ensures your green beans are fresh and ready for roasting.
Toss the beans with olive oil, salt, and pepper, spreading them in a single layer on a baking sheet to avoid overcrowding.
Roast at 400°F for 15-25 minutes until they’re crispy and caramelized. Keep an eye on them so they don’t burn, but get that perfect roasted texture.
Let them cool before storing or gently reheating.
Keep going to discover tips for perfect roasting and storage. You’ll learn how to get the best flavor and keep your green beans fresh longer!
Preparing Fresh Green Beans
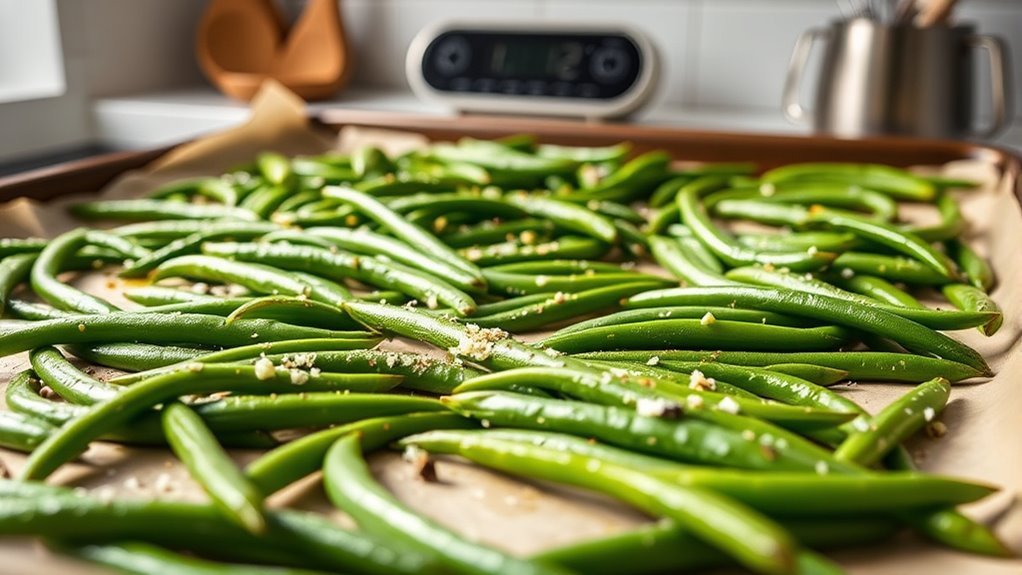
Before roasting your green beans, you’ll want to prepare them properly. Start with fresh green beans and place them on a cutting board. Use kitchen shears or a sharp knife to trim ends, removing the tough stems for even roasting.
Lining them up helps you trim both ends quickly and efficiently. Next, rinse green beans thoroughly under cold water to make sure all dirt and debris are removed during the cleaning green beans process.
After rinsing, pat dry the beans with a clean towel or paper towels. This step is vital because excess moisture can prevent even roasting and affect the final texture. Taking these simple but important steps ensures your green beans are perfectly prepped and ready for roasting.
Roasting Green Beans Perfectly
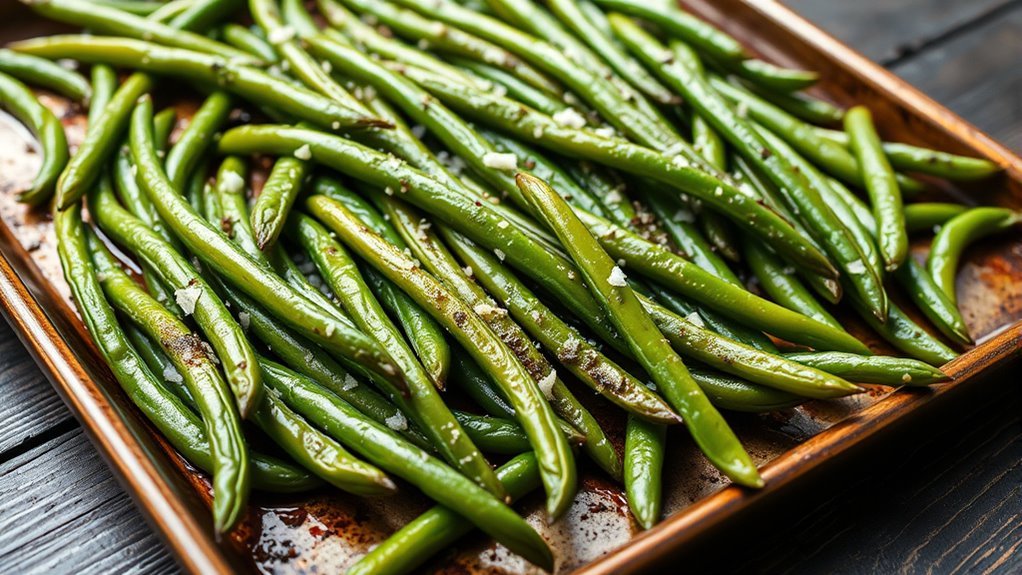
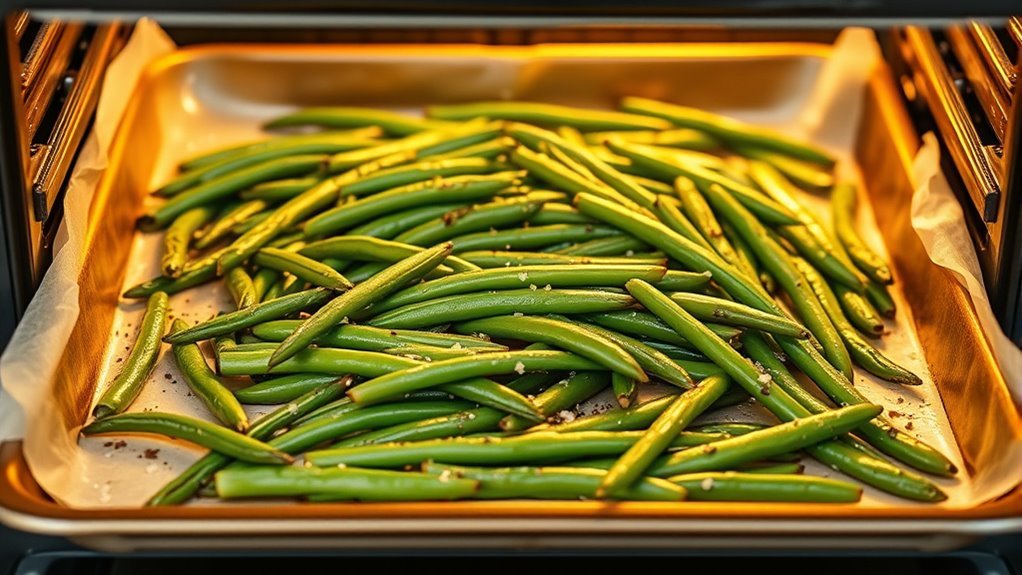
Once you’ve prepped your green beans, arrange them in a single layer on a parchment-lined baking sheet to guarantee even roasting. Toss your green beans with olive oil, salt, and pepper before spreading them out.
Avoid overcrowding—use two baking sheets for one pound to achieve the perfect texture. Set your oven to 400°F and roast the green beans for 15 to 25 minutes.
Keep an eye on the roasting time; you want oven roasted green beans that are crispy with a slight caramelization and a bright, firm appearance. The caramelization adds flavor while the olive oil ensures a crispy finish.
When done, your green beans will snap when bent, signaling you’ve nailed the oven roasting process perfectly. Easy, right? Enjoy those tasty green beans!
Serving and Storing Roasted Green Beans
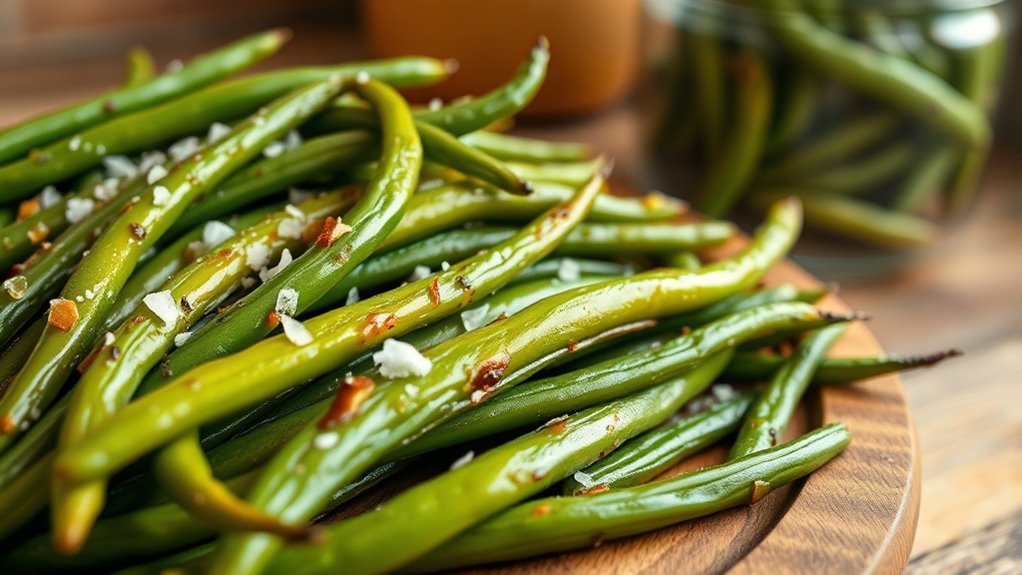
Although roasting green beans brings out their best flavor and texture, how you serve and store them plays a crucial role in maintaining that quality.
Once roasted, let the green beans cool completely before placing them in an airtight container for proper storage. Refrigerate the container to keep the green beans fresh and preserve their texture for up to four days.
Allow roasted green beans to cool fully, then store airtight in the fridge to maintain freshness and texture up to four days.
When you’re ready to enjoy leftovers, avoid serving them straight from the fridge. Instead, reheat the green beans gently in the oven or microwave to restore their crispness.
Serving them at room temperature or slightly warmed really brings out their flavor and crunch. Proper storage and reheating ensure your roasted green beans maintain their delicious freshness, texture, and crispness every time you enjoy them.
Conclusion
Now that you’ve roasted your green beans to crispy, tender perfection, imagine the sizzling aroma dancing from the oven. It’s inviting you to a vibrant, crunchy feast.
These little green gems, kissed by heat and seasoned just right, bring a burst of garden freshness to your plate. Whether served immediately or saved for later, you’ve mastered a simple, delicious way to brighten any meal.
Enjoy every bite of your oven-roasted masterpiece! Roasting green beans in the oven is an easy and flavorful way to prepare this nutritious vegetable. It’s perfect for a quick side dish that adds a tasty crunch and vibrant color to your dinner table. So go ahead, savor those perfectly roasted green beans and make your meals more exciting with this simple oven cooking method!