How Long to Reheat Ribs in Oven at 250 in 10 Easy Steps
To reheat ribs at 250°F, start by letting them sit for about 20 minutes at room temperature. This helps the ribs warm evenly and keeps them juicy when reheated.
Next, wrap them tightly in foil with a splash of liquid—like apple juice or broth—to lock in moisture. Place the ribs bone side down on a baking sheet and pop them into the oven.
Heat for about 20-30 minutes, aiming for an internal temperature close to 140°F.
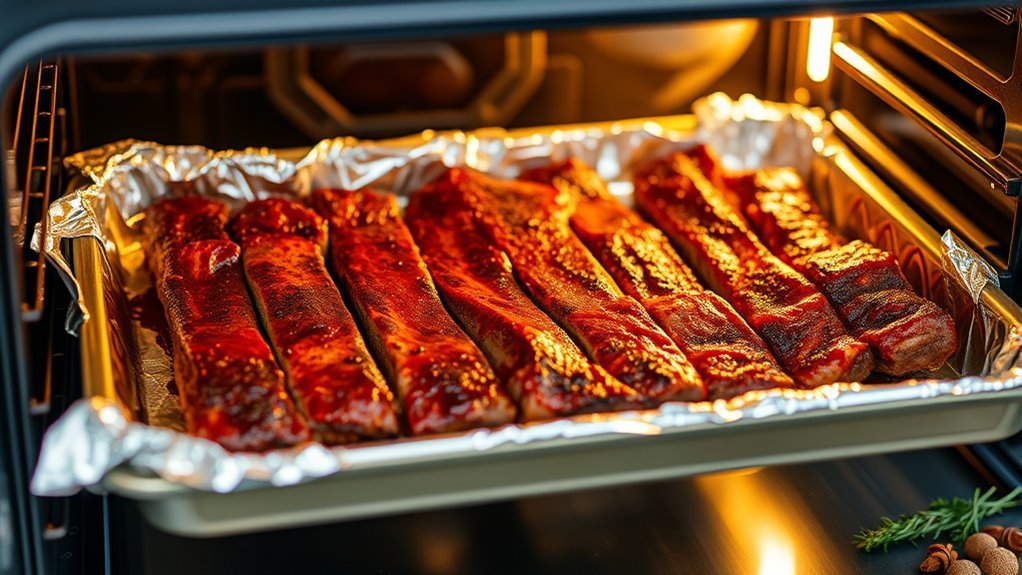
Near the end, unwrap the ribs so you can slather on your favorite barbecue sauce. Crank up the heat for a few minutes to get that perfect caramelization and sticky finish.
Finally, give the ribs a few minutes to rest before serving. This step ensures they stay tender and juicy.
Follow these simple steps to reheat ribs in the oven at 250°F like a pro and enjoy delicious, tender ribs every time!
Preparing Your Ribs for Reheating
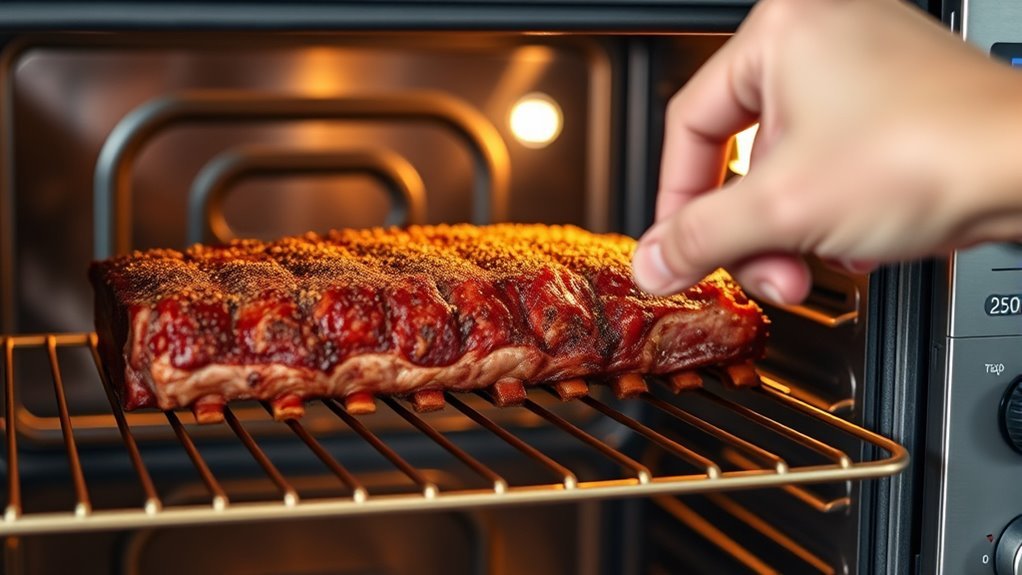
Before reheating your ribs, let them sit at room temperature for about 20 minutes to guarantee even warming. This step helps the meat reheat more evenly in the oven, preventing cold spots.
Next, wrap the ribs tightly in foil, adding a small amount of liquid like apple juice or broth to maintain moisture. This foil wrap traps steam, keeping your ribs juicy as they warm.
Place the wrapped ribs on a baking sheet for easy handling and to catch any drips. When reheating, keep an eye on the internal temperature with a meat thermometer; you want it to reach at least 130°F.
This ensures your ribs are safely warmed and maintain their tender texture without drying out. Pretty simple, right? Just take it slow and steady!
Setting the Oven to 250 Degrees
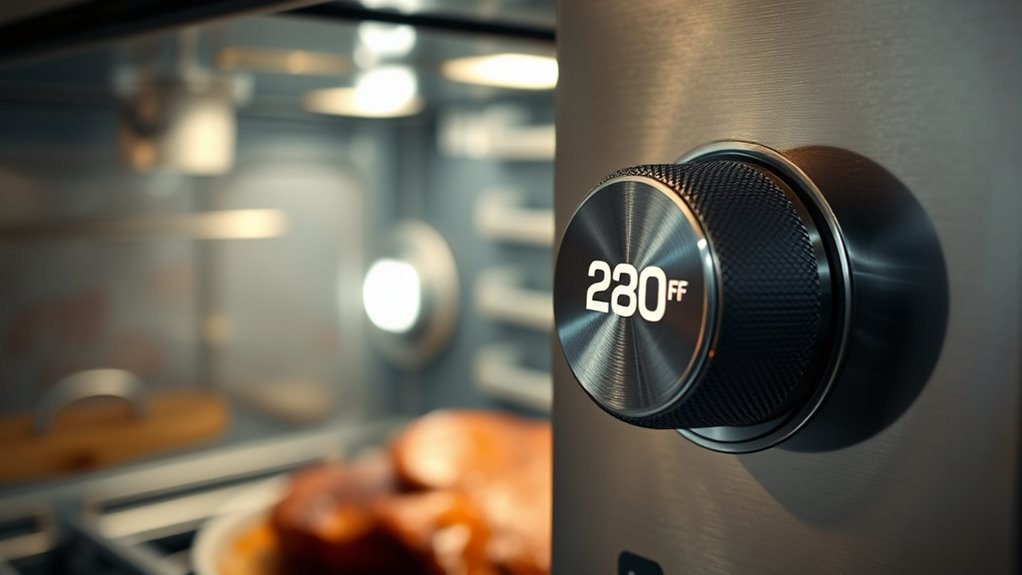
When you set your oven to 250°F, you create the perfect low and slow environment to gently reheat ribs without drying them out. Start by preheating the oven for 10-15 minutes to guarantee even heat distribution before placing your ribs inside.
Use an oven thermometer to verify the oven temperature remains steady at 250°F throughout the reheating time. Try not to open the oven door too often, since that causes heat loss and temperature fluctuations.
Reheat ribs at 250°F for about 20-30 minutes, checking that the internal temperature reaches 130-140°F for safe and tender results. Keeping this precise oven temperature helps you reheat ribs evenly and retain their moisture, making your reheating process simple and effective.
Wrapping Ribs to Retain Moisture
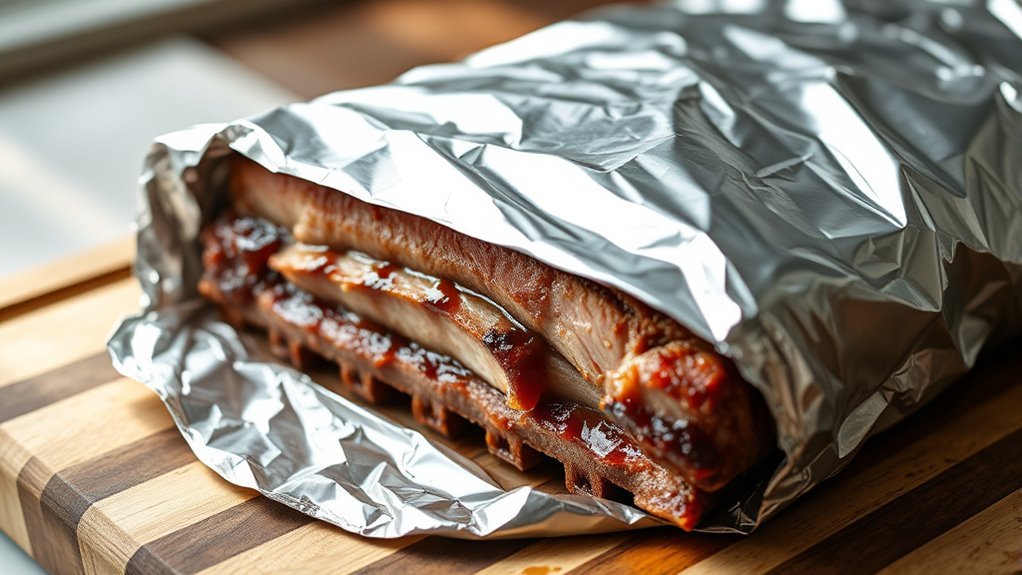
When reheating ribs, wrapping them tightly in aluminum foil is key to locking in moisture. Make sure you seal the foil securely to prevent steam from escaping and keep the meat juicy.
Adding a splash of liquid inside the foil can help maintain tenderness during the reheating process. It’s a simple trick, but it really makes a difference!
Choosing the Right Wrap
Although reheating ribs at a low temperature helps maintain their tenderness, wrapping them correctly is essential to keep moisture locked in. Aluminum foil is your best option for wrapping ribs because it traps moisture effectively, preventing dryness.
When wrapping, add a few tablespoons of apple juice or broth inside the foil to boost moisture. Make sure to seal the wrap tightly; a secure seal ensures heat and steam circulate evenly, preserving tenderness.
For extra protection, use a double layer of foil to insulate and reduce leaks. You can also place the foil-wrapped ribs in a covered baking dish for even better moisture retention.
Choosing the right foil wrap and sealing it properly guarantees your ribs stay juicy and tender during reheating. It’s a simple step that really makes a difference!
Sealing Techniques for Moisture
Wrapping ribs tightly in foil is just the start—you’ll want to focus on sealing methods that lock in moisture during reheating. Using proper sealing techniques guarantees excellent moisture retention, keeping your ribs juicy and tender.
Start by using aluminum foil to wrap tightly around the ribs, making sure no meat is exposed. For enhanced steam preservation, add a splash of water, broth, or apple juice inside the wrap before sealing. Double-layer foil can also boost moisture lock-in.
Alternatively, a heat-resistant, sealable bag or butcher paper works well for sealing in foil-like moisture protection. The key is to have the ribs fully sealed in foil or another wrap, preventing moisture from escaping and allowing heat and steam to circulate evenly.
This approach guarantees moist, flavorful ribs every time.
Adding Liquid to Prevent Dryness
To keep your ribs moist during reheating, you should add 2 to 4 tablespoons of apple juice, broth, or water before heating. This liquid creates steam, locking in moisture and preventing dryness.
When you wrap your ribs tightly in foil with this added liquid, you trap the moisture, ensuring the meat stays tender and juicy throughout the reheat process. You can also baste or spritz the ribs periodically to maintain moisture.
| Liquid Type | Purpose | Benefit |
|---|---|---|
| Apple Juice | Adds sweetness | Enhances flavor, moisture |
| Broth | Adds savory notes | Keeps ribs tender |
| Water | Neutral | Provides steam to reheat |
Adding liquid before you wrap and reheat is essential to prevent dryness and keep your ribs delicious. So, don’t skip this step if you want juicy ribs every time!
Placing Ribs in the Oven
After adding liquid to keep your ribs moist, it’s time to focus on placing them in the oven properly. First, preheat your oven to 250°F to ensure a gentle, even reheat.
While waiting, let the ribs sit at room temperature for about 20 minutes to avoid temperature shock. Next, position the ribs bone side down on a baking sheet or shallow dish for even heat distribution.
Be sure to cover the ribs tightly with foil; this traps moisture and prevents drying out. Finally, place the covered ribs on the center rack of the oven, where the temperature is most consistent.
This setup will help your ribs reheat evenly and stay juicy throughout the process. Easy, right? Just follow these steps, and you’ll be good to go!
Monitoring the Reheating Time
While reheating ribs at 250°F usually takes 20 to 35 minutes, the exact time depends on their size and thickness. To guarantee even heating, cover the ribs tightly with foil and place them in the preheated oven.
After about 20 minutes, start to monitor the internal temperature using a meat thermometer. Check the ribs at 5-minute intervals to avoid overcooking. This helps you control the reheating time and reach the desired doneness without drying out the meat.
Keeping the oven temperature steady at 250°F maintains gentle warming, preserving moisture and flavor. For a final touch, uncover the ribs briefly during the last few minutes to restore the bark’s texture and caramelization before serving.
Checking Internal Temperature
Although reheating ribs can seem straightforward, checking their internal temperature is crucial to avoid overcooking. Use a digital meat thermometer to perform an accurate temperature check by inserting it into the thickest part of the meat, steering clear of bones.
Aim for an internal temperature between 130°F and 140°F to achieve ideal warmth without drying out the ribs. Once the ribs reach at least 130°F, remove them from the oven promptly to prevent overcooking.
After reheating ribs, let them rest for a few minutes and then recheck the temperature to ensure heat has distributed evenly. This careful monitoring guarantees juicy, tender ribs every time without risking toughness or dryness caused by overheating.
Uncovering Ribs to Restore Bark
If you want to bring back the ribs’ signature crispy bark, uncovering them during reheating is key.
When you’re oven reheating ribs at 250°F, briefly removing the foil or cover for 5–10 minutes allows the smoky crust to re-crystallize and restores that desirable crispy texture. This step prevents moisture buildup beneath the bark, which can make it soggy.
Exposing the ribs to direct heat enhances the bark’s appearance and intensifies its flavor. Just be sure to monitor carefully—leaving ribs uncovered too long risks drying out the meat.
Finishing Touches With Sauce
You’ll want to pick a sauce that complements your ribs without overpowering them. Applying it at the right time—usually during the last 10-15 minutes of reheating—helps the sauce caramelize perfectly.
This timing gives your ribs a glossy, flavorful finish that’s anything but soggy. Trust me, it makes all the difference!
Choosing The Right Sauce
When reheating ribs, choosing the right sauce can make all the difference in flavor and moisture. A well-balanced BBQ sauce enhances the smoky flavor without overpowering it.
Look for a sauce with the right blend of acidity and sweetness to create a perfect finishing sauce. As you reheat ribs, applying a thin layer of sauce during the last 10-15 minutes helps caramelize the sugars, forming a rich glaze that locks in moisture.
Avoid thick or overly sugary sauces that might burn at 250°F. Brushing your ribs with sauce just before serving guarantees a moist, flavorful crust that masks any dryness from reheating.
Picking the right glaze ensures your ribs stay juicy and delicious every time you reheat ribs in the oven.
Applying Sauce Timing
Although reheating ribs requires patience, applying sauce at the right moment transforms their flavor and texture. You want to wait until the ribs reach an internal temperature of around 140°F before brushing on the sauce.
Adding it too early can cause burning or bitterness. Apply the sauce during the final 10-15 minutes of reheating to let it form a rich glaze. This timing allows the sugars in the sauce to caramelize gently without burning.
For an extra boost in flavor and texture, finish the ribs under the broiler or on a grill for 2-5 minutes after saucing. This final step enhances caramelization and gives your reheated ribs a mouthwatering finish that tastes fresh and delicious.
Achieving Perfect Caramelization
Since caramelization can make or break the final flavor, timing your sauce application is key to achieving that perfect glossy finish. When reheating ribs in the oven, follow these steps to get that ideal glazed finish:
First, apply a thin layer of sugar-based BBQ sauce during the last 10-15 minutes of the oven reheat. This helps promote caramelization without risking any burning.
Before you brush on the sauce, uncover the foil. This lets the sauce adhere properly and get that nice glaze going.
Then, increase the oven temperature to 375°F for the final 5 minutes. This step enhances browning and deepens the caramelization.
Once done, let the ribs rest briefly after reheating. This allows the sauce to set and form a rich, flavorful crust.
Using a sugar-based sauce really helps create that irresistible caramelized glaze that makes your ribs shine. Trust me, it’s worth the extra steps!
Resting Ribs Before Serving
Allowing your ribs to rest for 5 to 10 minutes after reheating lets the juices redistribute, keeping the meat moist and tender. When you remove the ribs from the oven, cover them loosely with foil to retain heat and preserve moisture.
This resting period is vital because it enhances the tenderness and overall flavor by allowing the meat fibers to relax. Avoid cutting into the ribs immediately, as doing so causes valuable moisture to escape, resulting in drier meat.
For small portions, a 5-minute rest is sufficient, but larger cuts benefit from up to 10 minutes. By properly resting your ribs under foil before serving, you guarantee maximum heat retention and an ideal eating experience with juicy, flavorful, and tender results every time.
Conclusion
Reheating ribs at 250°F guarantees they stay juicy and flavorful without drying out. Imagine Sarah, who once ruined her leftovers by overheating them. After following these steps, her ribs came out tender and delicious every time.
By wrapping them, adding a splash of liquid, and checking the temperature carefully, you’ll enjoy ribs that taste freshly cooked. Just remember to rest them before serving for the best bite possible.
You’ve got this! Reheating ribs in the oven at 250°F is a foolproof way to keep them moist and tasty. Take your time with each step, and your ribs will come out perfect — just like fresh off the grill. Enjoy your meal!