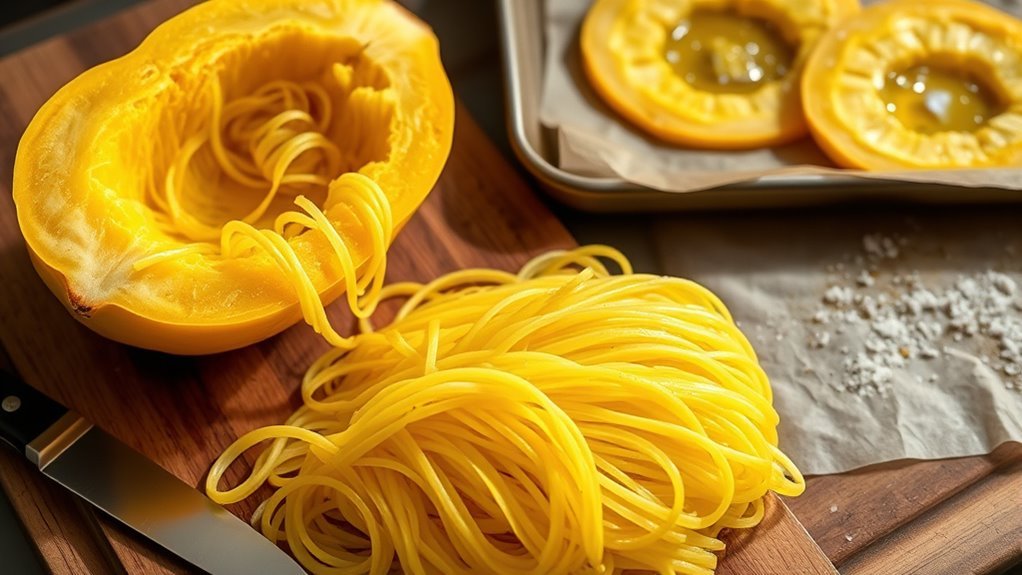
7 Simple Steps to Bake Spaghetti Squash in the Oven
Start by choosing a firm spaghetti squash, then preheat your oven to 400°F.
Cutting the squash properly is key, so slice it into halves or rings and scoop out the seeds. If you want, add some seasoning to give it extra flavor.
Place the pieces cut-side down on a lined baking sheet and roast for 30-40 minutes until tender.
When it’s done, use a fork to shred the flesh into those classic spaghetti-like strands.
Serve warm, and enjoy!
Follow these simple steps, and you’ll discover even more tips to make your spaghetti squash perfectly delicious every time. It’s an easy, healthy way to enjoy a tasty meal!
Choose and Prepare Your Spaghetti Squash
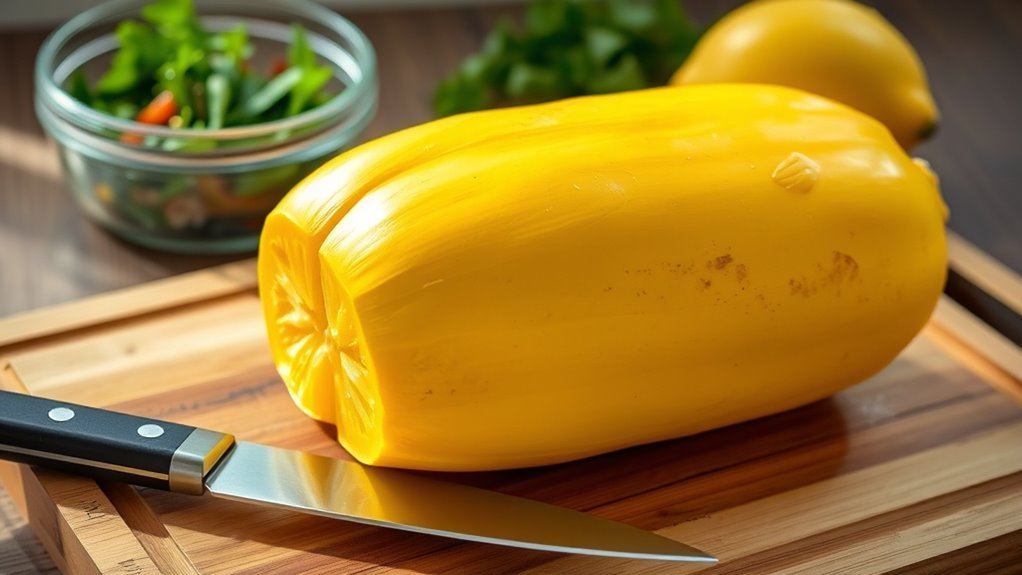
Before you start cooking, choose a large, firm spaghetti squash that weighs about 3 to 4 pounds and has a tough, dull skin.
To prepare the squash safely, pierce it several times with a sharp knife or fork to create ventilation. This helps prevent explosions during cooking.
Pierce the squash several times to allow steam to escape and avoid bursting during cooking.
If the skin feels too hard to cut open easily, microwave the whole squash for 3 to 5 minutes or roast it briefly to soften it.
Once softened, cut the squash lengthwise or into rings, exposing the cut side.
Use a seed scoop or a large spoon to remove the seeds and pulp from the center.
Give the squash a quick rinse or wipe if needed, then it’s ready for the next step in your roasting process.
Preheat Your Oven to the Right Temperature
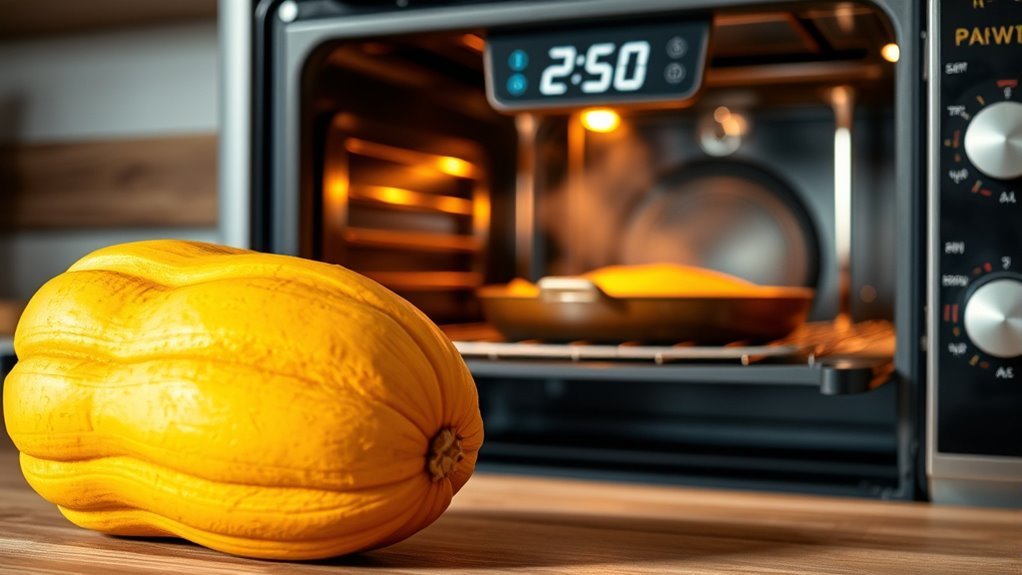
Although it might seem simple, preheating your oven to the right temperature is essential for perfectly roasted spaghetti squash. You’ll want to preheat your oven to either 375°F (190°C) or 400°F (204°C), depending on your recipe.
Make sure to wait until the oven signals that it has reached the set temperature before placing the squash inside. This ensures even cooking and prevents the oven temperature from dropping when you start cooking squash.
If your oven tends to run hot or cold, use an oven thermometer to check the accuracy of your oven settings. Taking these steps guarantees your spaghetti squash cooks evenly and comes out tender and delicious every time.
Cut the Squash Into Rings or Halves
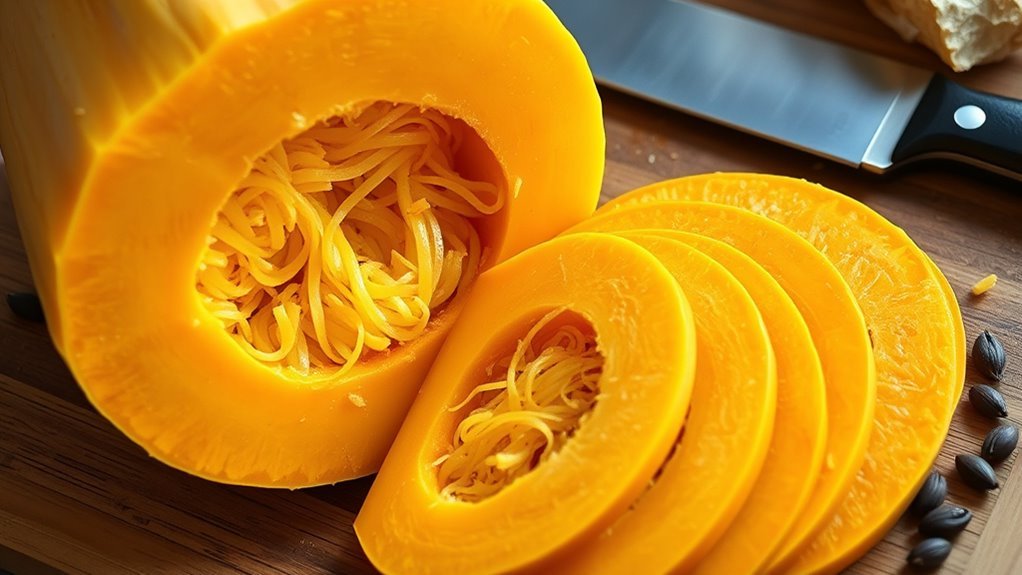
Before you start cutting, decide whether you want halves or rings, as each shapes cooking and presentation differently. Use a sharp knife on a stable board, and consider microwaving the squash briefly to soften the skin for easier cutting.
Removing the seeds after slicing guarantees even roasting and prevents burning. It’s a simple step that makes a big difference. Plus, it helps your squash cook more evenly and taste better!
Halves Versus Rings
When you decide how to cut your spaghetti squash, choosing between halves and rings shapes both the texture and presentation of your dish. Cutting into halves is simpler and safer, especially with tough-skinned squash, yielding fork-tender pieces with crispy, roasted edges. This method suits easy preparation and straightforward serving.
Rings, on the other hand, require shallow incisions and sometimes pre-softening, making cutting more challenging. However, roasting rings creates longer, noodle-like strands with more caramelization, thanks to a larger surface area exposed during cooking. Rings offer a visually appealing presentation and evenly browned texture but need more skill in preparation.
Both halves and rings benefit from brushing with oil before roasting, so your choice depends on how much effort you want to invest and the final texture and look you prefer. It really comes down to what works best for you and the kind of dish you want to serve.
Cutting Techniques
Choosing to cut your spaghetti squash into rings or halves shapes how you’ll approach the task. To cut the squash in half, place it on a stable cutting board, use a sharp knife, and slice lengthwise from stem to blossom for an even division.
For rings, first slice off the ends, then make horizontal cuts about 1-1.5 inches thick. To make slicing safer and easier, prick the squash with a fork and microwave briefly to soften the skin.
Stabilize it on the cutting board with a damp towel to prevent slipping. This little trick really helps keep things steady while you’re cutting.
| Method | Knife Type | Tips for Stability |
|---|---|---|
| Halves | Sharp knife | Cut lengthwise, stable board |
| Rings | Serrated knife | Remove ends, horizontal cuts |
| Both | Heavy-duty | Damp towel under squash |
Remove Seeds and Season the Squash
Two key steps come next: removing the seeds and seasoning the squash. Grab a large spoon and carefully scoop out the seeds and stringy pulp from the center of each half.
This seed removal not only cleans the squash but also prevents excess moisture that can make your baked squash soggy. Once you’ve scraped out the seeds, pat the flesh dry with a paper towel to ensure it’s ready for seasoning.
Here’s why this step matters:
- Removing seeds creates a smooth surface that helps your seasoning stick better.
- Drying the flesh prevents watery results after baking.
- It makes scraping the squash into strands easier and more enjoyable later on.
Now, your squash is perfectly prepped and ready for flavorful seasoning!
Arrange the Squash on a Baking Sheet
Start by lining your baking sheet with parchment paper or a silicone mat to prevent sticking.
Place the squash cut side down, spacing each piece evenly to allow hot air to circulate. This setup helps the squash roast evenly and caramelize perfectly.
Positioning Tips
When you place the squash halves cut side down on a rimmed baking sheet lined with parchment or foil, you prevent sticking and guarantee even cooking. Proper positioning is key to achieving that perfect tender texture and caramelization.
Here’s how to arrange your squash for uniform cooking:
- Place each half flat on the baking sheet to ensure even heat reaches every part.
- Arrange the squash with enough space between pieces so hot air circulates freely, promoting consistent roasting.
- Position the baking sheet in the oven’s center to expose the squash evenly to heat, avoiding hot spots or undercooked areas.
Baking Sheet Preparation
Although prepping your baking sheet might seem simple, taking a few extra steps guarantees your spaghetti squash won’t stick and cooks evenly. Start by lining a rimmed baking sheet with parchment paper or lightly greasing it to prevent sticking.
Next, arrange the spaghetti squash halves cut-side down on the prepared baking sheet. Make sure to leave enough space between the pieces to allow heat to circulate evenly during roasting.
To help steam escape and avoid sogginess, poke a few small holes in the skin of each half with a fork. This simple step guarantees even cooking and a perfect texture.
Finally, place the baking sheet on the middle oven rack, where the heat promotes uniform roasting for tender, flavorful squash every time.
Roast Until Tender and Slightly Caramelized
Since roasting the spaghetti squash at 400°F for 30-40 minutes allows the flesh to become tender and slightly caramelized, you’ll want to flip it halfway through to guarantee even cooking. This guarantees the squash roasts evenly in your oven, developing that perfect texture and flavor.
Check doneness by piercing the flesh with a fork; it should slide in easily but still have slight resistance.
Here’s what to keep in mind during baking time:
- Flip the squash halfway to get a golden-brown, caramelized exterior on both sides.
- Larger squash may need 5-10 extra minutes to roast fully tender.
- Look for tender flesh with lightly browned edges for a rich, roasted flavor you’ll love.
Scrape and Serve the Spaghetti Squash Strands
How do you transform the roasted squash into those signature spaghetti-like strands? After your spaghetti squash has cooled slightly, take a fork and gently scrape along the flesh, pulling it away from the skin. This simple motion creates the delicate strands you’re aiming for.
Keep scraping until all the flesh is separated, discarding the skin or saving it for another use. Once you have your strands, fluff them with a fork to prevent clumping and ensure an airy texture.
Taste the strands and adjust seasoning with salt, pepper, or herbs if needed. You can serve your spaghetti squash strands immediately as a healthy side or store them in an airtight container to reheat later.
Enjoy this naturally tasty, versatile cook!
Conclusion
Now that you know how to bake spaghetti squash in just seven simple steps, you’re all set to enjoy this versatile veggie.
Did you know spaghetti squash has only about 42 calories per cup? That makes it a great low-calorie alternative to traditional pasta.
Roasting it brings out a naturally sweet flavor that pairs well with any sauce. Whether you like marinara, pesto, or a simple garlic butter, spaghetti squash works beautifully.
Give it a try—you’ll love how easy and delicious healthy eating can be! Baking spaghetti squash in the oven is a simple way to add more veggies to your meals without sacrificing taste. Plus, it’s a fun, nutritious option that fits perfectly into a balanced diet. Enjoy your tasty, healthy spaghetti squash creation!